
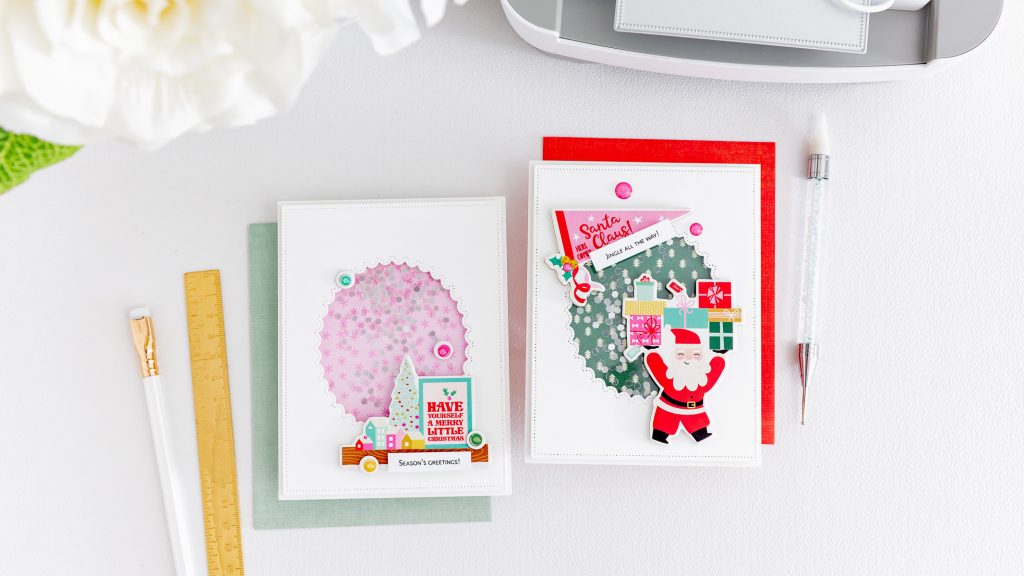
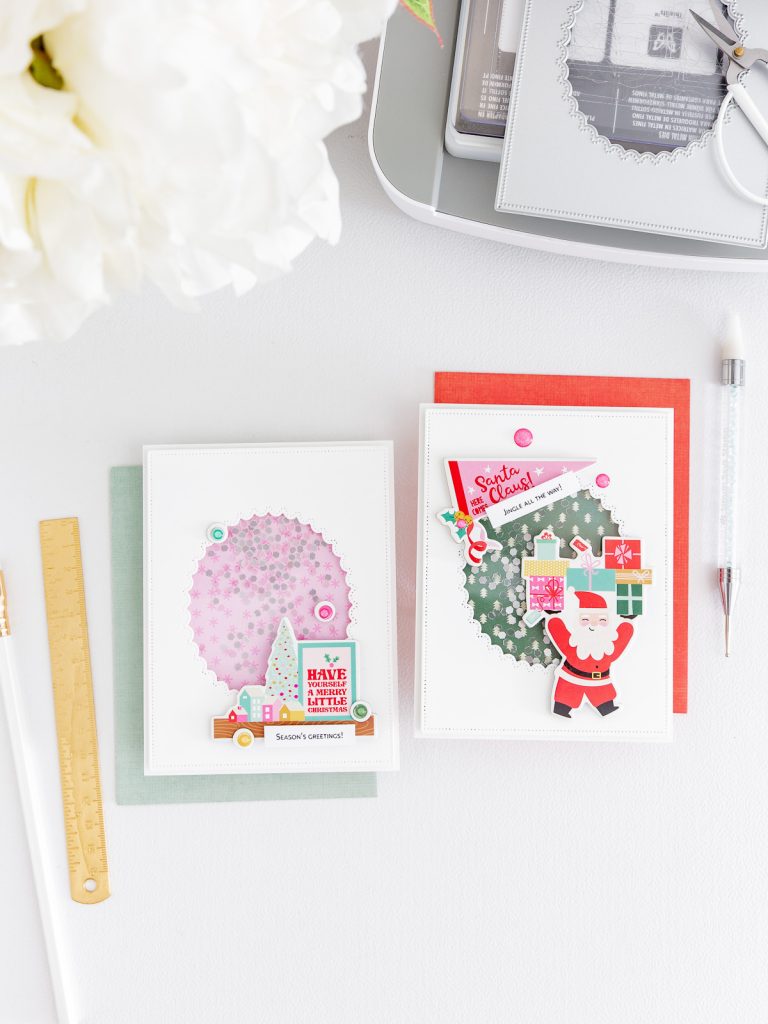
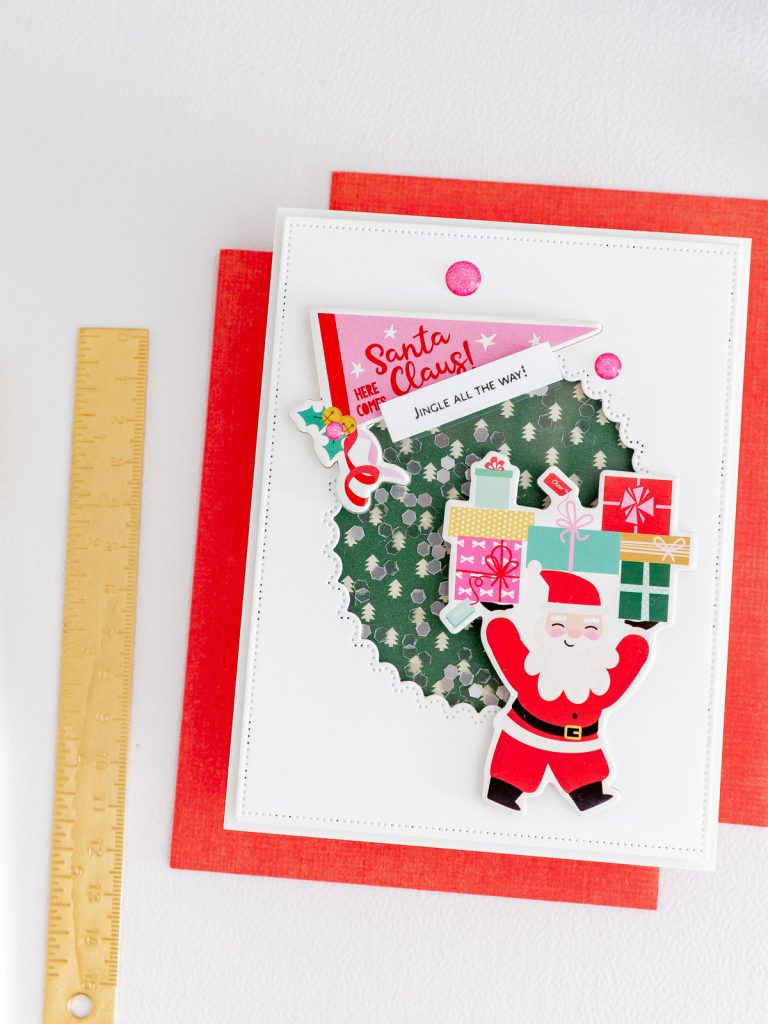
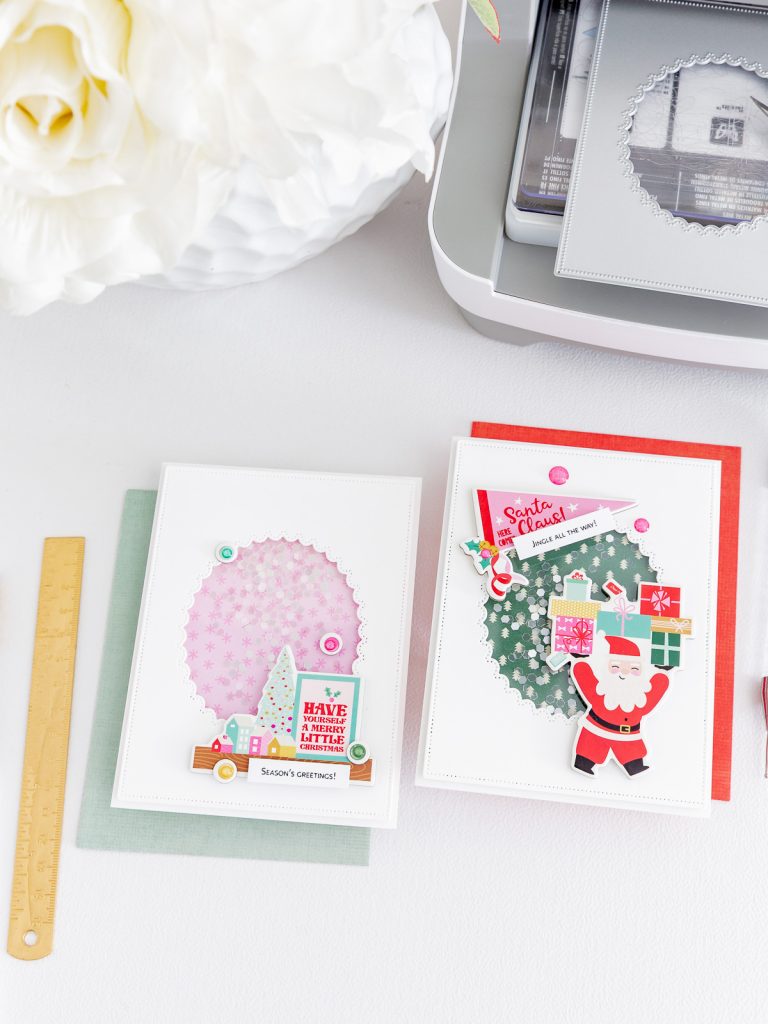
Happy Monday, my crafty friends! Today I’m thrilled to share my first project as a Brand Ambassador for Emily Moore Designs—a duo of Shaker Frame Christmas Cards starring the beautiful “The Doily” die. I went for a soft, modern holiday look: clean white frames, scalloped windows, and cheerful shaker confetti, all paired with the Hard Candy Christmas collection by Simple Stories. Sweet colors, crisp layers, and playful movement—just the right mix of dreamy and festive. Let’s take a closer look at how these came together and how you can make them, too!

For today’s cards, I used:
- Shaker Frame Die – The Doily – Emily Moore Designs
- Clear Acetate Sheets 4.25″x5.5″- Heat Resistant – Emily Moore Designs
- PRECISION LAYERING A2 A Etched Dies S5-487
- Sizzix Big Shot Die Cutting Machine 667085
- Sizzix STENCIL AND STAMP TOOL
- Exclusive Scrap & Learn x Celes Gonzalo Stamp Bundle
- Classic White ColorWheel Cardstock 8.5×11 cs-8-148
- Hard Candy Christmas 6 x 12 Chipboard Stickers
- Hard Candy Christmas 6 x 8 Paper Pad
- Hard Candy Christmas Self Adhesive Decorative Brads
- Hard Candy Christmas Glitter Enamel Dots
- MISTI Precision Glue Press
*** Complete Product list – HERE ***

Card Base:
- For card bases, I used Simon Says Stamp WHITE A2 SIDE FOLD
- From the Hard Candy Christmas 6″×8″ paper pad, die-cut two panels using PRECISION LAYERING A2 A Etched Dies (S5-487) to create the shaker backers.
- Die-cut two classic white fronts from ColorWheel Cardstock 8.5″×11″ (Classic White) using Shaker Frame Die – The Doily. I wanted a clean-and-simple look so the shaker details really shine.
- Adhere each patterned panel to Simon Says Stamp WHITE A2 Side-Fold Scored Cards.
- Back each doily window with clear acetate, then line the opening with 3D Foam Strips to form the shaker well.
- Place the shaker mix in the center of the card base. Seal by adhering the foam-backed window panel on top. Card bases are ready for embellishing!


Decorative details:
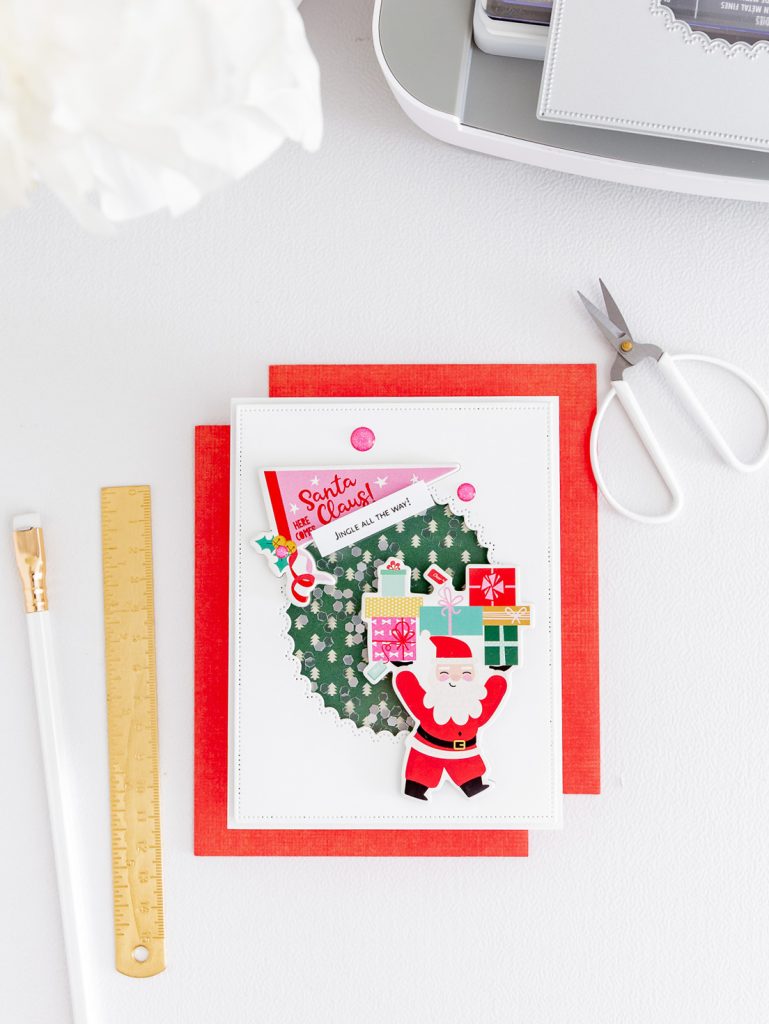
For the sentiments, I used the Scrap & Learn Christmas stamp set with the Sizzix stamping tool and Tsukineko VersaFine Onyx Black. I stamped a few phrases, let them dry, and trimmed them into neat strips to tuck under the clusters.
- Pink shaker: I built a small scene at the bottom—chipboard houses + tree with the Have Yourself a Merry Little Christmas sign, and the sentiment strip “Season’s Greetings.” I popped a few pieces up with 3D foam for soft dimension and finished with enamel dots in coordinating colors.
- Green shaker: I created a playful gift cluster around the doily window—Santa, presents, and a “Santa Claus” banner. Elements are layered with 3D foam so they overlap the scalloped edge. Enamel dots add that final sparkle.
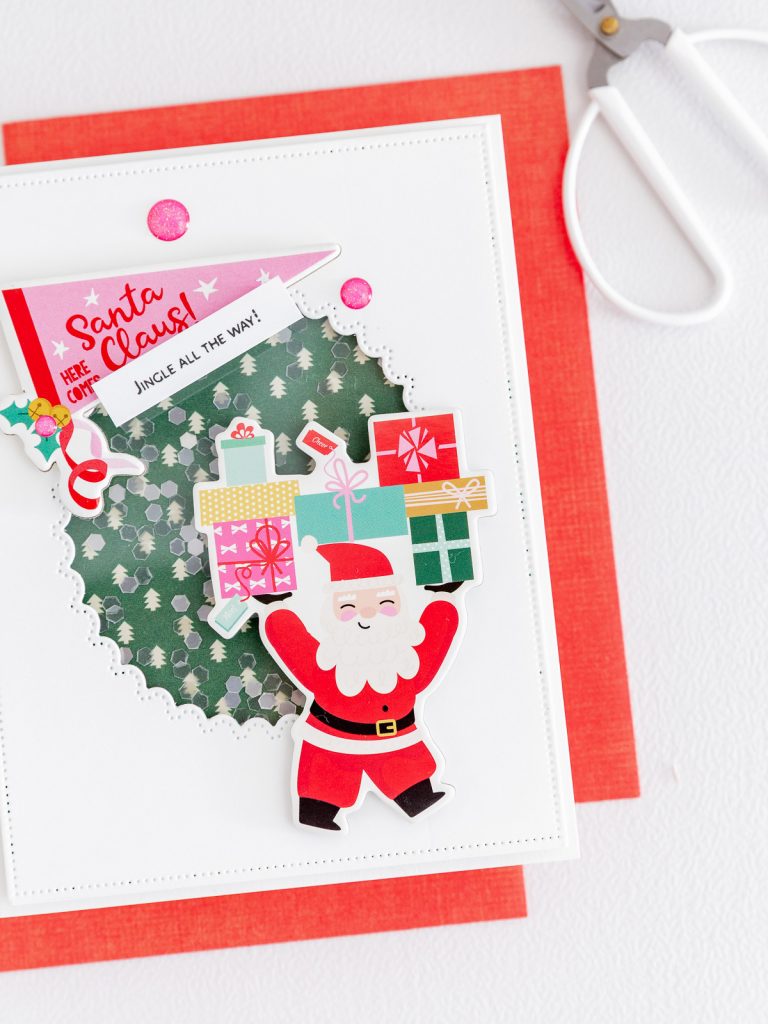
Design tips: keep the margins open so the panel design stays center stage, form a visual triangle with your enamel dots, and use thin (1–2 mm) foam so the cards stay mail-friendly.


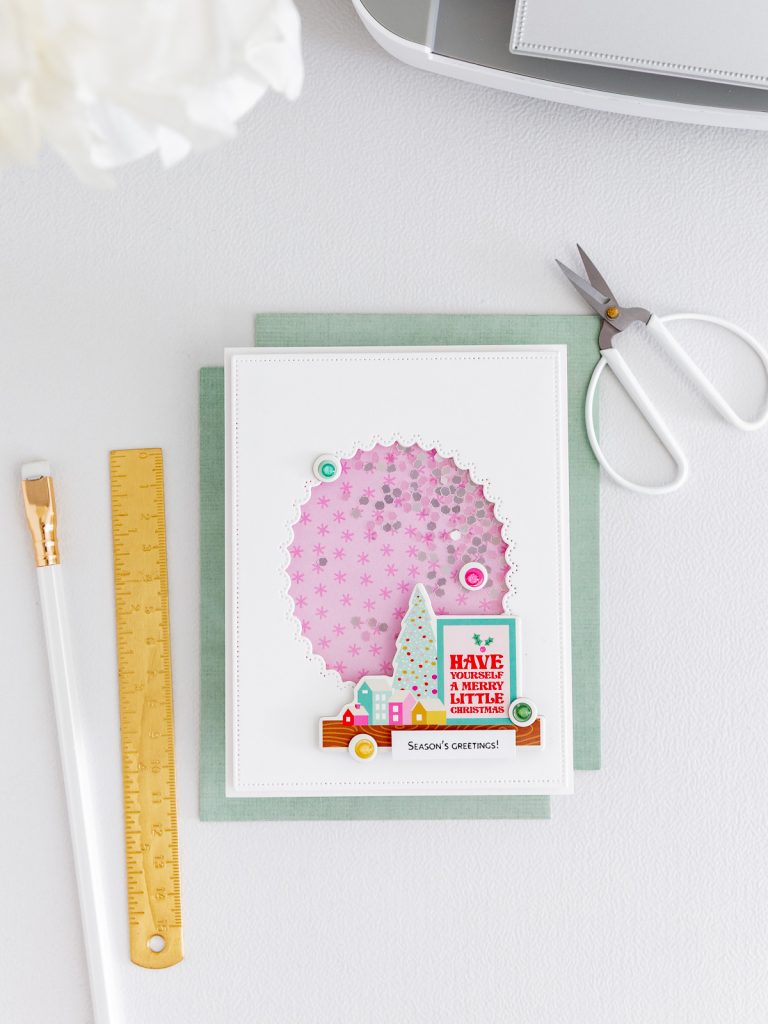
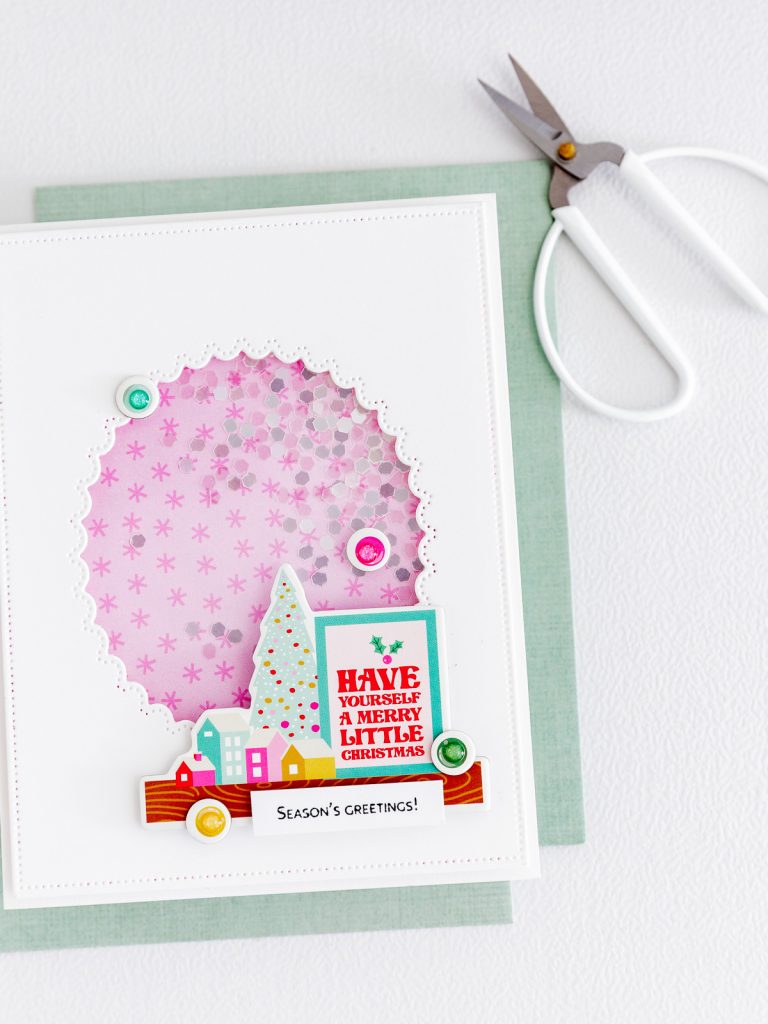
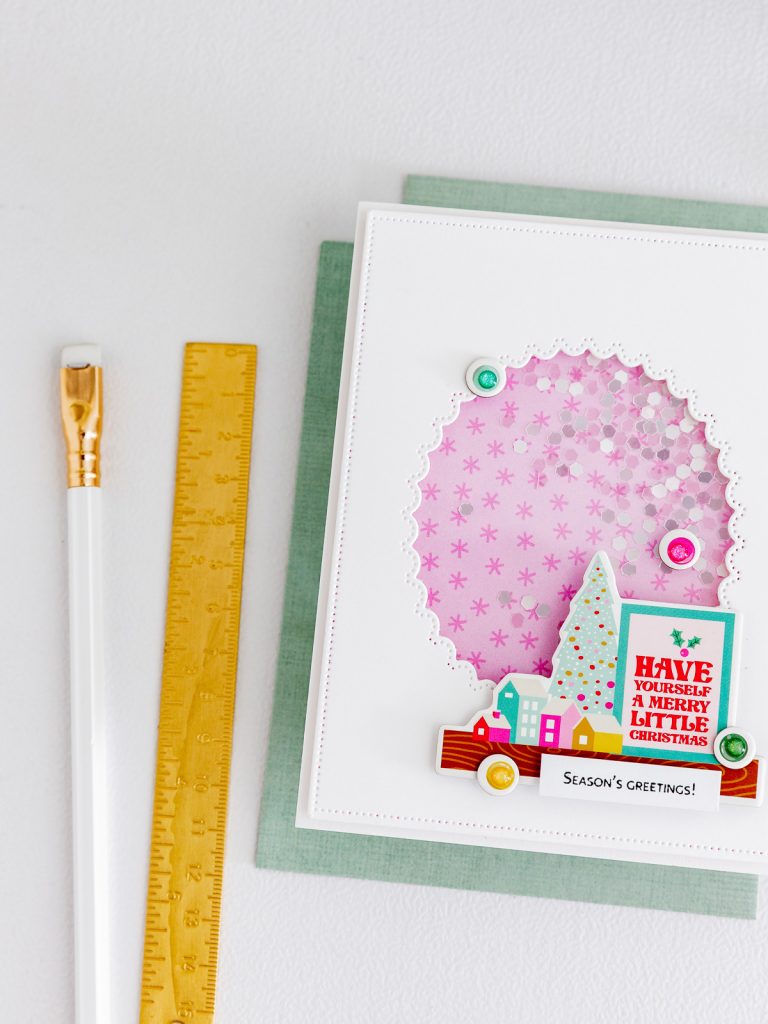
And that’s how these sweet shaker Christmas cards came together! Clean frames, scalloped windows, and a sprinkle of sparkle—each layer placed with intention so the details shine without losing that airy, modern feel. Candy-bright colors, playful icons, and soft dimension make them elegant yet fun—perfect for sending a little holiday magic in motion.
YouTube Step-by-Step Tutorial

Thank you so much for visiting the blog today! I hope these shaker cards spark fresh ideas for your holiday crafting. Wishing you a season filled with joy, creativity, and a little extra sparkle—see you next time!
Affiliate links apply at no extra cost to you. Thanks for your support!
Visual Supplies List


