Cake-Shaped Mini Album Tutorial: A 40th Birthday Keepsake with Emily Moore Designs

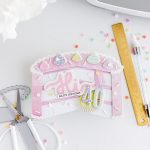
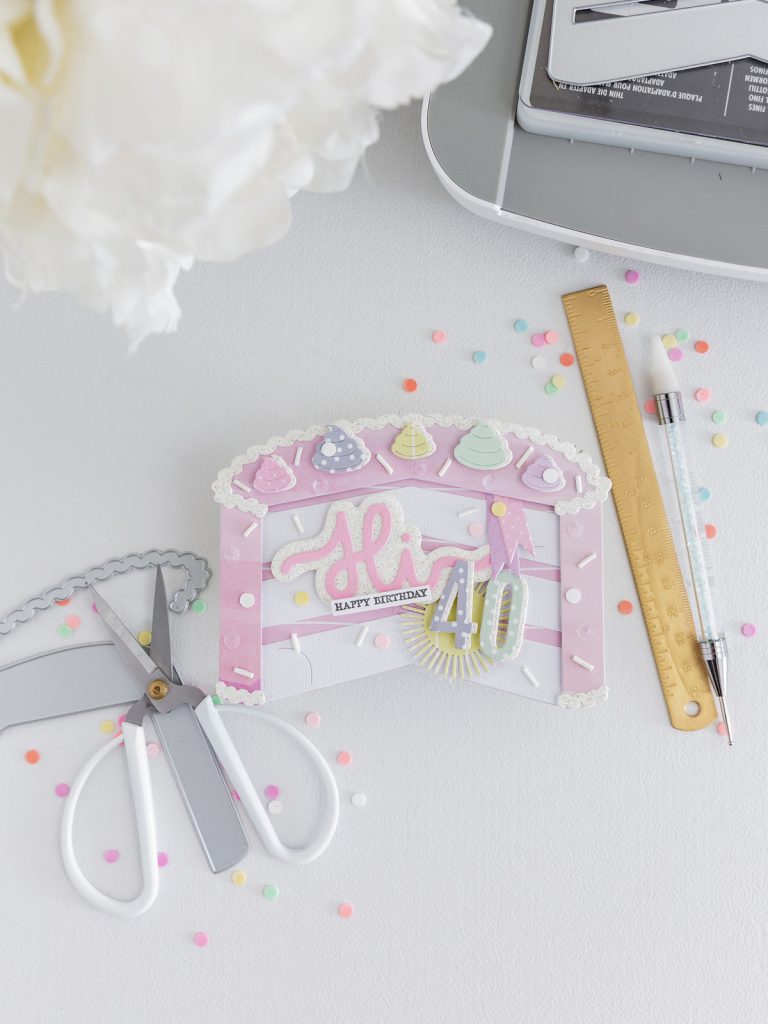
Happy Sunday, my crafty friends! It is Celes here, and today I am sharing a project that feels extra special: a cake-shaped mini album created to document my 40th birthday weekend. This tiny keepsake is full of cheerful details—sprinkles, confetti, layered frosting, and all the happy color—while still leaving plenty of room for photos and journaling (because these memories deserved more than a single page).

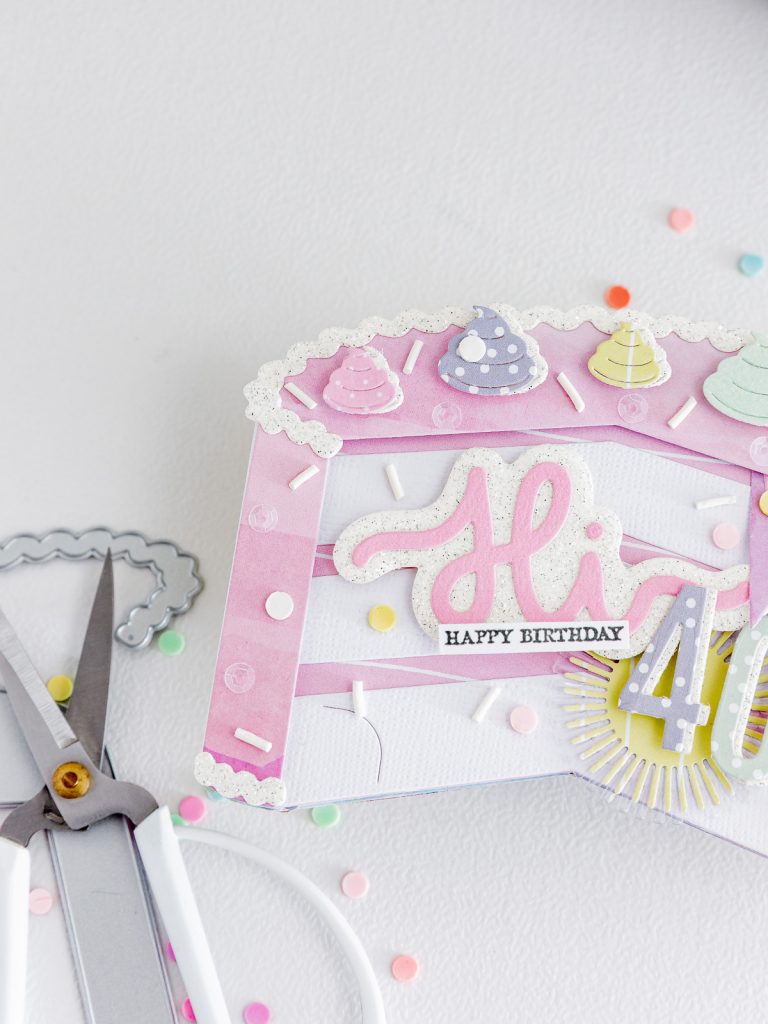
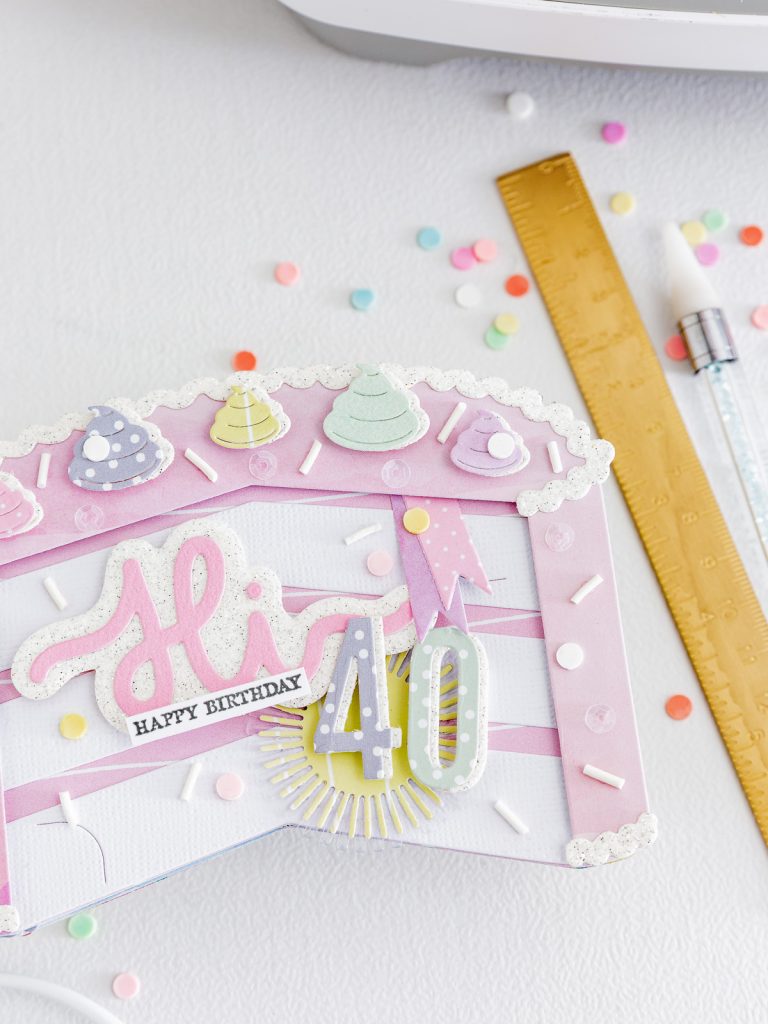
For the papers, I combined designs from my Rainbow Avenue collection with a few favorites from Simple Stories. The result is bright and celebratory, but still soft and pretty—exactly the mood I wanted for this story. The stars of the project are the Make a Cake! dies, and I paired them with the Hi, Hey, Hello Word Dies plus the Card Sentiment Dies ( from Emily Moore Designs )to create bold titles and small finishing touches that bring everything together.

If you love interactive projects with layered elements and space to tell your story, you are going to enjoy this one.

For today’s mini album, I used:

*** Complete Product list – HERE ***

Let’s create together this Mini Album…

Mini Album Base:

  • Die cut the cake pages:
    – Choose four coordinating colors for the cake pages.
    I used pink, green, light blue, and pastel yellow.
    – Die cut one full cake set in each color.
    – Die cut the inner cake layers from textured white cardstock for contrast.
  • Add a decoration color + specialty papers:
    – Pick one extra color for the decorations. I used purple.
    – Optional (but very worth it): add a little white/silver glitter paper and acetate for sparkle and shine.
  • Create the hinge:
    – Cut smooth white cardstock: 1″ wide × 2 3/4″ tall.
    – Score at 1/2″ (along the width).
    This becomes the hinge that holds the structure together.
  • Assemble the individual pages:
    – Keep the inner layers flat.
    – Add 3D foam behind the outer front-cover layer to give each cake page dimension.
  • Build the album structure:
    – Adhere the pages in pairs, leaving the hinge area without adhesive.
    – Adhere the hinge in place and your base is complete.

Important note: Do not add adhesive where the inner cards will slide in (photos and journaling).

Decorating the Cover:

Now the fun part—turning the base into a true birthday keepsake.

  • Adhere the glitter cardstock die-cut pieces along the cake border.
  • Assemble the layered frosting swirls. I mixed solid cardstock with glitter accents for extra sparkle.
  • Put together the “Hi” word (die cut ahead of time), then add:
    – a small stamped sentiment
    – the birthday number
  • Pop up the main cover elements with 3D foam.
  • Add the frosting swirls with foam for even more dimension.
  • Finish with colorful and white sprinkles + a few tiny sequins.

Cover complete!

Interior:

  • Prepare two journaling cards and one double photo card (one photo on each side).
  • Slide the cards into the pages.
  • Add any decorative accents you like to finish it off.

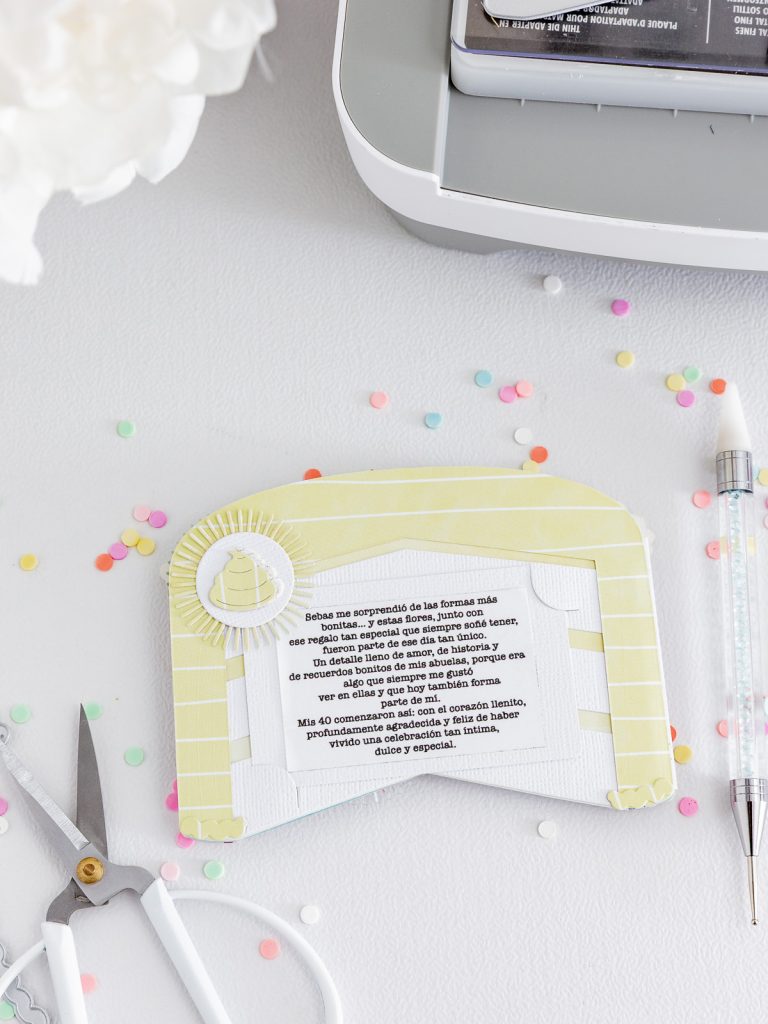
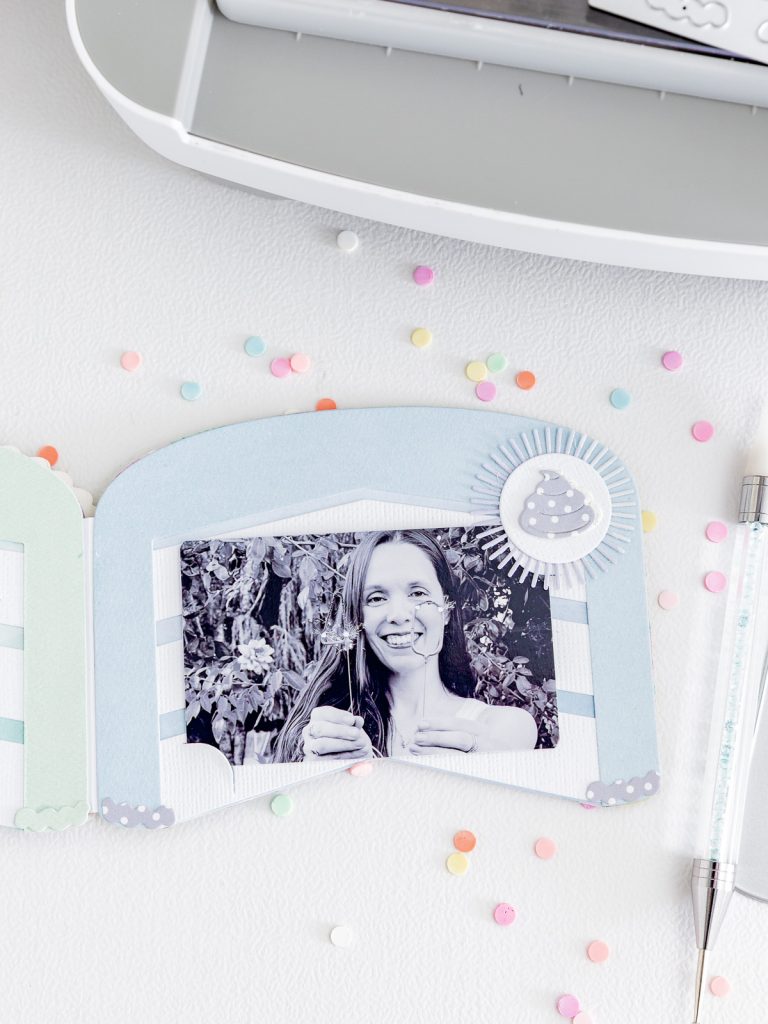
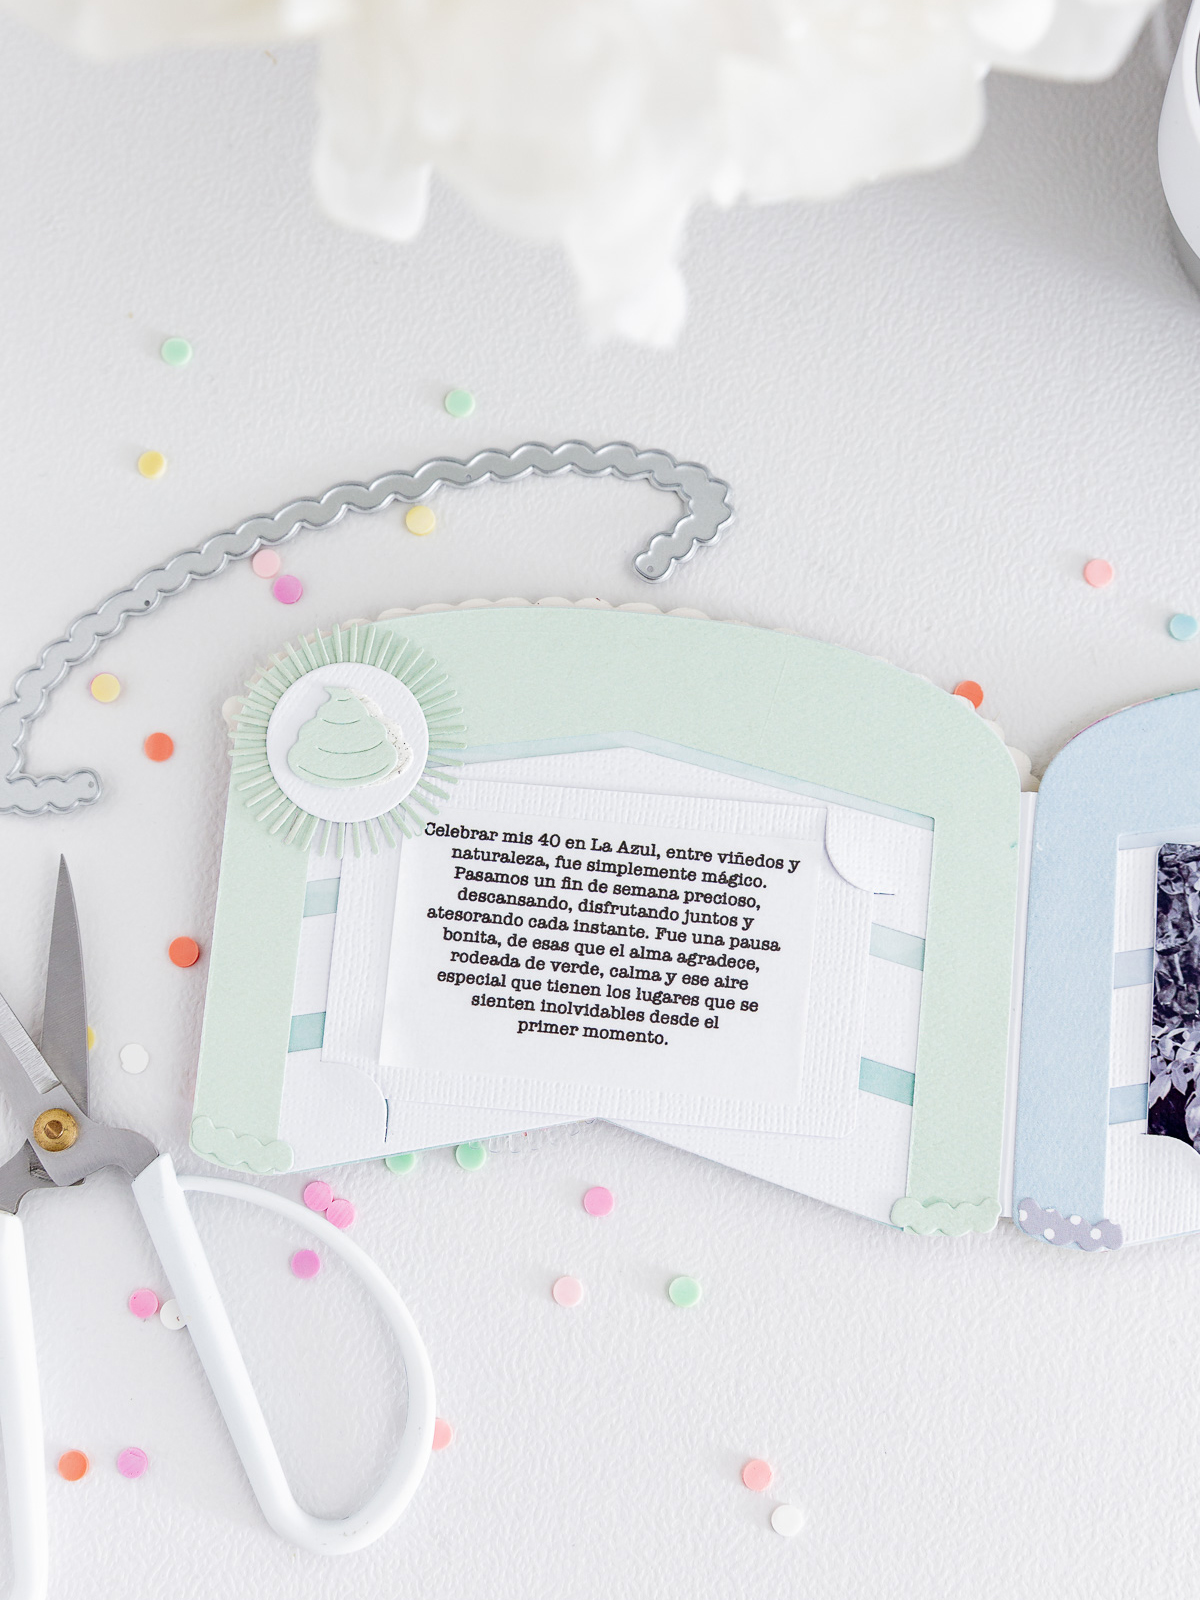
And that is how this sweet little 40th birthday mini album came together! I love how the Make a Cake! dies turn a simple structure into a true keepsake—full of layers, sparkle, and space for photos and journaling that makes the memories feel alive.

Now it is your turn: pick your favorite colors, mix the papers you already have in your stash, and create your own cake-shaped album for a birthday, anniversary, girls’ night, or any celebration you want to remember. And please share your finished project with me—I would truly love to see what you create.

Step-by-step Tutorial: YouTube Video

Thanks so much for stopping by—see you in the next project!

Affiliate links apply at no extra cost to you. Thanks for your support!

Lista visual de materiales / Visual Supplies List

Do you want to see more?

Dejar un comentario

Tu dirección de correo electrónico no será publicada. Los campos obligatorios están marcados con *

guiademanualidades-celes-26

Sobre mí

¡Hola! Soy Celes, el alma creativa tras “Guía de Manualidades”, un mundo de color, arcoíris y confeti. Gracias por estar por aquí y por permitirme compartir contigo todo aquello que me gusta y me apasiona hacer. Te invito a descubrir un mundo de creatividad infinita y darle vida a aquello que sueñas…

Categorías

Últimos Posts

Favorite Stores

642194553_1348344117326978_2421841545972176486_n
SIMON SAYS STAMP - NEW RELEASE
Simon Logo
SIMON SAYS STAMP STORE
SBCLogo_500x500_3
SBC STORE
I'm and Affiliate
AC - WE R MAKERS STORE
Spell1-1
SPELLBINDERS STORE
logosshareasale1
ACOT STORE
EMDBanner
EMILY MOORE DESIGNS STORE
xr:d:DAFcCnxOnG8:10,j:47979962386,t:23030215
SIZZIX STORE
Captura de Pantalla 2025-01-14 a la(s) 17.11.36
CATHERINE POOLER STORE

Sígueme

Compartir:

Newsletter

SUMATE A NUESTRA COMUNIDAD