
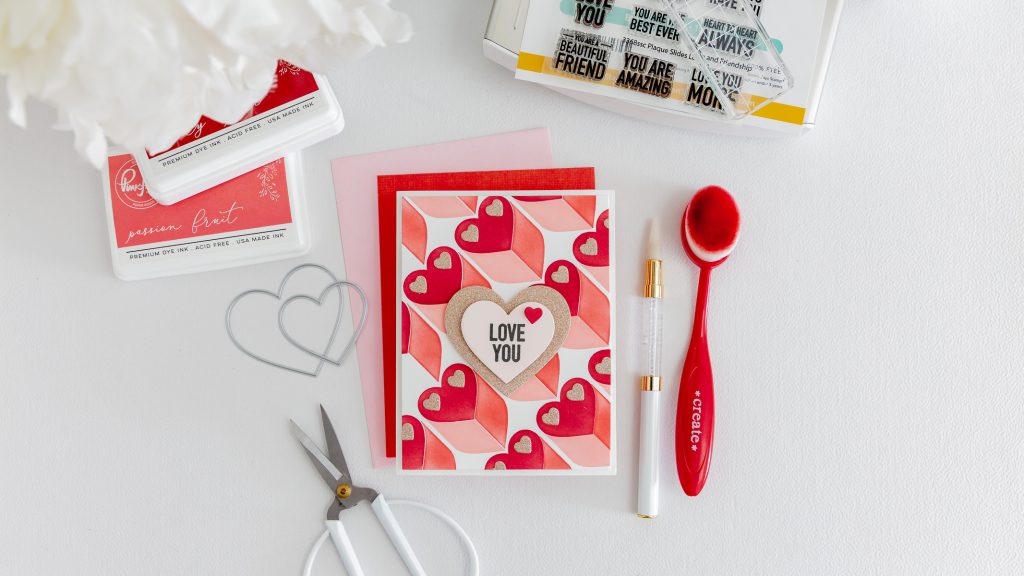
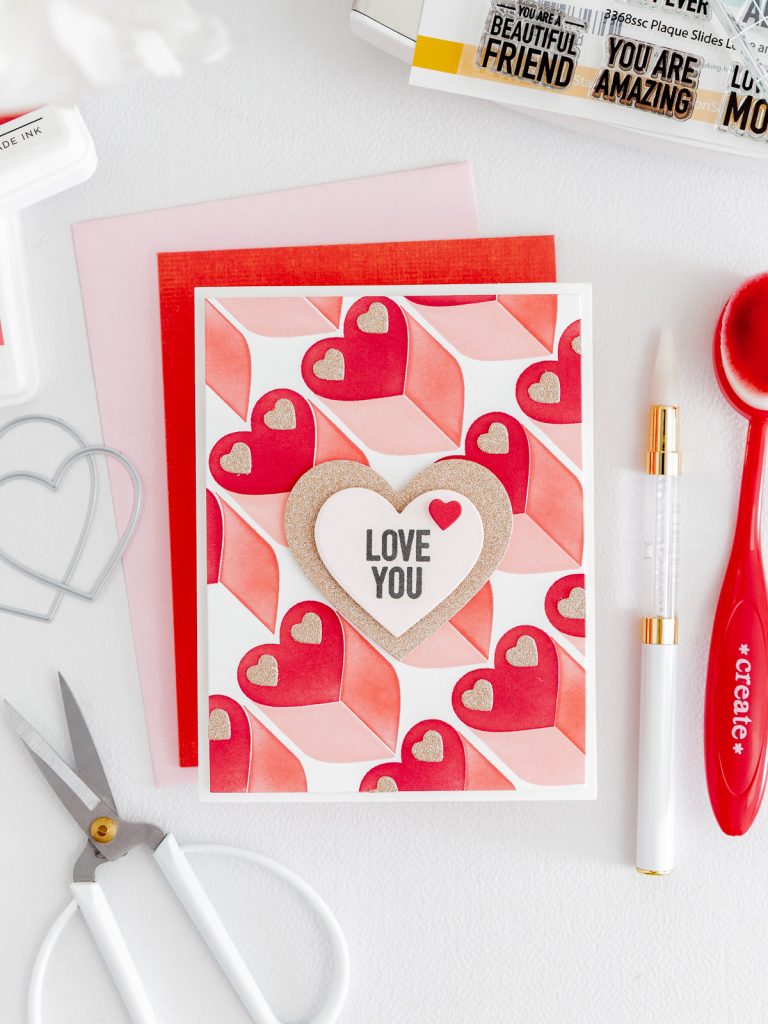
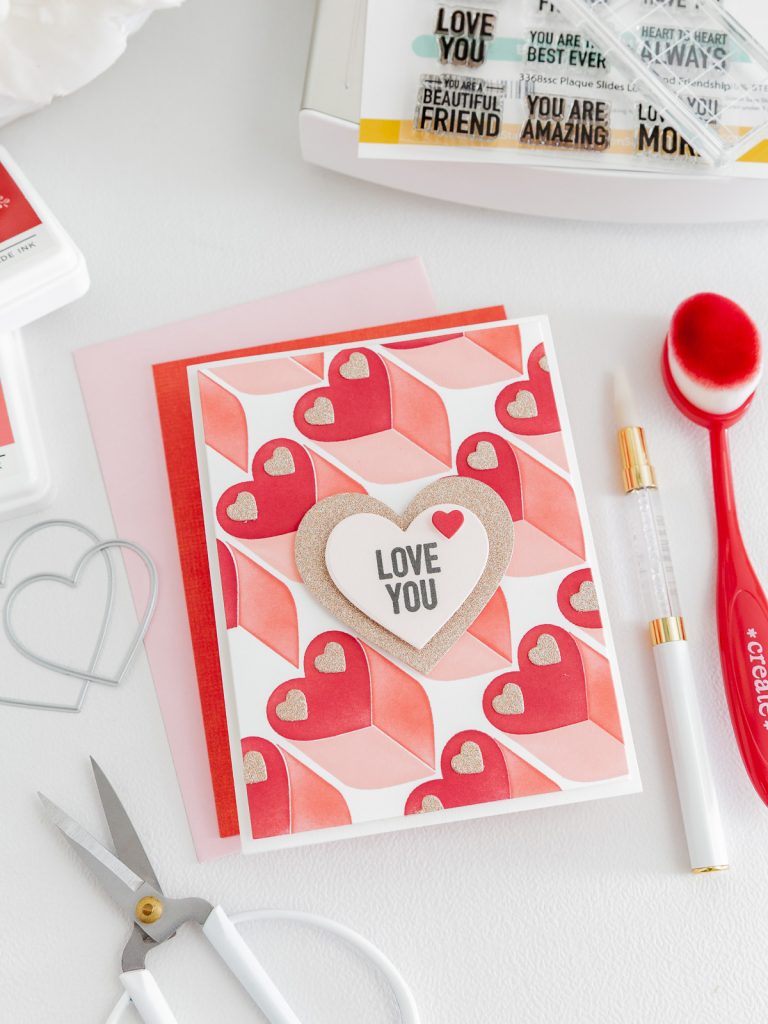
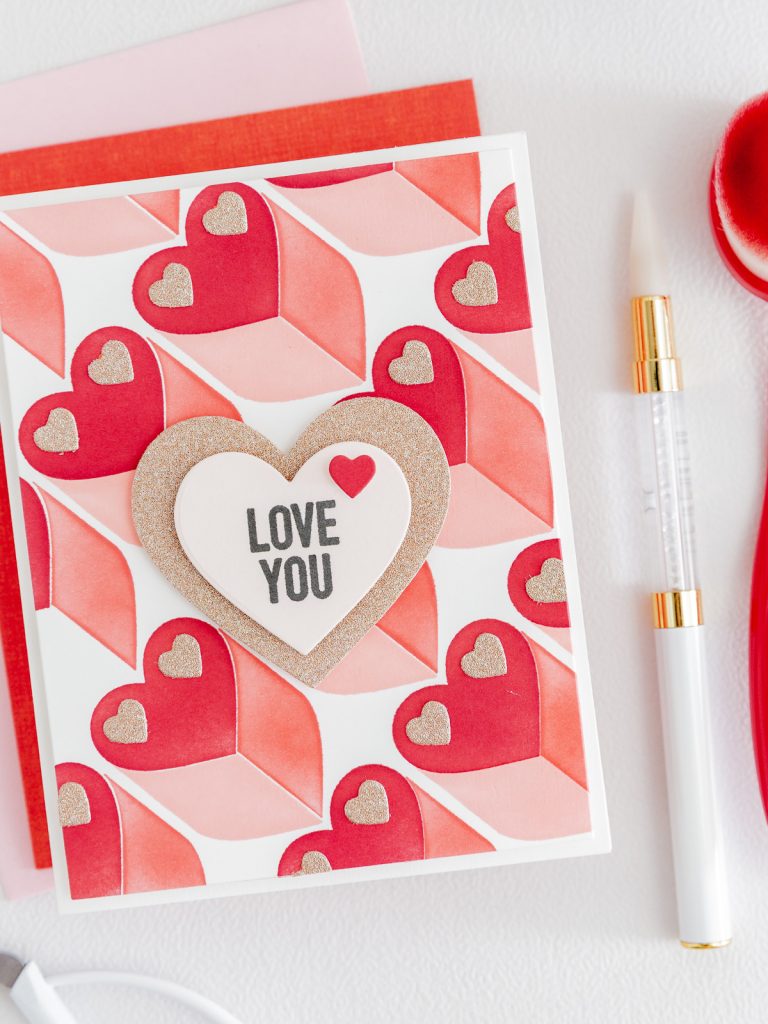
Hello, my crafty friends! Today I’m sharing a super modern card I can’t stop looking at: my “Modern Love You Card with Geometric Hearts” featuring the gorgeous Heart to Heart release by Simon Says Stamp. I went for a clean-but-bold vibe with a graphic heart pattern in a pink-to-coral ombré, little pops of gold sparkle, and that layered focal heart right in the center (because drama is allowed when it’s this cute). Crisp layers, strong contrast, and just the right amount of shine—let’s take a closer look at how this one came together so you can recreate it, too!

For this card I used:
- Simon Says Stamp Set of 3 Stencils Love City 1115stc
- Simon Says Stamp Basic Hearts Wafer Dies 1541sd
- Simon Says Stamp Toaster Pastry Wafer Dies 1519sd
- Simon Says Clear Stamp Plaque Slides Love and Friendship 3368ssc
- Pinkfresh Studio Coral Reef Dye Ink Pad pfdi036
- Pinkfresh Studio Passion Fruit Dye Ink Pad pfdi035
- Pinkfresh Studio Berrylicious Dye Ink Pad pfdi034
- Ranger Graphite Archival Ink Pad aip85409
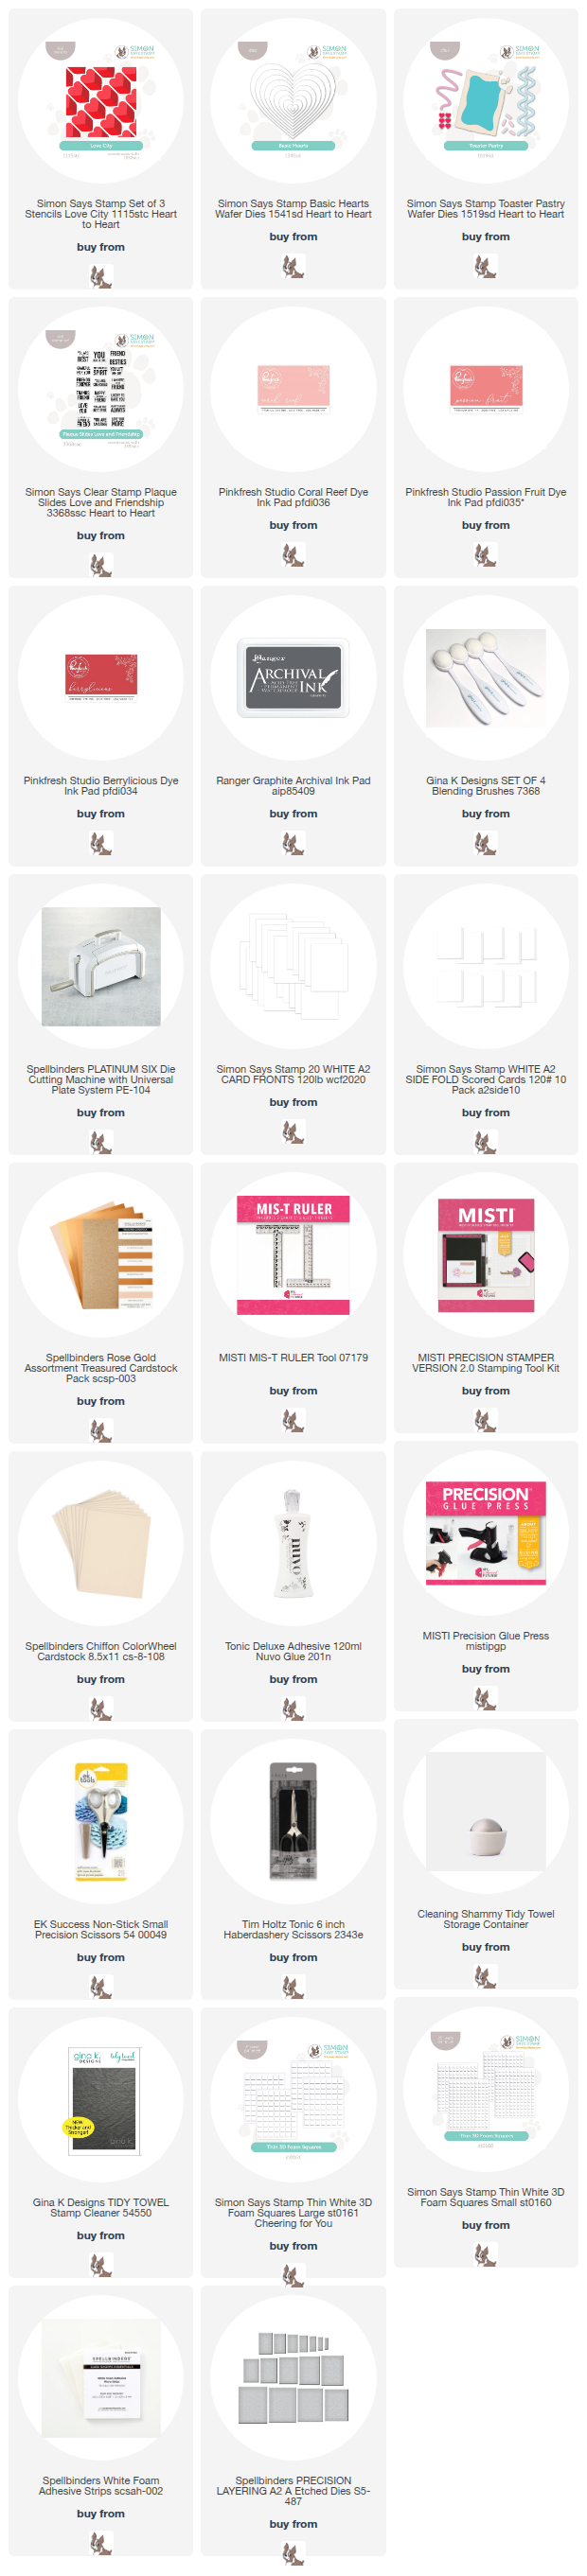
*** Complete Product list – HERE ***

Card Base:
- For card base, I used Simon Says Stamp WHITE A2 SIDE FOLD
- First, I created the background design using the Simon Says Stamp Set of 3 Stencils Love City and Pinkfresh inks in Coral Reef, Passion Fruit, and Berrylicious. You can use an A2 card panel or your favorite cardstock for this kind of technique.
- Once the panel was finished, I die cut it using one of the dies from the PRECISION LAYERING A2 A Etched Dies (S5-487) set.
- Then I adhered this panel to the card base using 3D foam strips. Tip: it’s always a good idea to add foam across the entire area you’re attaching so everything stays nice and supported.


Decorative details:
Once the background is finished, we can move on to the decorative details of the card. I’ll break them down for you step by step below:
- I die cut a few small hearts from die set Toaster Pastry Wafer Dies using glitter paper from Spellbinders (set Rose Gold Assortment Treasured Cardstock Pack). These will become the little sparkly details on top of the stenciled hearts in the background.
- Next, I die cut a larger heart from that same glitter paper using Simon Says Stamp Basic Hearts Wafer Dies 1541sd.
- For the sentiment, I grabbed stamp set Plaque Slides Love and Friendship and stamped “Love You” with Archival Ink. Then I die cut it using a smaller heart from Simon Says Stamp Basic Hearts Wafer Dies 1541sd.
- I popped the larger hearts up with 3D foam, centered on the card.
- After that, I adhered all the tiny glitter hearts in place.
- As a final touch, I used the leftover stenciled paper to die cut a small red heart and added it to the center piece—such a simple detail, but it really finishes the card perfectly.

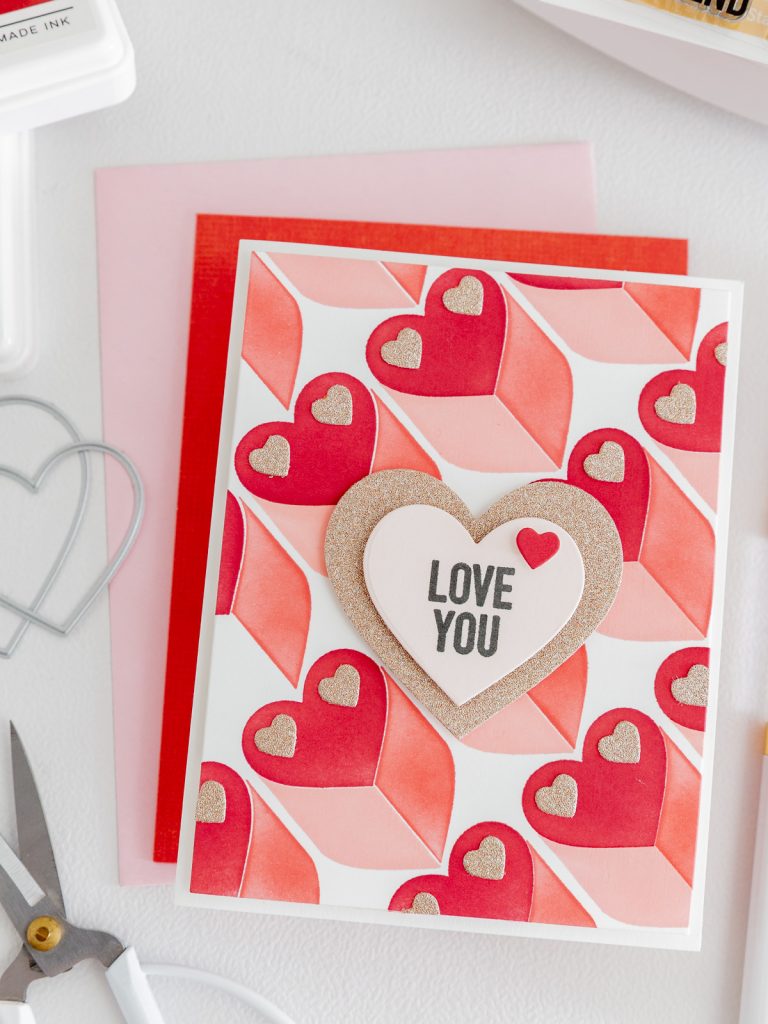
And just like that, this card is finished! I love how the bold geometric heart background pairs with those sparkly layered hearts—clean, modern, and with just the right pop of shine. It’s one of those designs that feels super special but is still easy to mass-produce if you need a few “Love You” cards ready to go.
Thank you so much for being here with me today! I’ll be back soon with more pretty card ideas featuring the Heart to Heart collection—because yes, I’m absolutely not done with these hearts yet. See you next time!
Affiliate links apply at no extra cost to you. Thanks for your support!
Visual Supplies List


