
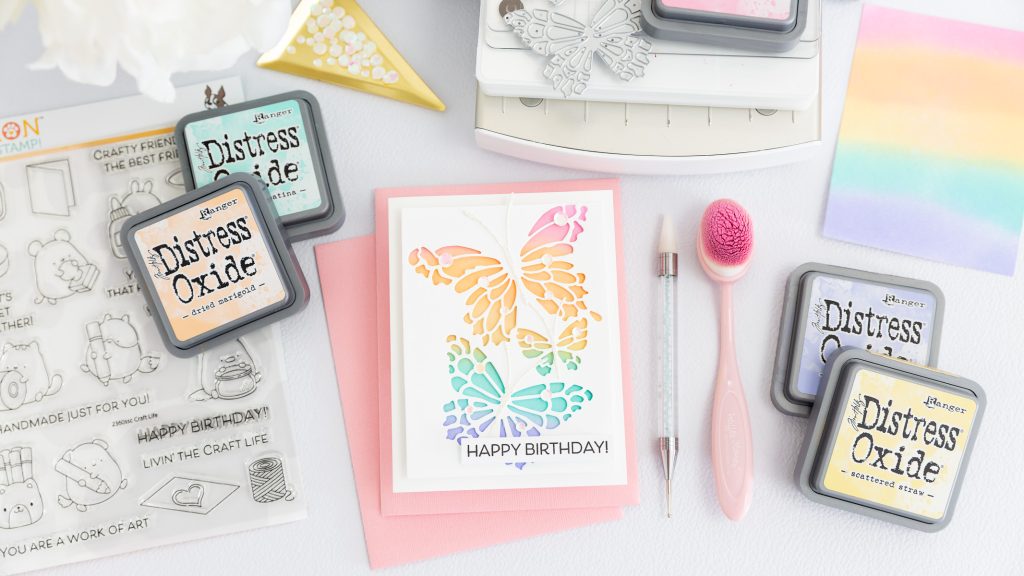
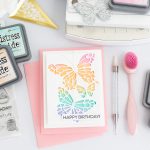
Color, butterflies, and a little birthday magic — this card brings them all together! For today’s project, I’m featuring products from the STAMPtember release by Simon Says Stamp and creating a soft rainbow effect with Distress Oxide inks. The delicate butterfly design gave me the perfect base to play with pink, orange, mint, aqua, and lavender tones, while the white cardstock keeps everything light, clean, and full of contrast. I finished the design with a few subtle dimensional details and a simple “Happy Birthday!” sentiment, letting the colorful butterflies take center stage.
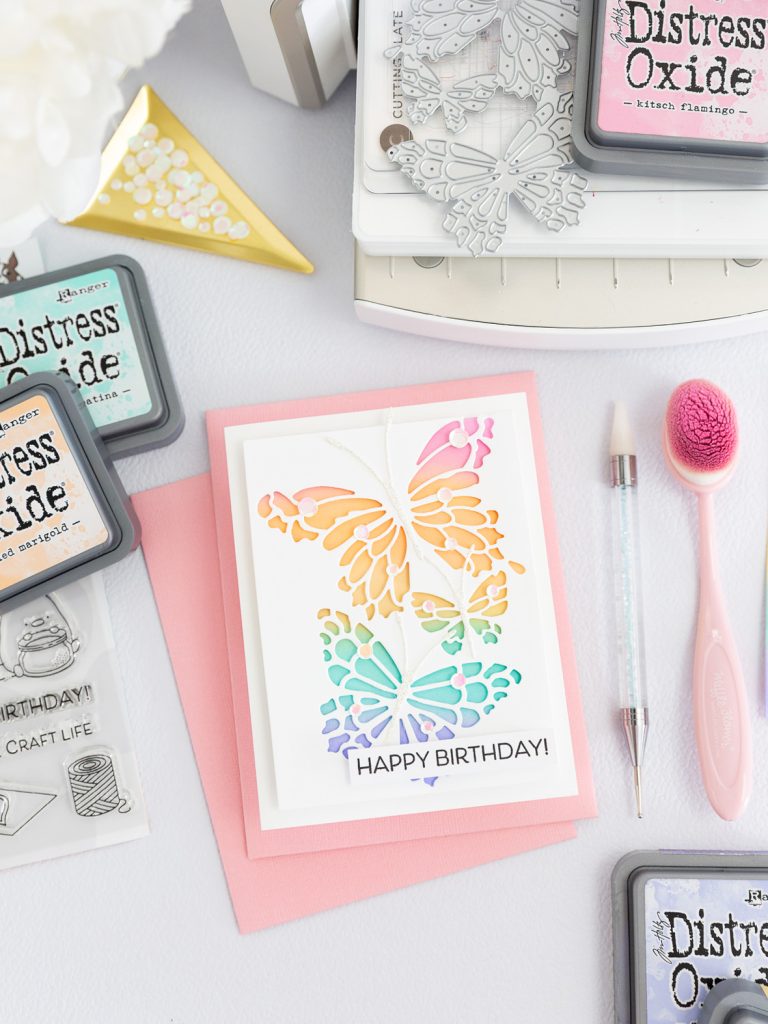
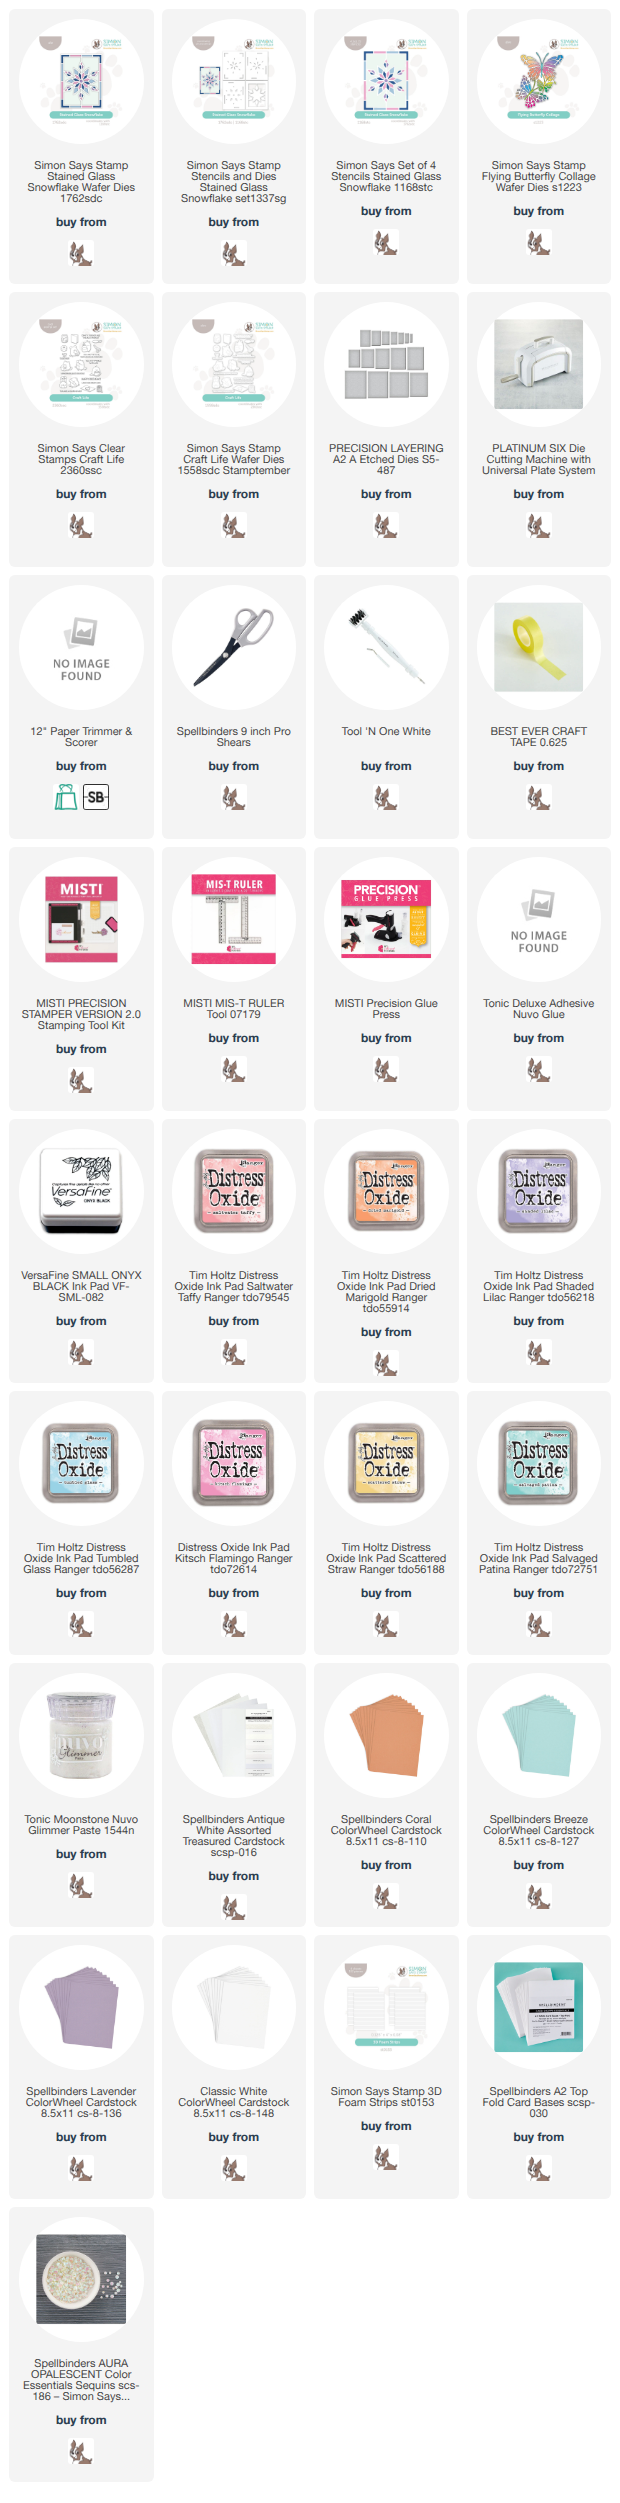
*** Complete Product list – HERE ***
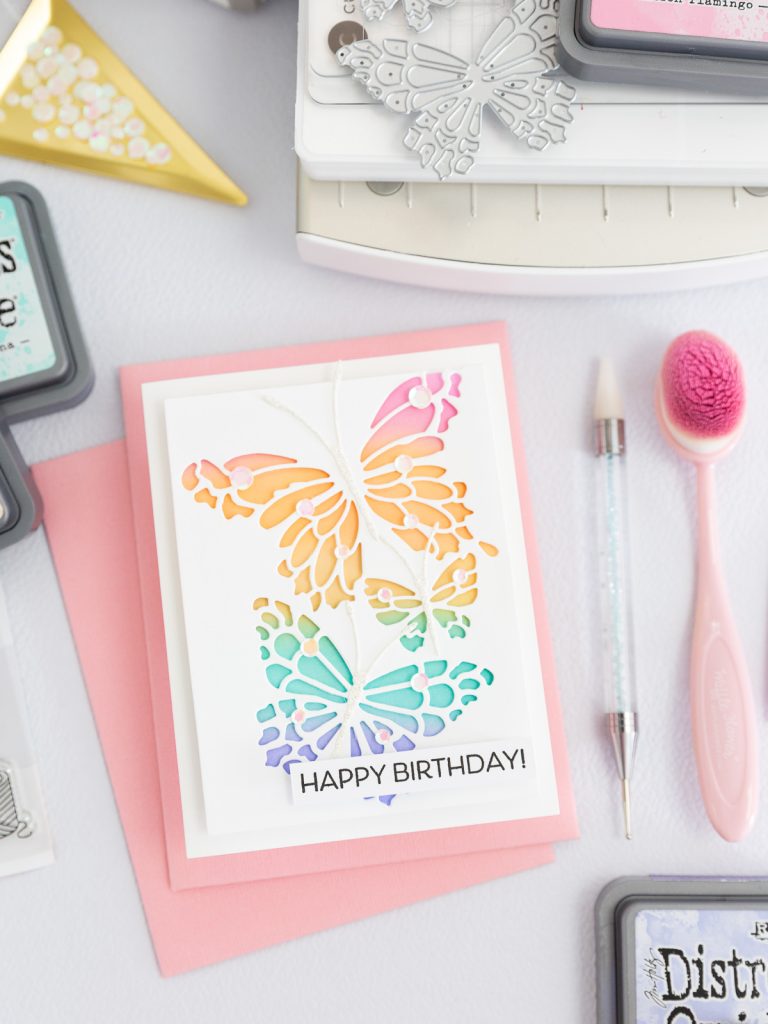
Card Base:
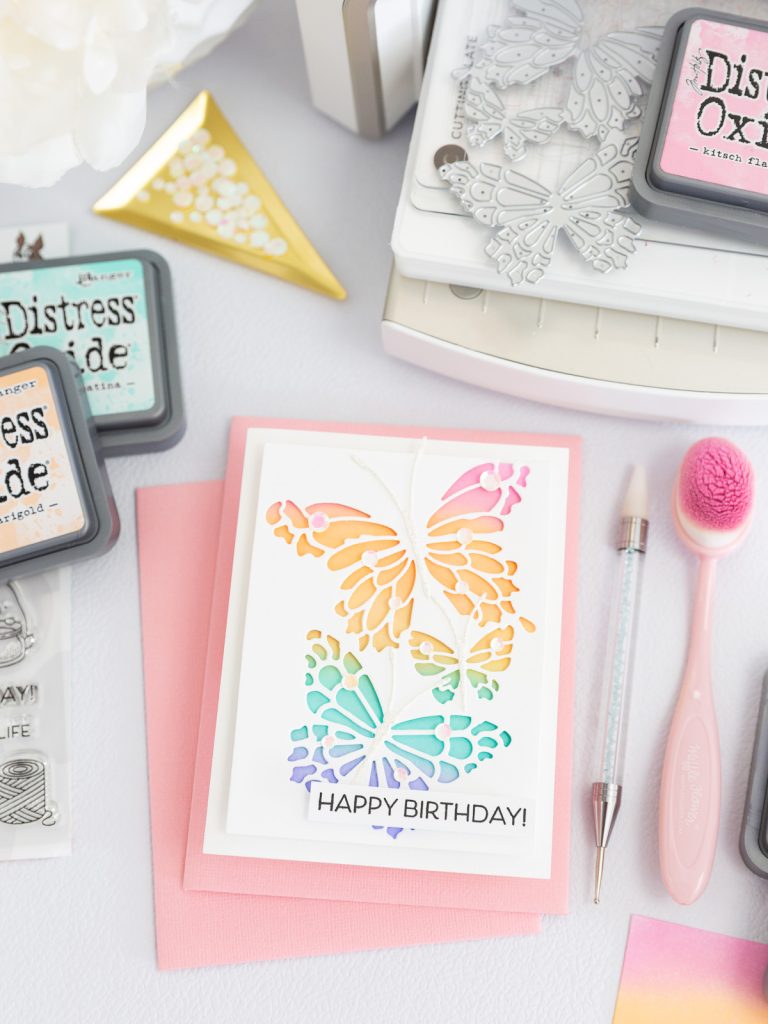
Decorative details:
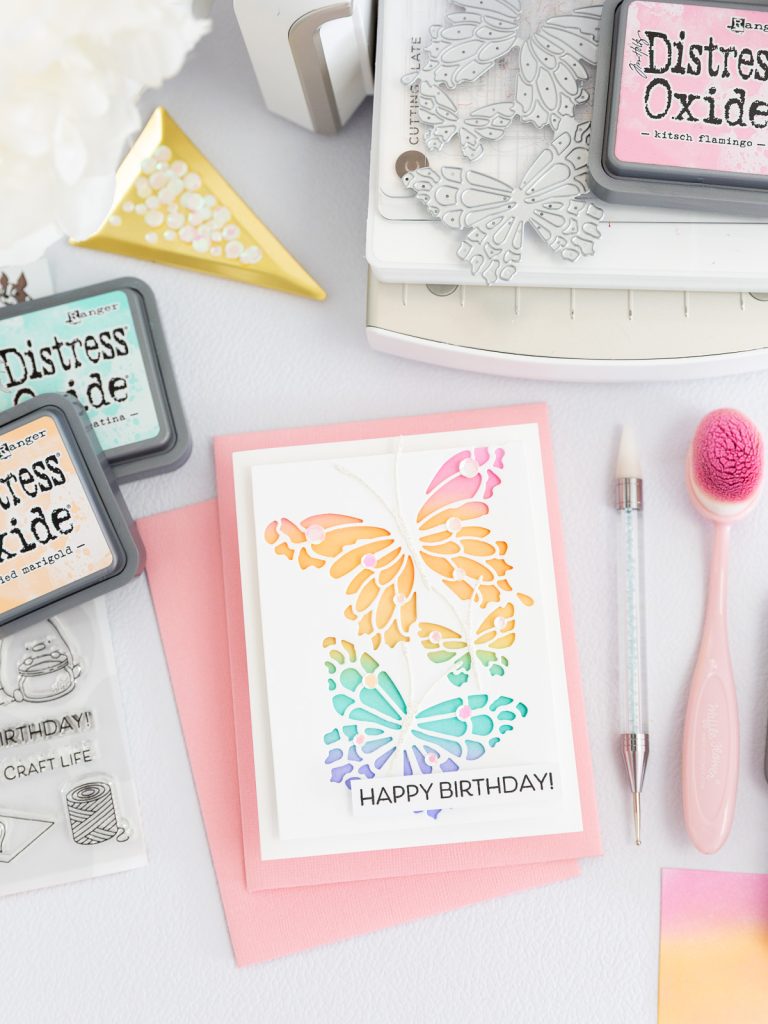
I hope this card inspires you to experiment with soft rainbow blending, delicate die-cut details, and simple layers that still make a big impact. I really love how the colorful background shines through the butterfly design while the white cardstock, glitter accents, and tiny sequins keep the finished card feeling elegant, fresh, and clean. It’s one of those projects that proves you don’t need too many elements when each detail has its place. I hope you enjoy creating with the new STAMPtember release by Simon Says Stamp and find lots of inspiration for your next handmade card!
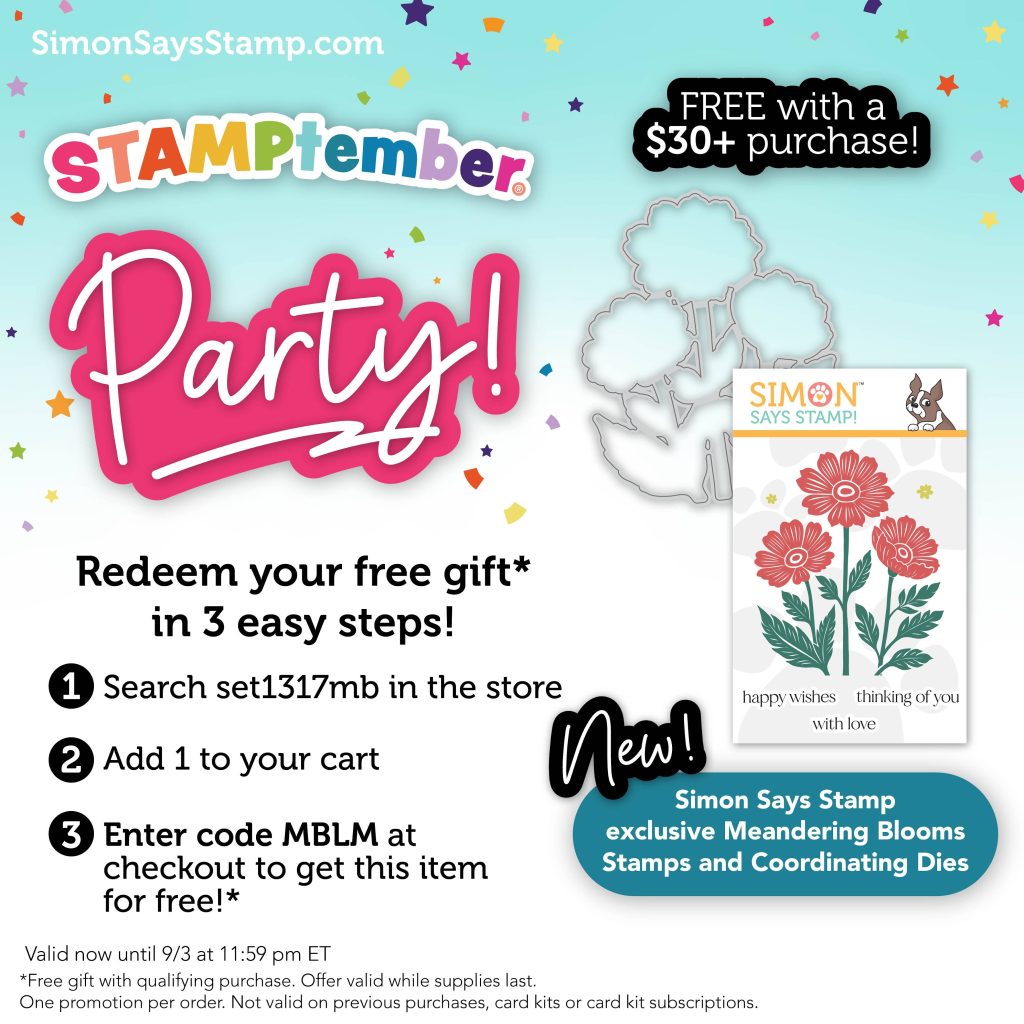
Before you go, don’t miss the STAMPtember Party special offer! With a qualifying $30+ purchase, you can receive the new Simon Says Stamp Exclusive Meandering Blooms Stamps and Coordinating Dies set for FREE. Just add set1317mb to your cart and use code MBLM at checkout. The offer is valid through September 3 at 11:59 PM ET, while supplies last — click the image above to shop and grab yours!
Thank you so much for joining me today! I hope you enjoyed this colorful STAMPtember project and that it gave you a few ideas to try in your own cards. I always love seeing how the same products can become completely different creations, so if you make your own version, I’d love to see it. And don’t go too far — I’ll be back tomorrow with another card and more STAMPtember inspiration! Have a beautiful and creative day, and I’ll see you very soon!
Affiliate links apply at no extra cost to you. Thanks for your support!
(Note: The product list below is already complete and includes the supplies I’ll be using for tomorrow’s card as well)





23 comentarios
Beautiful!
Beautiful card. Thanks for sharing.
Love this card. The colors, style, everything. Someone is going to be very happy to receive this card.
I’m so excited for this post! I was the inspiration photo on the Simon blog yesterday and was dying to know what Oxide colors you used! 🙂 So soft and pretty!
Such a great card
Just beautiful!
Love the subtle coloring you did!
I love this card. Cannot wait to receive my order so I can play with it. Thank you for your inspiration!
Beautiful!
So soft, so beautiful! Thank you!
Such a clever die set. I like your ink blending.
Que bonito
Elegant beauty! This is so clever and so pretty! xoxo
Adorable
¡Muy lindo tu trabajo, el degradado de color que creaste para resaltar las mariposas es fabuloso! ¡Gracias por compartir!
The beautiful pastels really make this card so stunning! Thank you for your inspiration!
I absolutely love your card. I was debating on getting this die and you just sold me. Thank you for sharing!
I love this card so much!
Butterfly cut outs with pastel ink all grounded on a pink background all together made a beautiful birthday card. Thanks for sharing your card, creativity and the steps you took to achieve your beautiful card.
Love the ink blending! Beautiful inspiration.
This is so clever to have the soft ink blending underneath!! Love it!
This is really pretty. I will have to go check the set because I am curious if there is an outline die too.
So very pretty, and I bet it can even make it through the mail with a regular stamp! Bravo!