
I’m so excited to share a sparkly twist on one of my favorite new releases from Spellbinders! The Mini Wax Seal Collection is here, and it’s absolutely charming—full of delicate designs, fun shapes, and that timeless wax seal magic we all love. But this time… I’ve added an extra shiny detail that takes them to the next level!
For today’s DIY, I used:
- Flower Mini 3D Wax Seal
- Puffy Heart Mini 3D Wax Seal
- Bow Mini 3D Wax Seal
- Butterfly Mini 3D Wax Seal
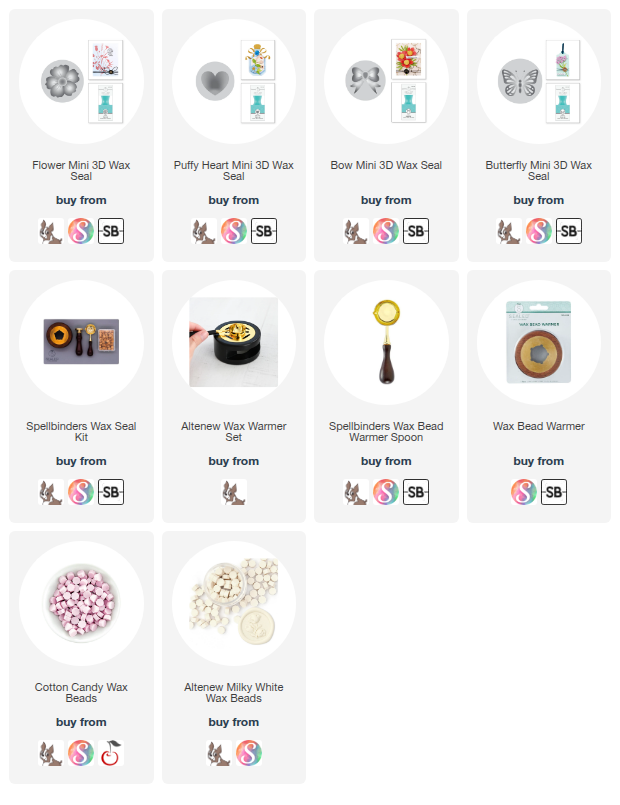
*** Complete Product list – HERE ***

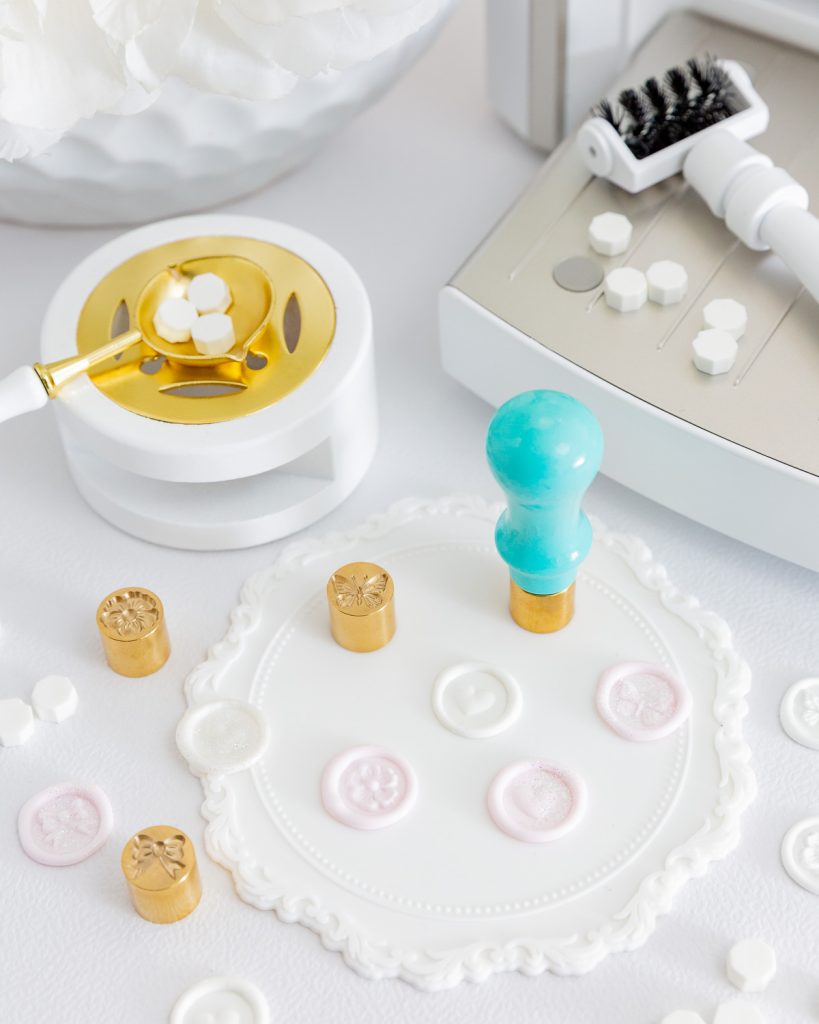
In this post, I’ll walk you through everything: from how I melted and stamped each seal to the special glittery touch that adds a festive, dreamy finish. Whether you’re into cardmaking, packaging, or just love beautiful embellishments, this collection will definitely inspire yo
Ready to see how I made these seals shimmer and shine? Let’s dive into the magic!
How to Make Mini Wax Seals – Step-by-Step
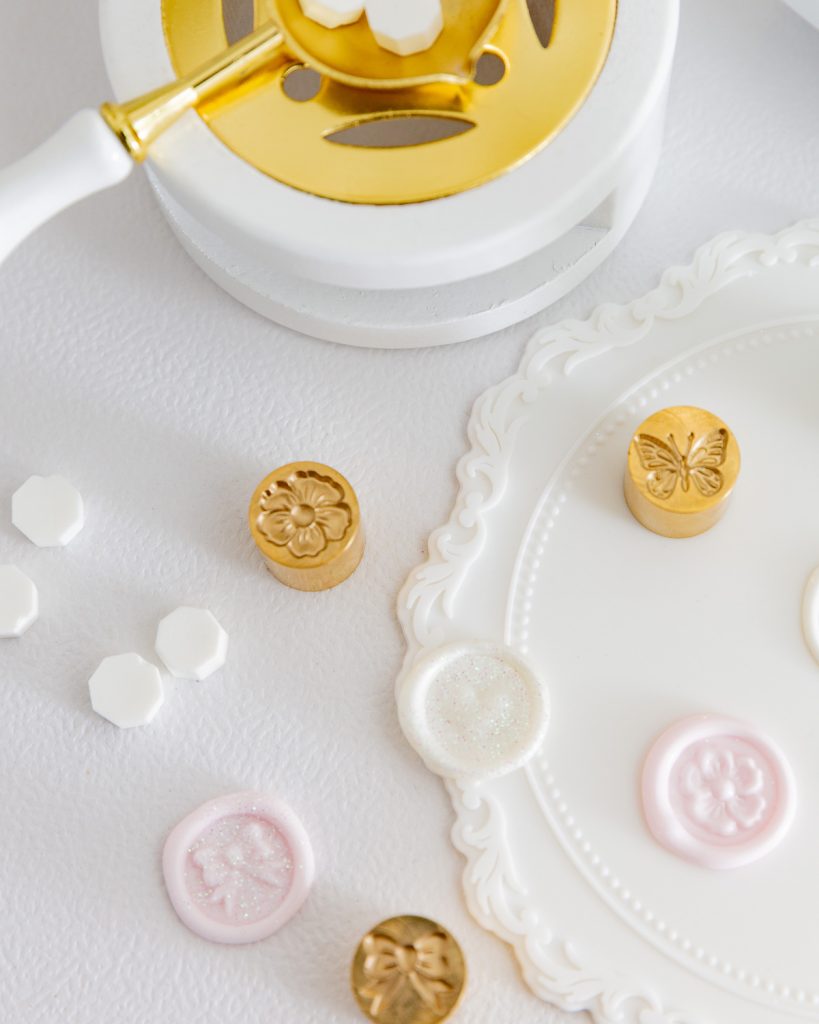
Working with the Mini Wax Seal Kit from Spellbinders is not only fun—it’s also a perfect way to add charming and custom touches to your creative projects. Here’s how I like to make mine, with a sparkly twist you’ll love!
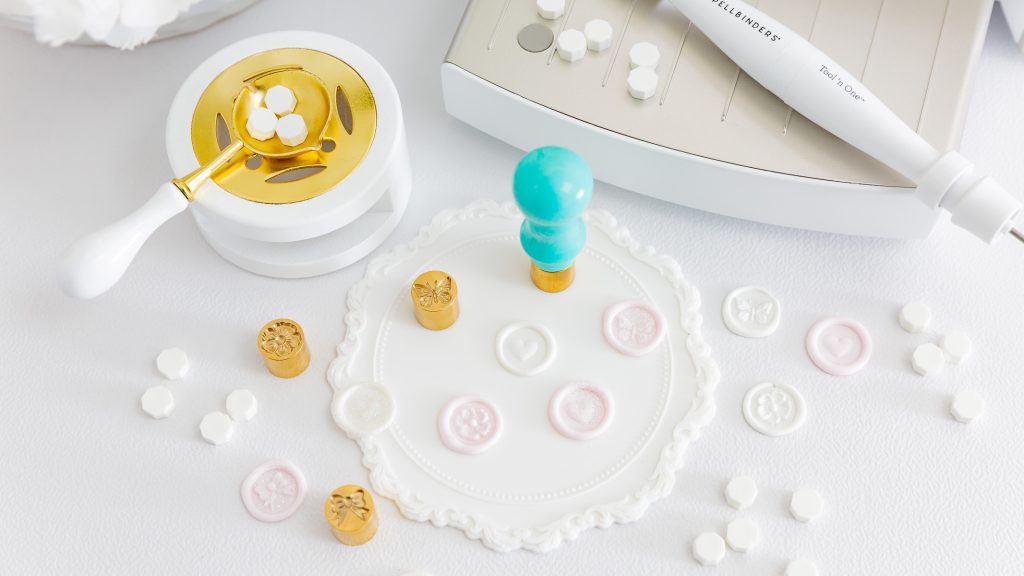
What You’ll Need:
- Mini Wax Seal Kit (seals, wax beads, spoon, and warmer)
- Tea light warmer or electric wax seal warmer
- Wax beads (I usually use 2 beads per seal)
- Your favorite glitter (fine or iridescent works great!)
- Non-stick surface (like a silicone mat or glass board)
- Optional: tweezers and a cooling tray
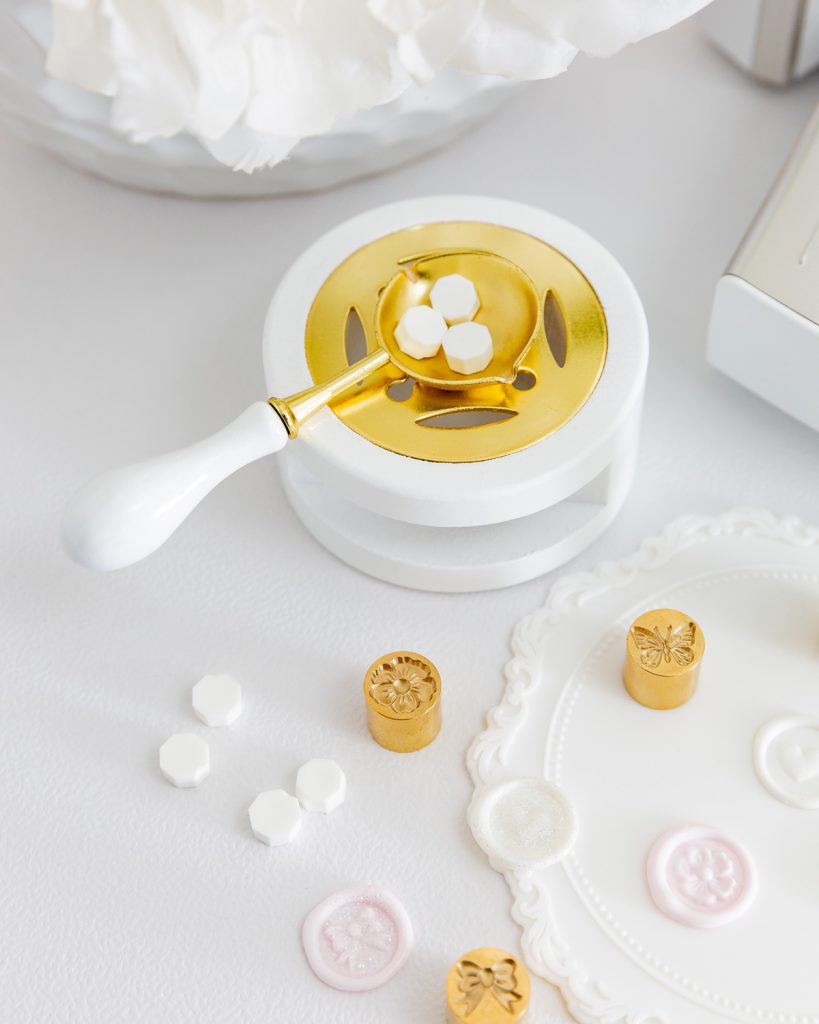
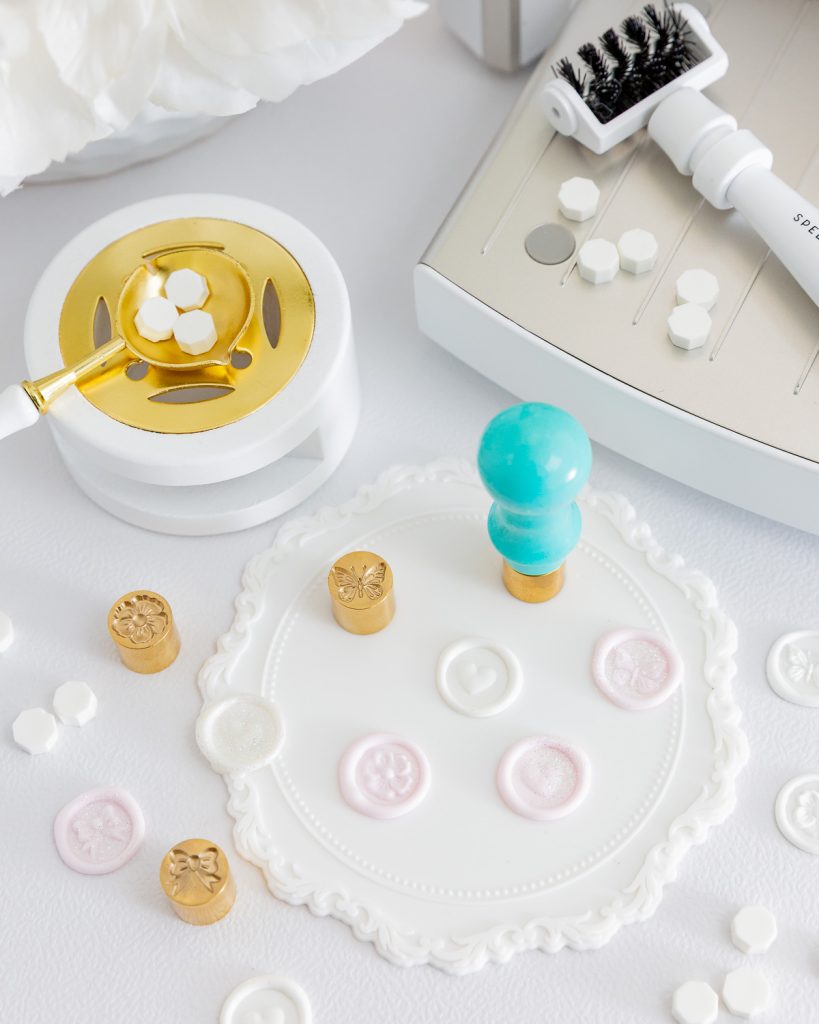
Step-by-Step Instructions:
- Set up your warmer: choose between a tea light warmer or an electric wax seal warmer—both work beautifully. Place your spoon on top and make sure it’s stable before you begin.
- Add the wax beads: drop 2 wax beads into the spoon. That’s the perfect amount for a mini seal—it gives great coverage without overflowing. Let them melt completely (this usually takes about 1-2 minutes).
- Pour the wax: carefully pour the melted wax onto your non-stick surface, creating a small puddle in the center.
- Add the sparkle: immediately after pouring the wax, sprinkle a tiny pinch of glitter directly on top. It will blend slightly with the warm wax and add a gorgeous sparkly effect.
- Stamp the seal: press your wax seal stamp into the center of the wax and hold it steady for a few seconds. Let it cool before removing.
- Cool & peel: once the wax has hardened (about 10–15 seconds), gently lift the seal from the surface. You can use it right away or save it for future projects!


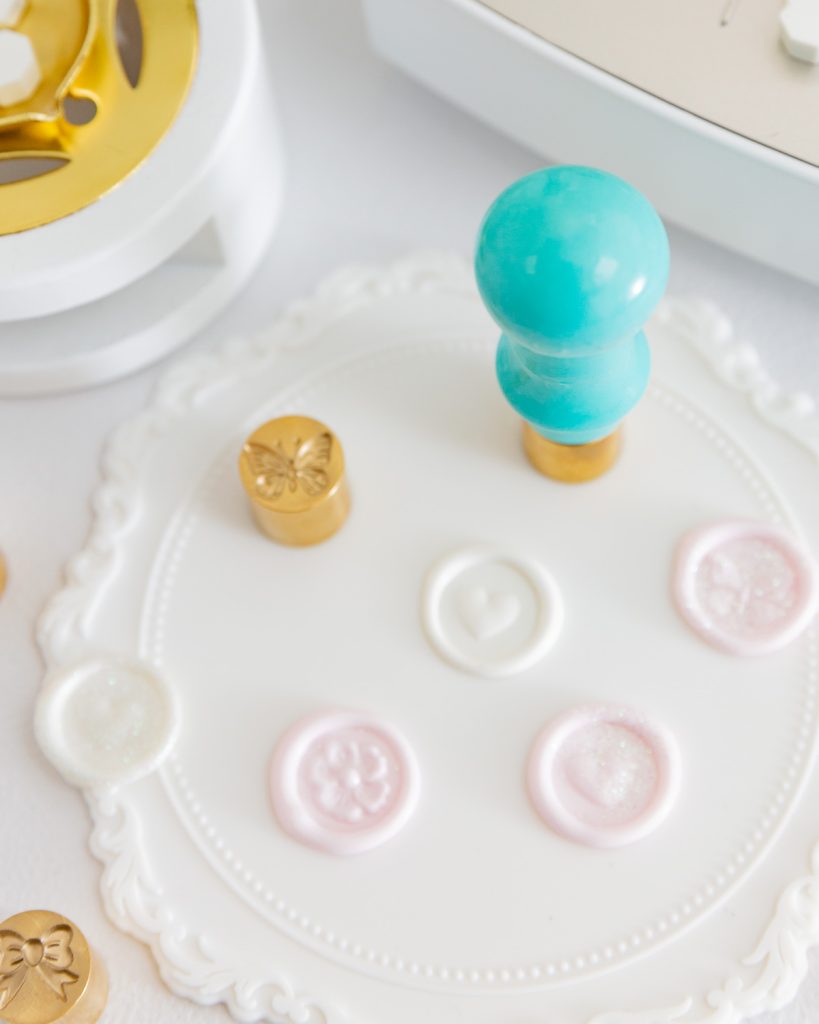
How to Use Your Mini Wax Seals:
These mini wax seals are incredibly versatile! You can:
- Add them to envelopes and gift tags
- Decorate the front of a handmade card
- Use them as embellishments for mini albums or layouts
- Seal packages or favor bags for events
- Clip them onto journals or planners
- Combine them with ribbons or die cuts for mixed media projects
The possibilities are endless—and with a bit of glitter, they truly shine!
Step-by-step Reel and YouTube Short
Watch the layout process in the IG Reel here

Thank you for joining me. See you!
Affiliate links apply at no extra cost to you. Thanks for your support!
Lista visual de materiales / Visual Supplies List
