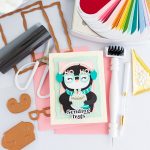
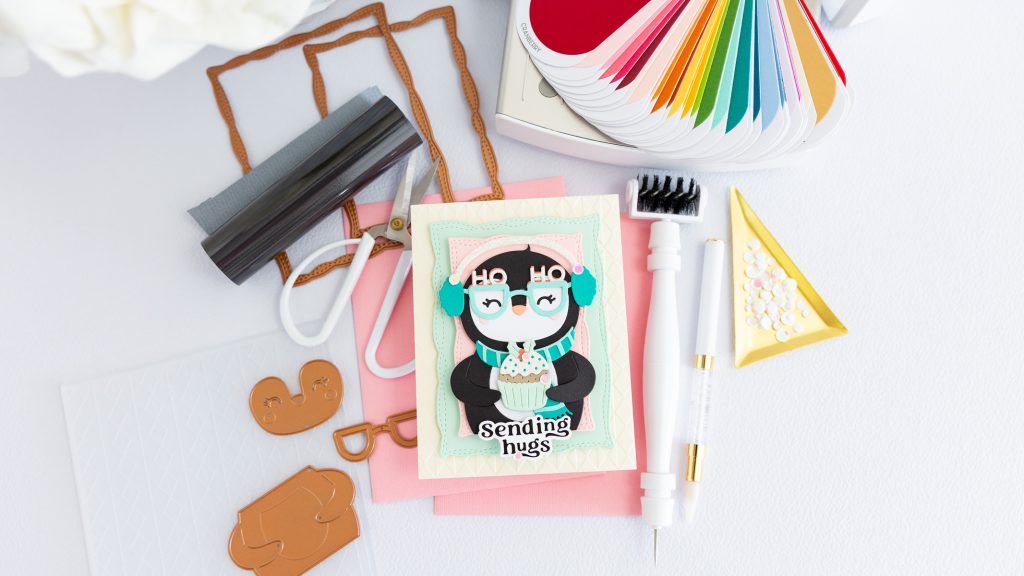
Hi friends! I’m back with one more Christmas project, and this is the third and final card—for now!—that I created with the Spectacular Christmas collection by Spellbinders. And I think this adorable little penguin is the perfect way to finish this mini series!
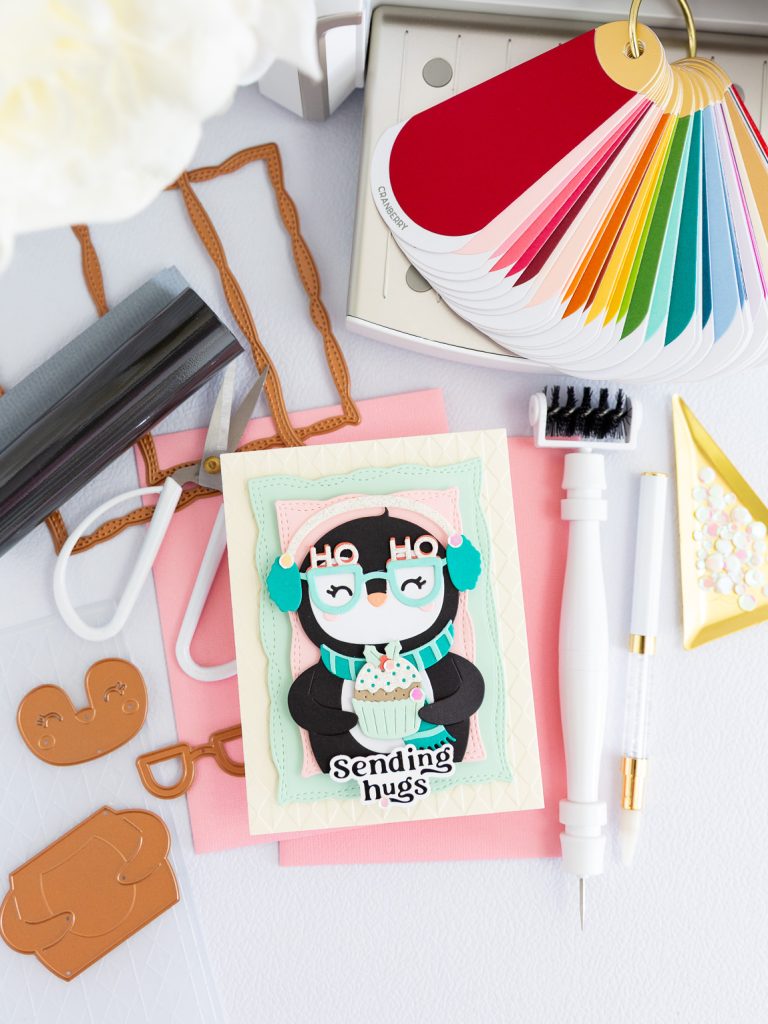
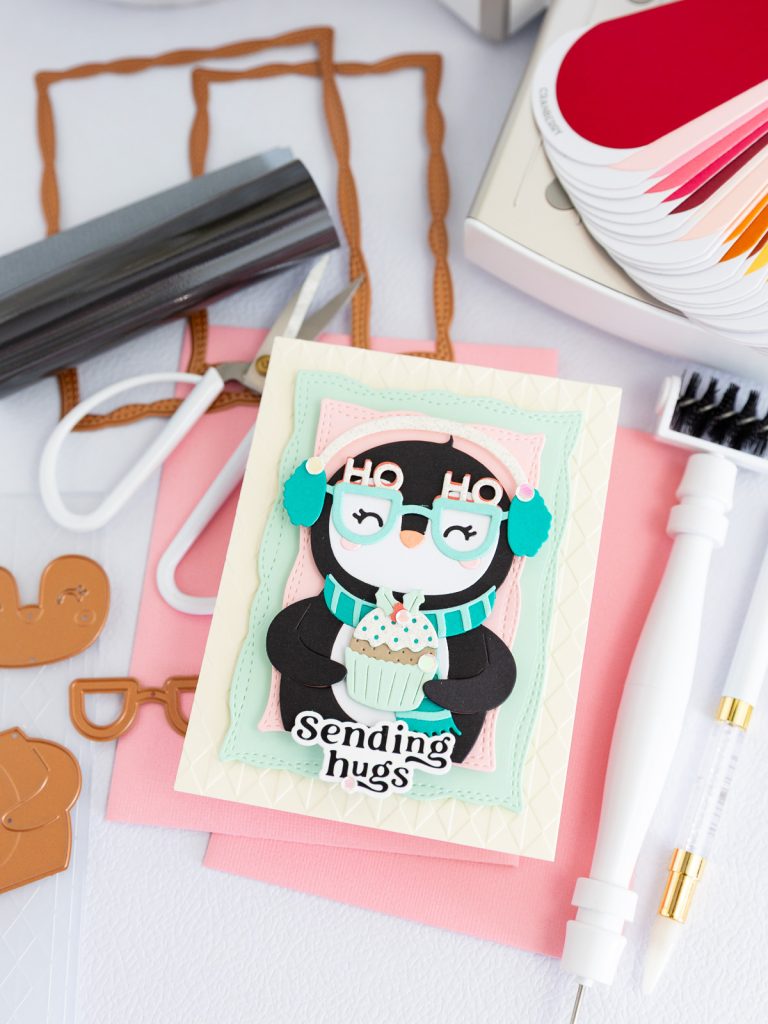
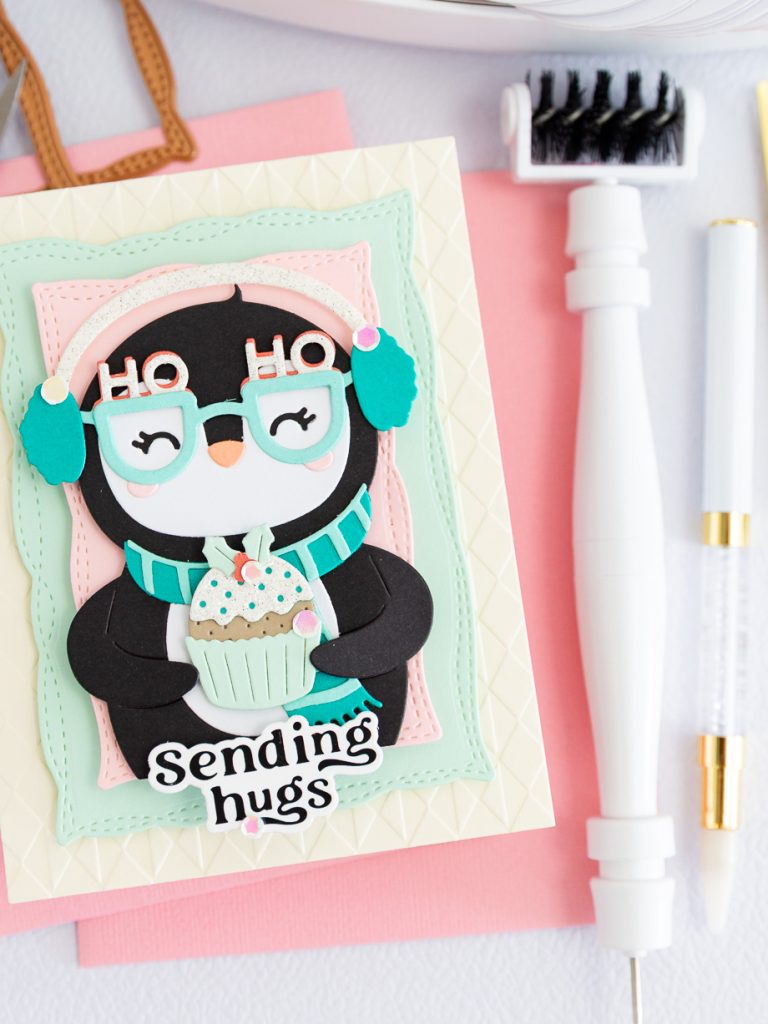
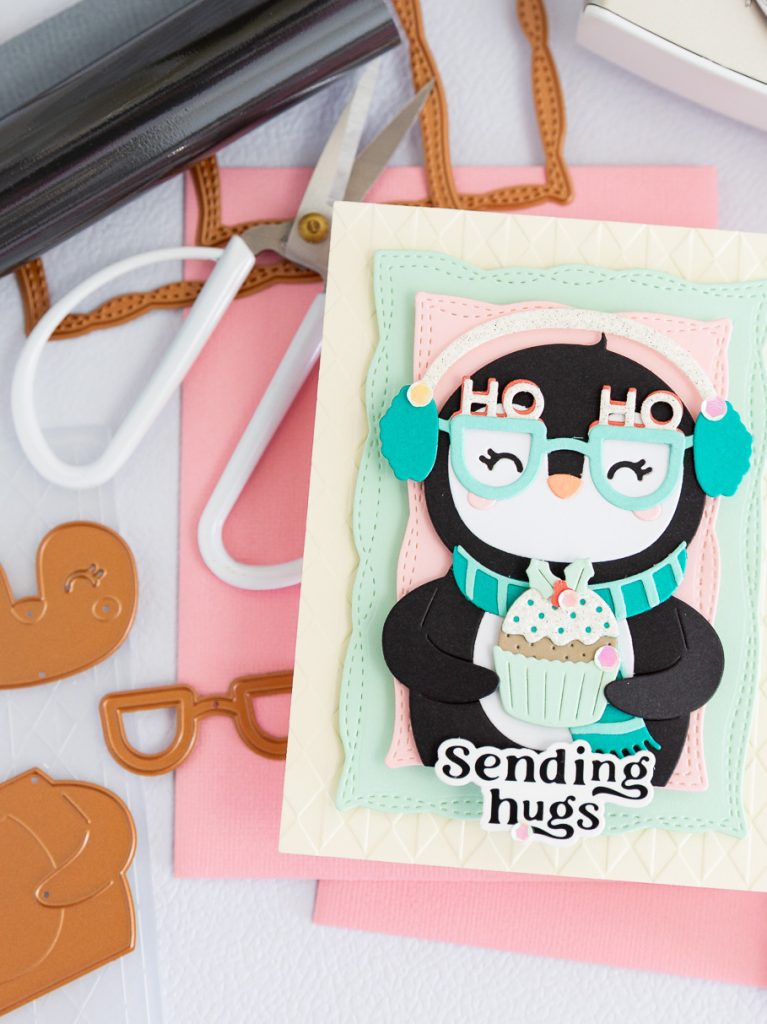
For my Sending Hugs for Christmas Card, I wanted to play with a softer and slightly unexpected Christmas color palette, mixing mint, aqua and pink with the classic black and white of the penguin. Of course, I couldn’t resist adding a little sparkle and plenty of dimension too! Between those funny glasses, the fluffy earmuffs and that tiny cupcake, there are so many little details to discover in this design. Let me show you how it all came together!
*** Complete Product list – HERE ***
Card Base:
Decorative details:
Before we begin with the decorative details, we will assemble the base of the card. First, we will adhere the embossed panel flat to the card base. Then, we will layer the two stitched-edge panels, adhering them together with 3D foam adhesive. We will also attach the layered piece to the card base using 3D foam adhesive.
With the card base ready, we can now move on to the step-by-step process for all the decorative details:
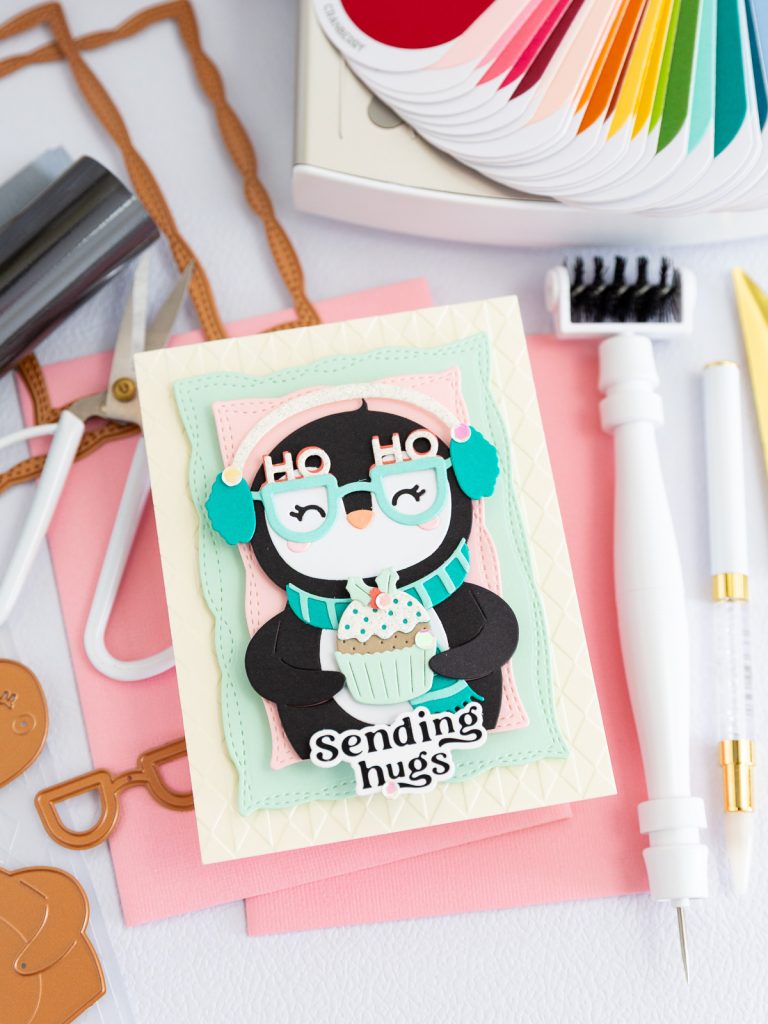
And that’s it! My Sending Hugs for Christmas Card is finished. I really enjoyed putting this little penguin together and playing with all those tiny details, layers, and soft Christmas colors. It’s such a fun design, and I love how much personality you can create just by changing the colors and combining the different die-cut pieces.
I hope you enjoyed this third project with the Spectacular Christmas collection by Spellbinders and that it inspires you to create your own festive version. Thank you so much for stopping by and spending a little creative time with me. I’ll see you very soon with a new project and, of course, lots more paper, layers, and Christmas inspiration! See you next time!
Affiliate links apply at no extra cost to you. Thanks for your support!