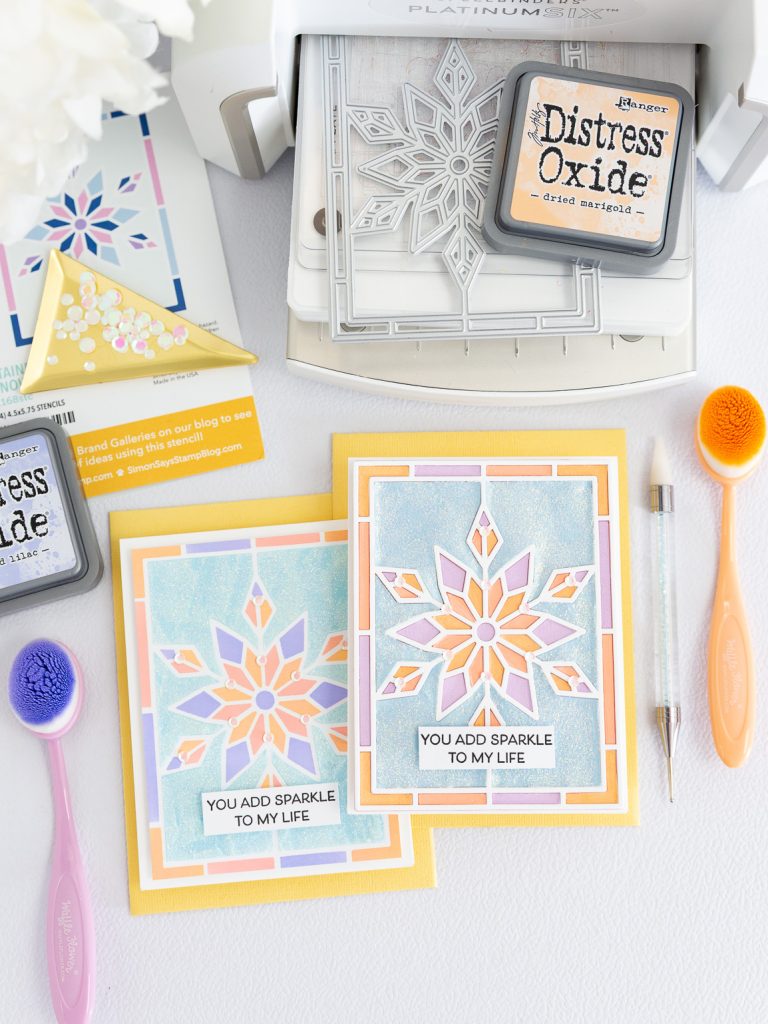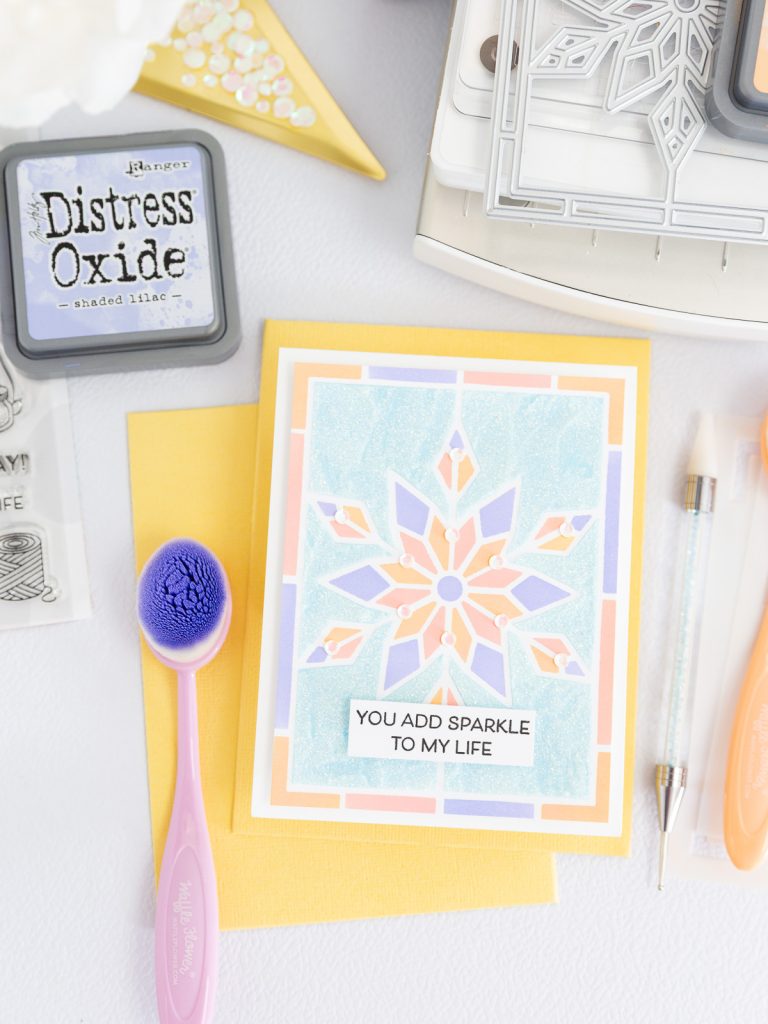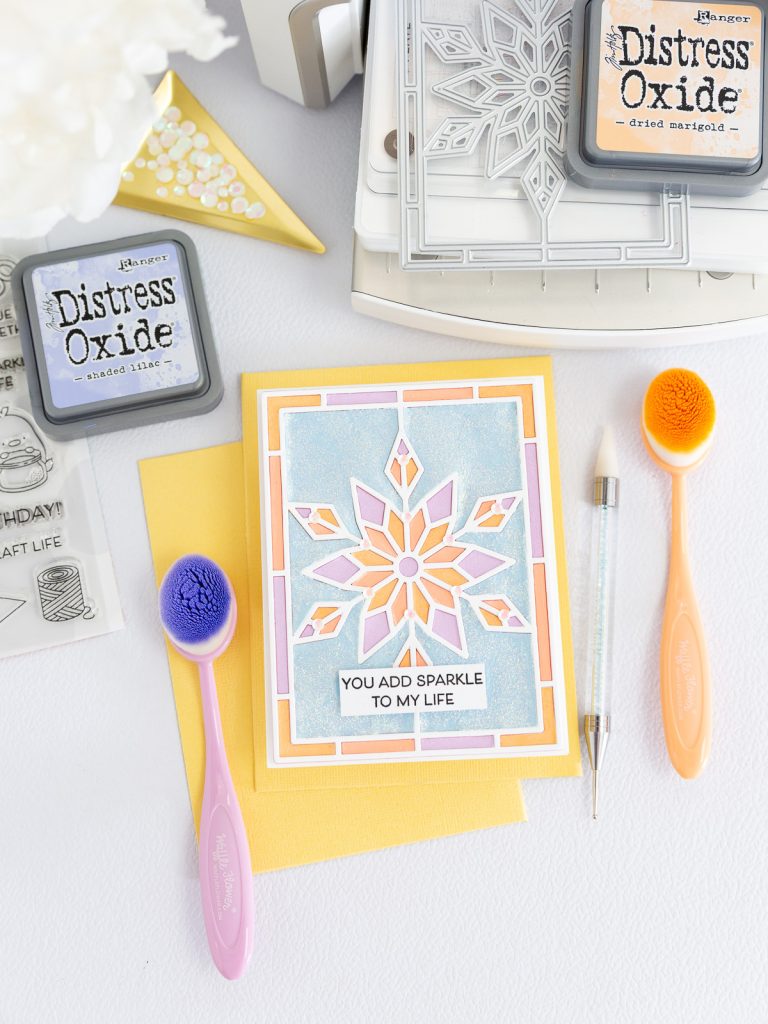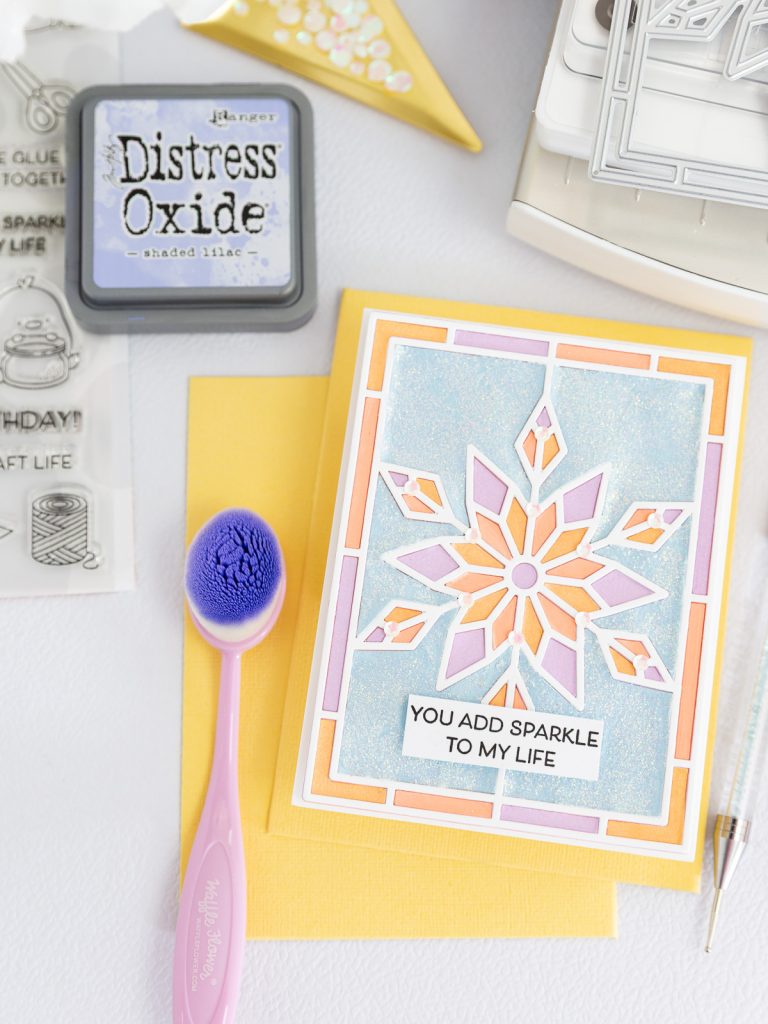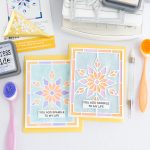
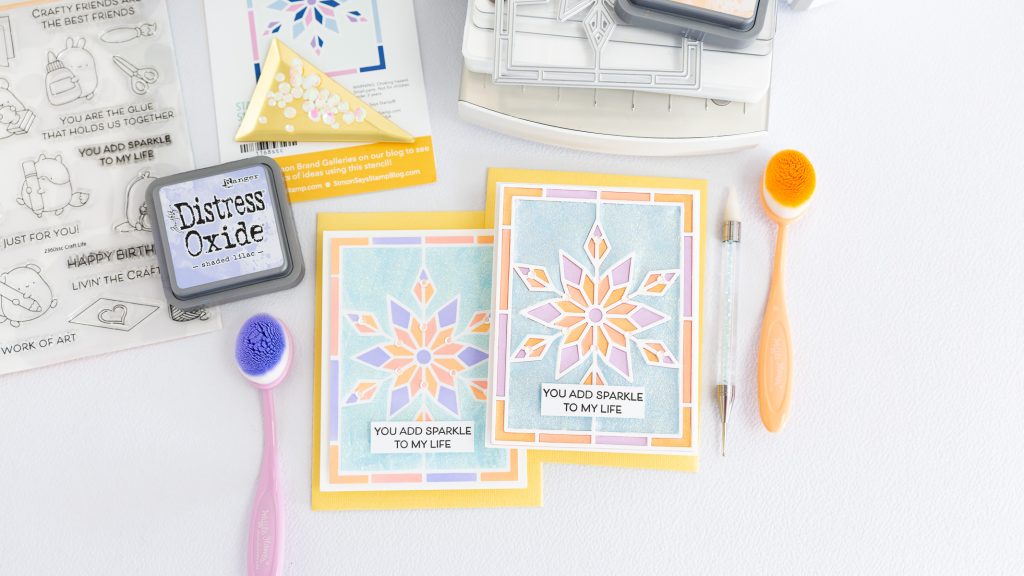
Hello everyone! I’m back today with my second project featuring the Simon Says Stamp STAMPtember release, and this time I’m sharing not one, but two cards created with the same color palette and overall design — using two different techniques. These Same Design Two Techniques Sparkle Cards with Simon Says Stamp are a fun way to see how a small change in the creative process can give the same idea a completely different finish. For one card, I combined die-cut pieces with texture paste to create the soft blue background details, while for the second version I used a stencil with texture paste to achieve a similar look in another way. The mix of peach, lavender, soft blue, and white keeps both designs bright and delicate, while the dimensional details add that extra sparkle that perfectly matches the sentiment: “You Add Sparkle to My Life.”
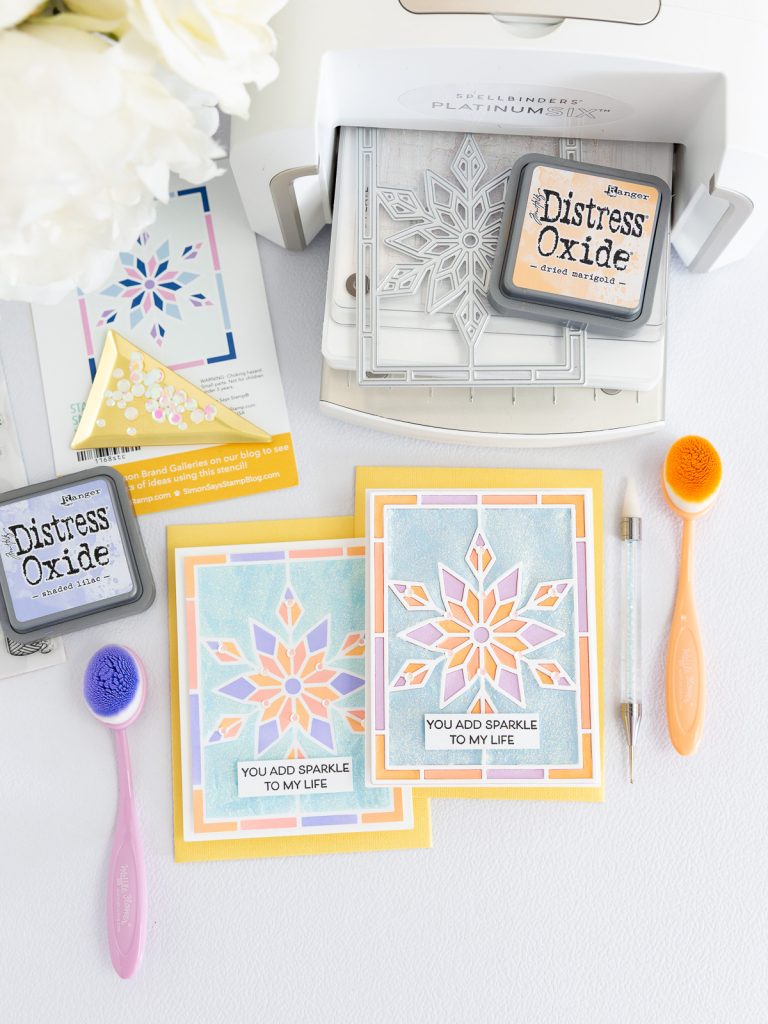
For this card I used:
- Simon Says Stamp Stained Glass Snowflake Wafer Dies 1762sdc
- Simon Says Set of 4 Stencils Stained Glass Snowflake 1168stc
- Simon Says Clear Stamps Craft Life 2360ssc
- Simon Says Stamp Craft Life Wafer Dies 1558sdc
- Tonic Moonstone Nuvo Glimmer Paste 1544n
- Distress Oxide Ink Pad Saltwater Taffy Ranger tdo79545
- Distress Oxide Ink Pad Dried Marigold Ranger tdo55914
- Distress Oxide Ink Pad Tumbled Glass Ranger tdo56287
- Distress Oxide Ink Pad Shaded Lilac Ranger tdo56218
- Spellbinders Classic White ColorWheel Cardstock 8.5×11 cs-8-148
- Spellbinders Coral ColorWheel Cardstock 8.5×11 cs-8-110
- Spellbinders Breeze ColorWheel Cardstock 8.5×11 cs-8-127
- Spellbinders Lavender ColorWheel Cardstock 8.5×11 cs-8-136
*** Complete Product list – HERE ***

Card One: Stencil + Glimmer Paste
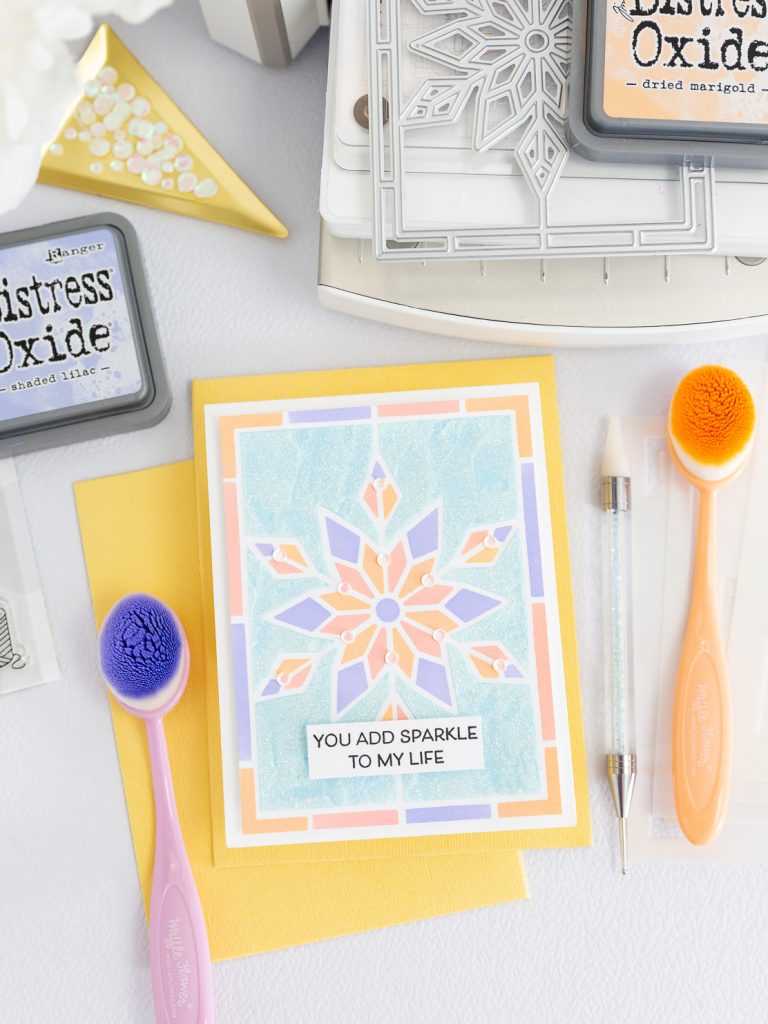
- For card base, I used Simon Says Stamp WHITE A2 SIDE FOLD
- The first step will be to prepare the panel using the Simon Says Set of 4 Stencils Stained Glass Snowflake 1168stc.
- The Distress Oxide inks I used are: Saltwater Taffy, Dried Marigold, Tumbled Glass, and Shaded Lilac.
- Apply each color to the areas of the design where you want them to appear.
- For the background area of the design, where I used Tumbled Glass, I applied Tonic Moonstone Nuvo Glimmer Paste 1544n with a spatula. The idea was to give it a beautiful, special sparkle that would coordinate perfectly with the sentiment chosen for the card.
- Let it dry completely, and then we can trim the panel to size. Adhere it to the card base using 3D foam.
- Stamp the sentiment “You Add Sparkle to My Life” from the Simon Says Clear Stamps Craft Life 2360ssc set and adhere it to the design panel using 3D foam.
- As a final detail, add a few sequins to selected areas of the central design.


Card Two: Die Cuts + Glimmer Paste
- For card base, I used Simon Says Stamp WHITE A2 SIDE FOLD
- The first step will be to prepare the panel using the Simon Says Stamp Stained Glass Snowflake Wafer Dies 1762sdc set.
- I used cardstock in the following colors: White, Coral, Breeze, Lavender, plus another shade of orange that I already had in my stash.
- Die-cut the design from each of the cardstock colors.
- Adhere all the colored layers of the design frame together, keeping white as the top/front layer. When you look at the finished piece from the side, you’ll be able to see all four colors in the layered edge — as long as you are using solid-core cardstock.
- For the background pieces, the light blue Breeze sections, I applied Tonic Moonstone Nuvo Glimmer Paste 1544n with a spatula and allowed them to dry completely.
- Cut a white panel to use as the backing for the design frame and adhere it behind the layered piece.
- Now you can inlay all the colored pieces back into the design, creating a beautiful recessed effect.
- Once the panel is complete, adhere it to the card base using 3D foam.
- Stamp the sentiment “You Add Sparkle to My Life” from the Simon Says Clear Stamps Craft Life 2360ssc set and adhere it to the card panel using 3D foam.
- As a final detail, add a few sequins to selected areas of the central design.


And with that, both cards are complete! Even though they share the same design, sentiment, and color palette, the two techniques give each version its own look and texture. I really love seeing how the stencil and die-cut approaches create different results while still feeling like part of the same little card set.
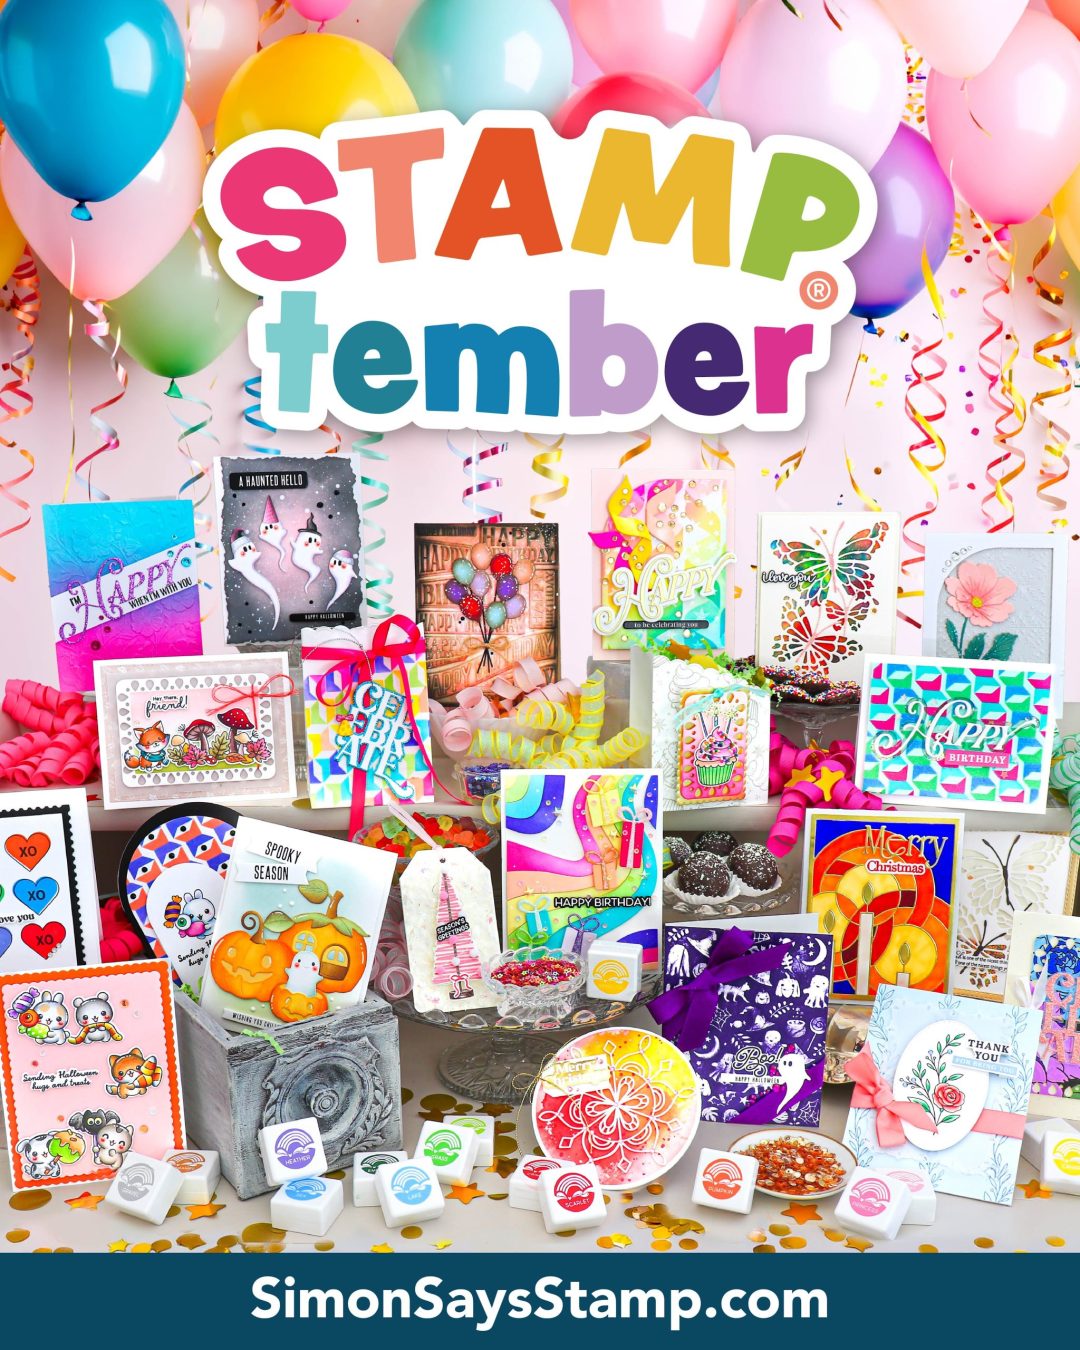
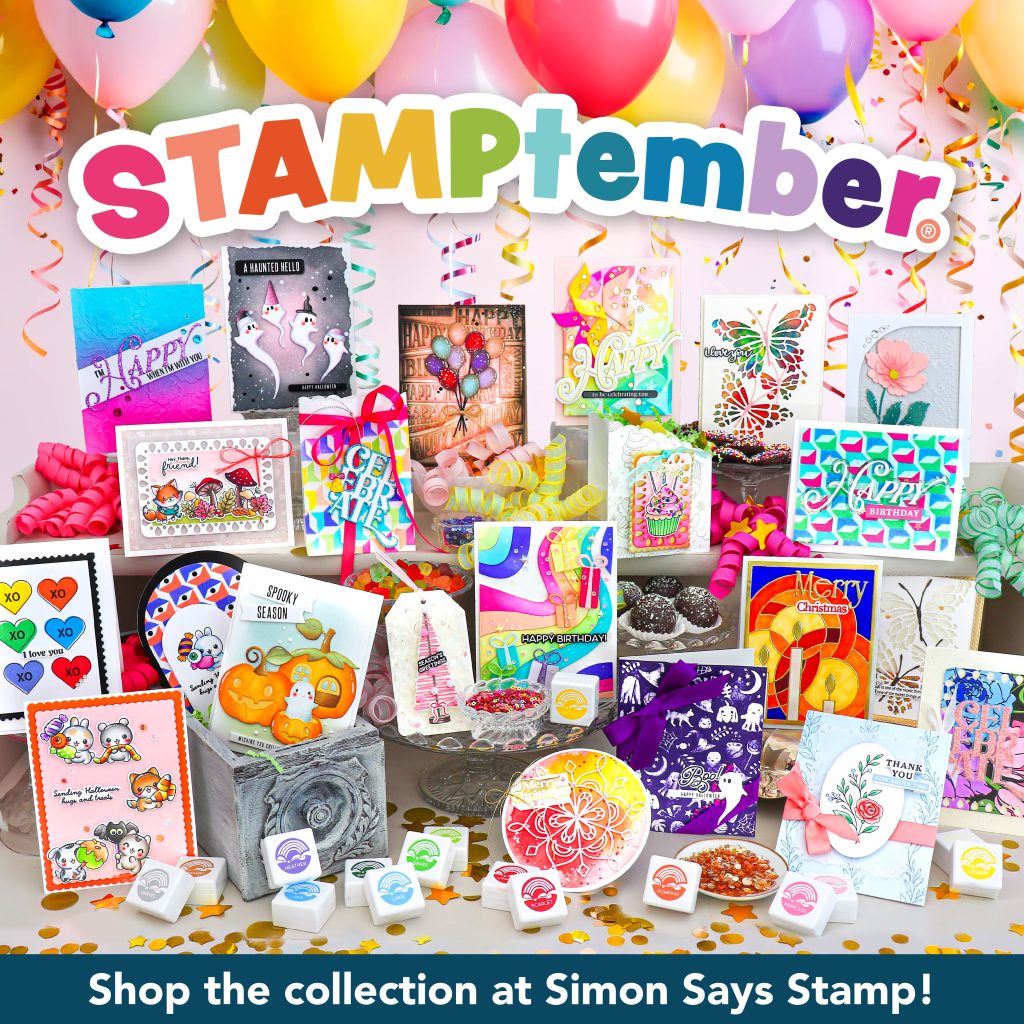
Before you go, don’t forget to explore the full Simon Says Stamp STAMPtember release! There are so many fun new products and creative possibilities waiting for you. Click the image below to see the complete release and discover even more inspiration for your next project.
I hope these Same Design Two Techniques Sparkle Cards with Simon Says Stamp inspire you to look at your supplies in more than one way and experiment with different techniques using the same design. Sometimes changing just one part of the process is enough to discover a completely new result. Thank you so much for stopping by today and creating with me — I hope you’re enjoying all the inspiration from the Simon Says Stamp STAMPtember release. See you very soon with another project!
Affiliate links apply at no extra cost to you. Thanks for your support!
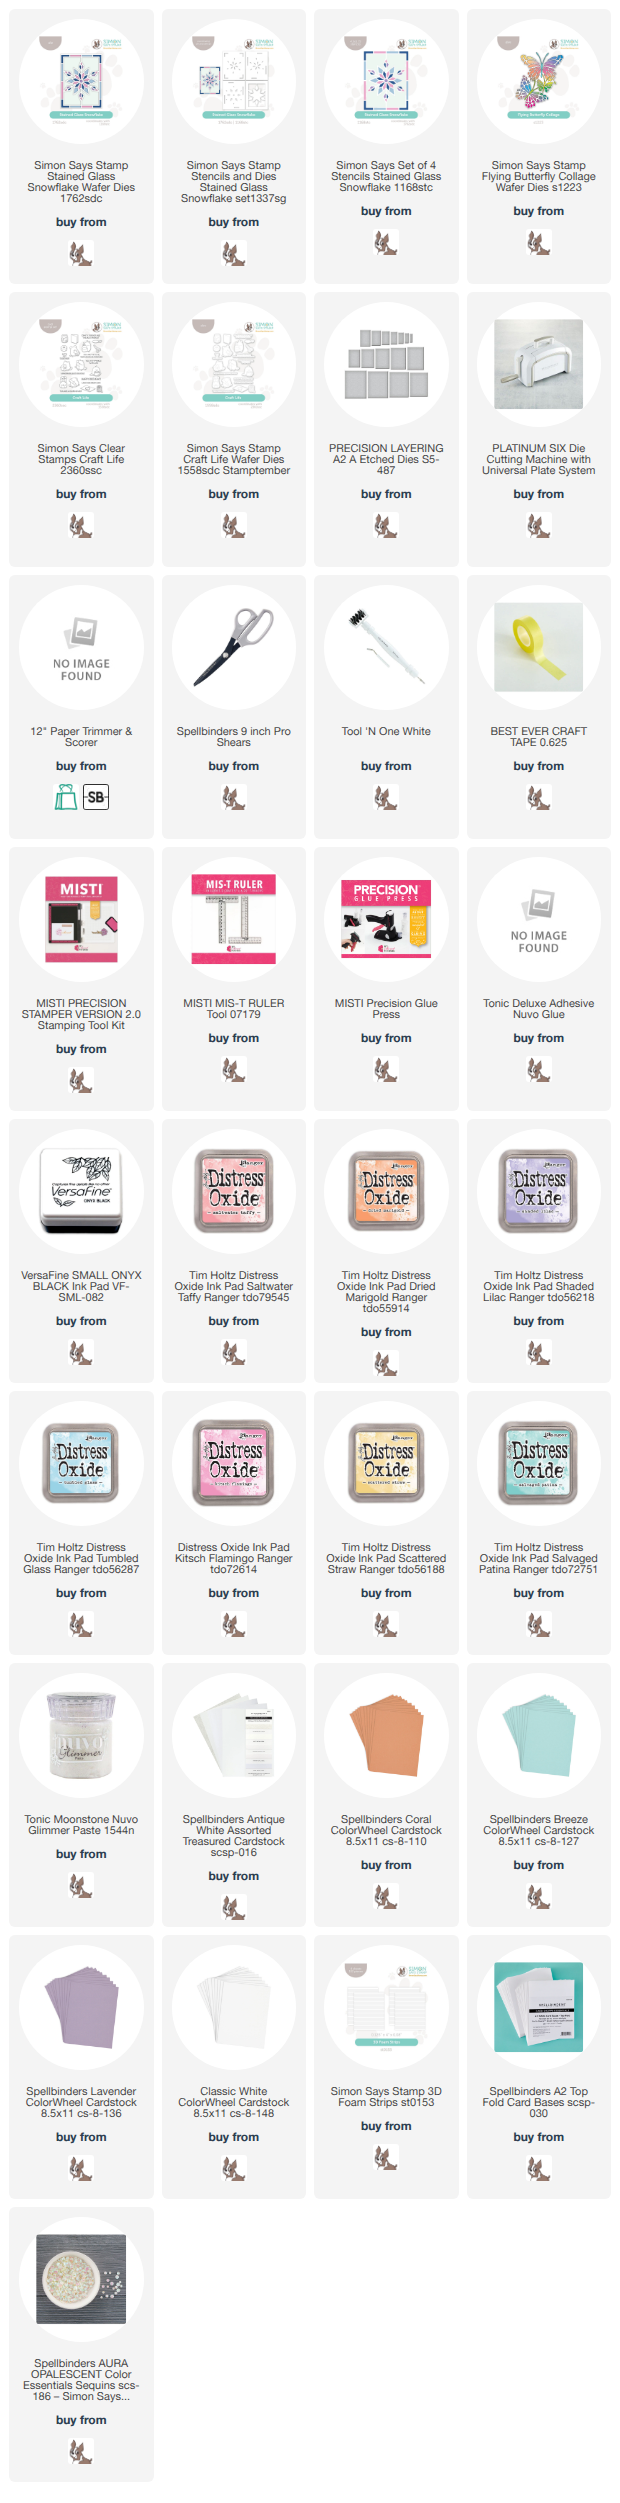
(Note: The product list below is already complete and includes the supplies I’ll be using for Rainbow Butterfly Birthday Card + Same Design, Two Techniques: Sparkle Cards as well)
Visual Supplies List