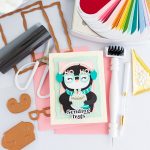
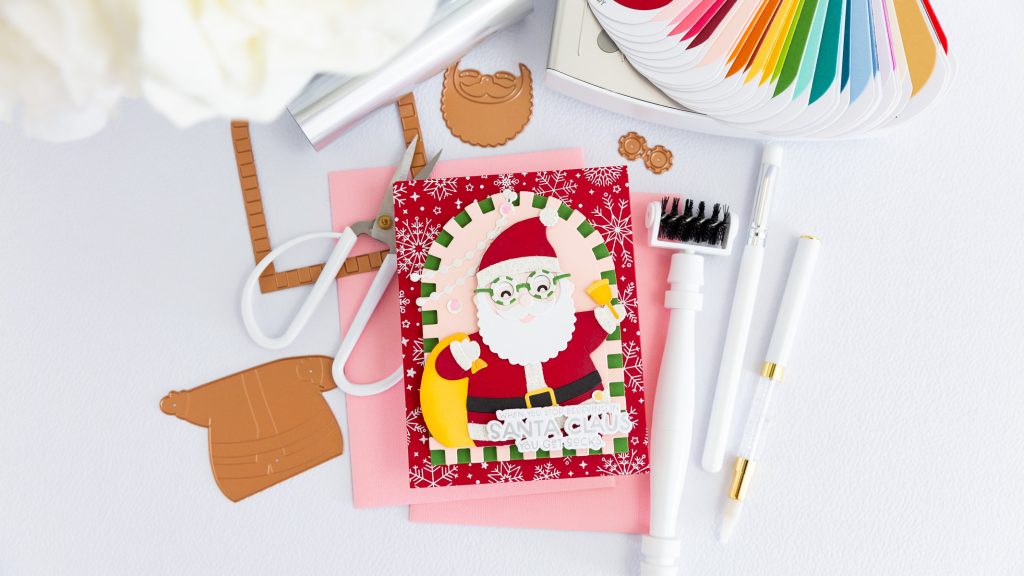
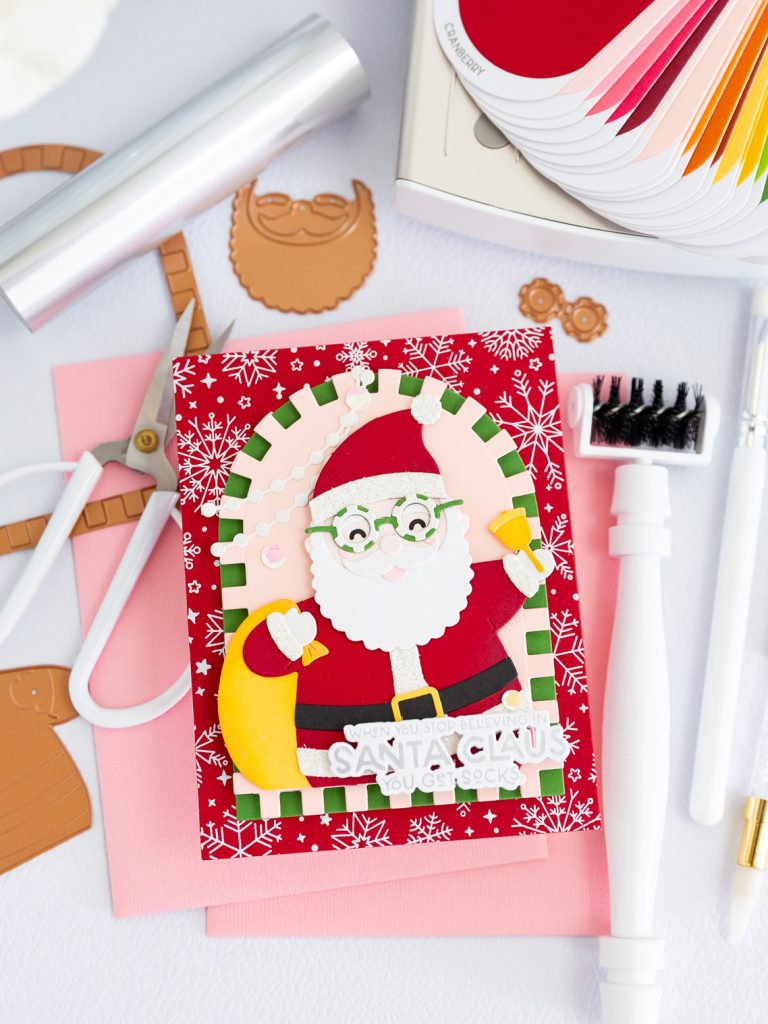
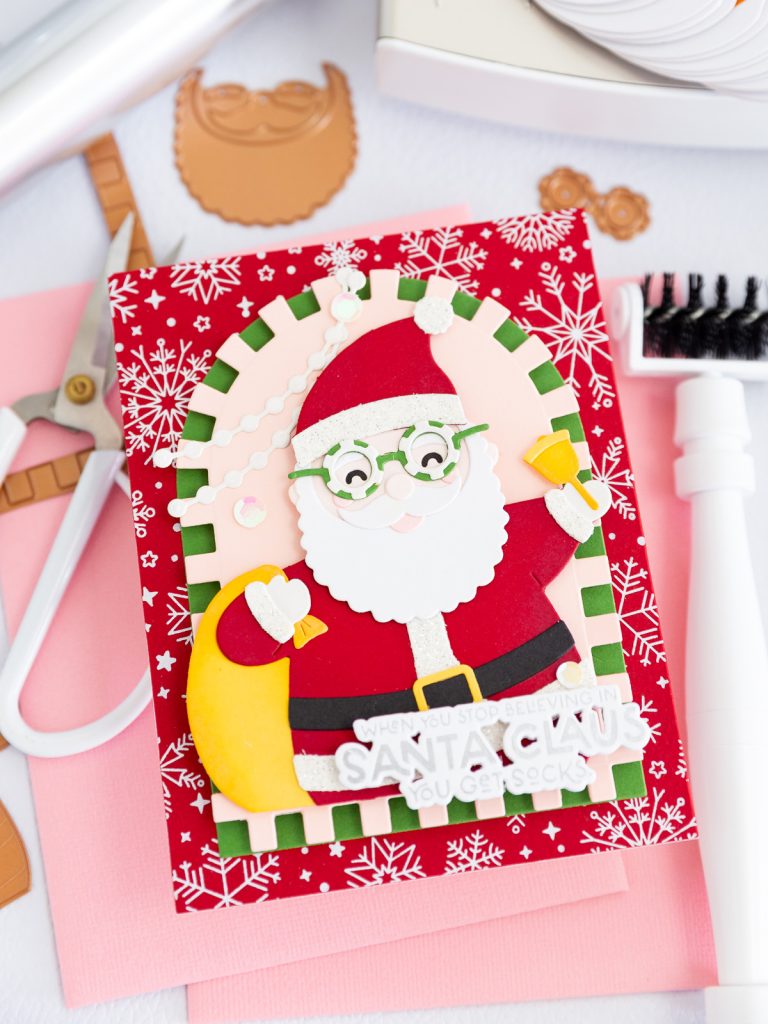
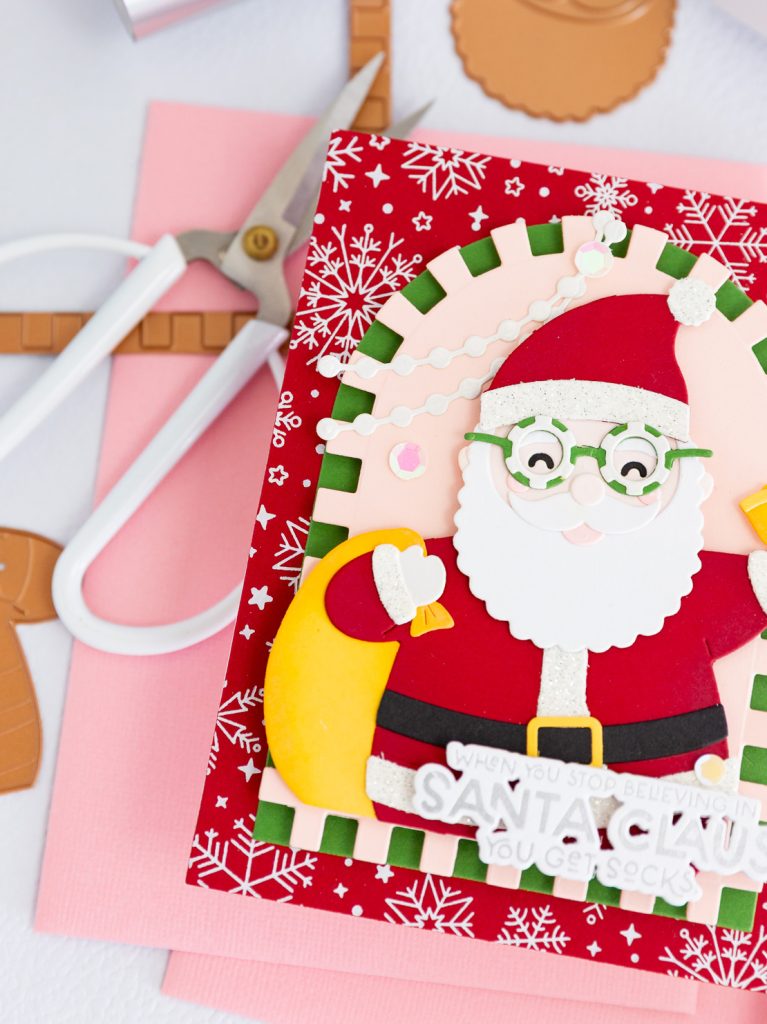
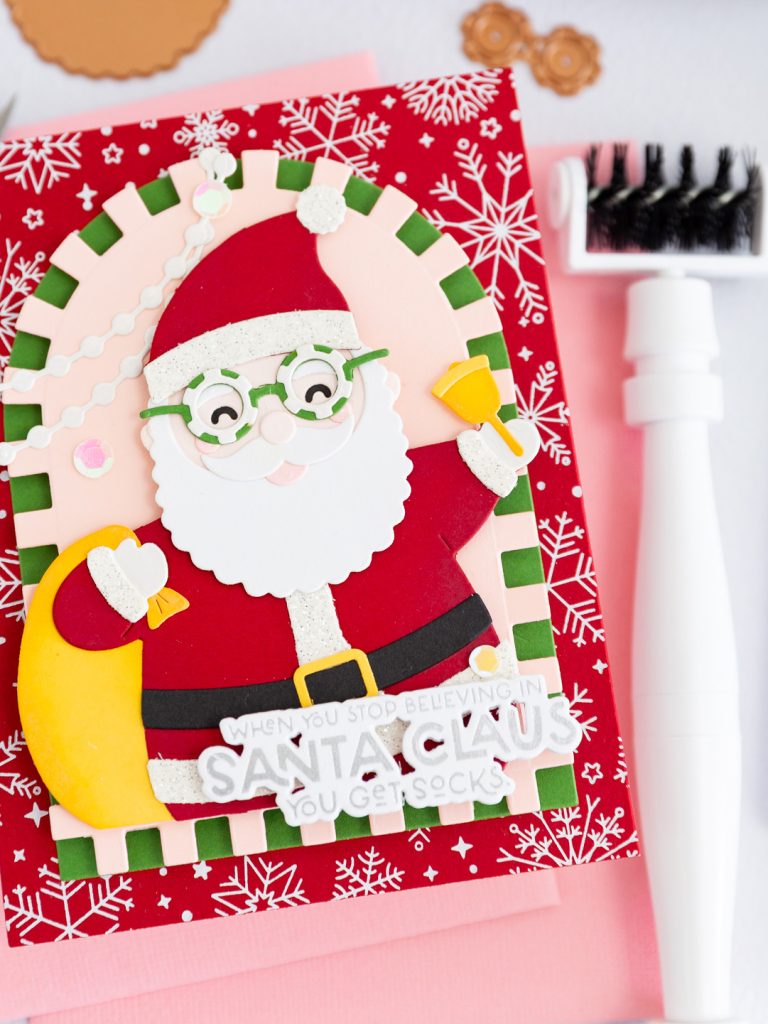
Hi friends! Today I’m sharing my Happy Santa Card, created with products from the Spectacular Christmas collection by Spellbinders. This card has such a fun and playful Christmas feel, with a cheerful Santa, lots of layered die-cut details, and a bright mix of classic holiday colors with a touch of soft pink. I especially love all the little details that give Santa so much personality and make the whole design feel festive, whimsical, and full of Christmas joy. Let’s take a closer look at how I created it!
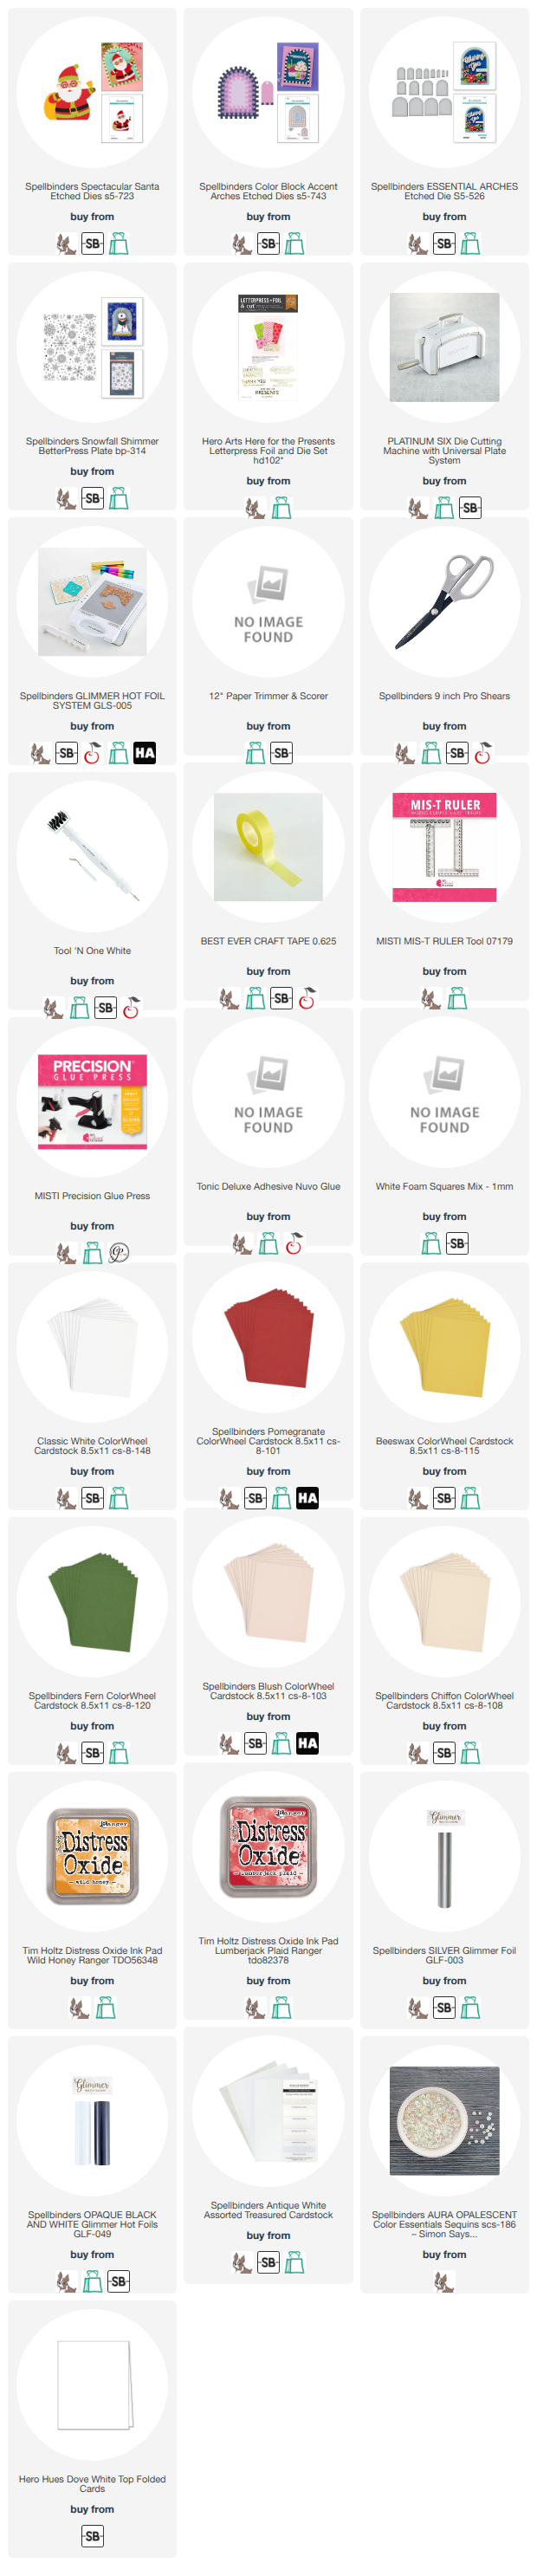
*** Complete Product list – HERE ***
Card Base:
Decorative details:
Before moving on to the decorative details, assemble the background of the card. First, adhere the red snowflake panel directly to the card base. Then, add the piece made up of the two arches in the center, with the FERN arch behind the BELLINI one. Attach both pieces together using 3D Foam, and then adhere the finished piece flat onto the red panel.
With the card base finished, we can move on to the step-by-step process for creating all the decorative details.:
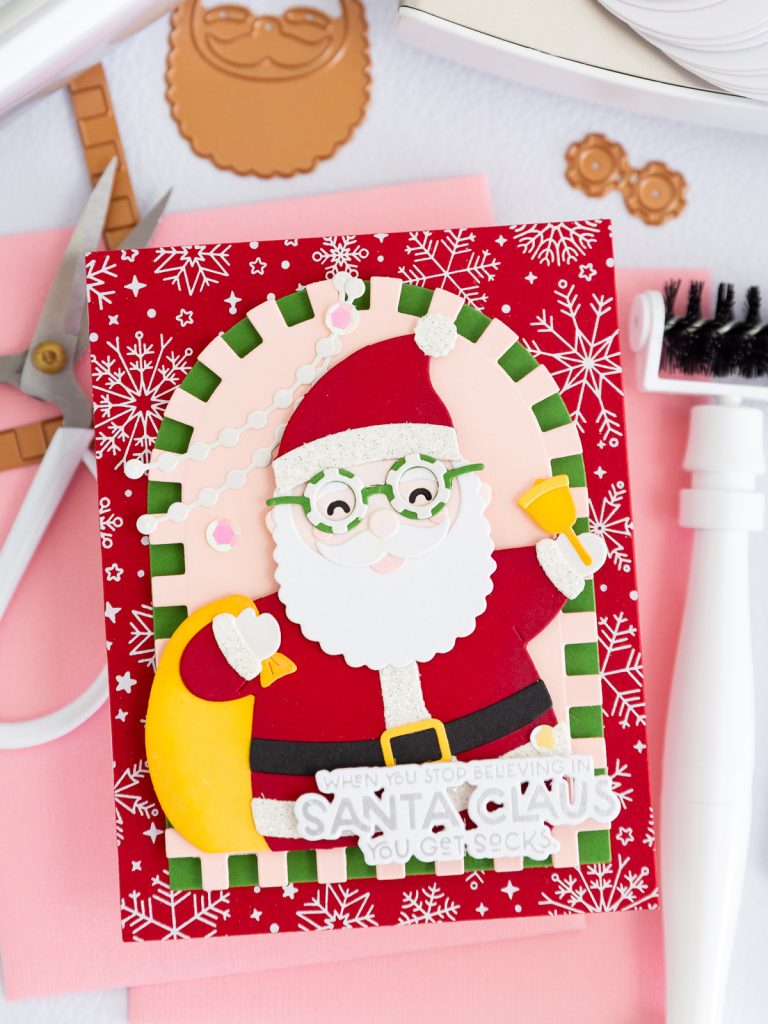
I really love how this Happy Santa Card came together! All the tiny die-cut pieces, layered details, and little touches of sparkle give Santa so much personality, while the mix of traditional Christmas colors with soft pink makes the whole design feel extra fun and playful. It’s one of those cards where every small detail adds something special—and honestly, this Santa makes me smile every time I look at him!
Thank you so much for stopping by and creating with me today! I hope this project inspires you to have a little fun with your Christmas cards and play with unexpected colors, layers, and all those tiny details we love so much. I’ll be back soon with more festive inspiration featuring the Spectacular Christmas collection by Spellbinders. See you next time!
Affiliate links apply at no extra cost to you. Thanks for your support!