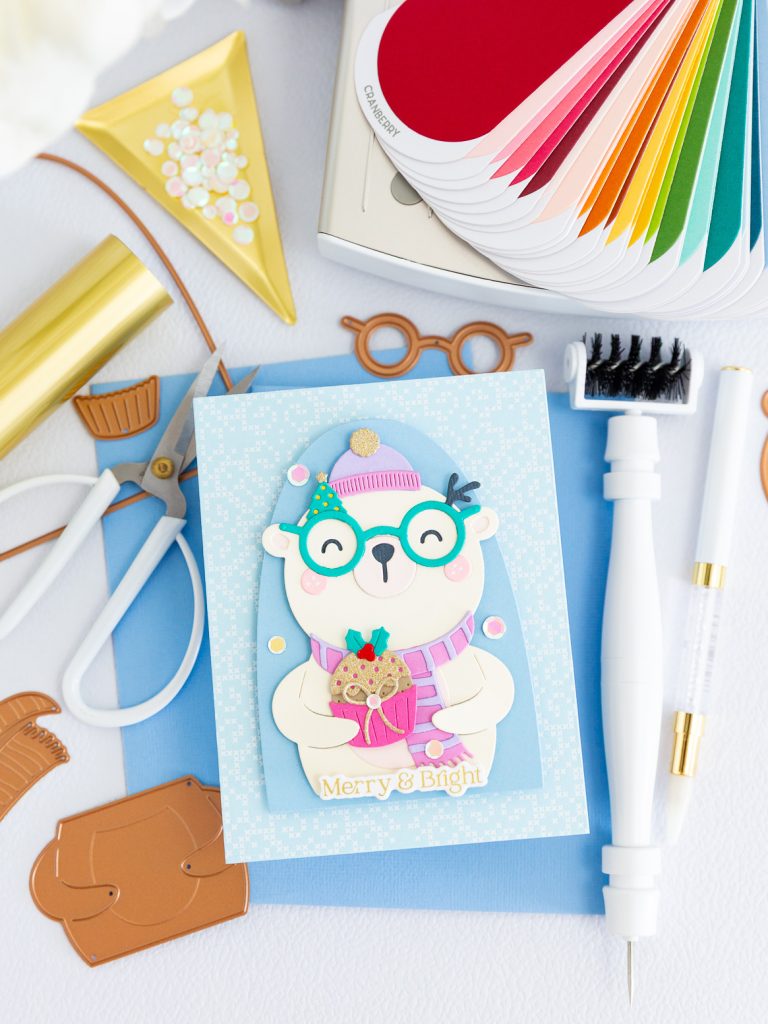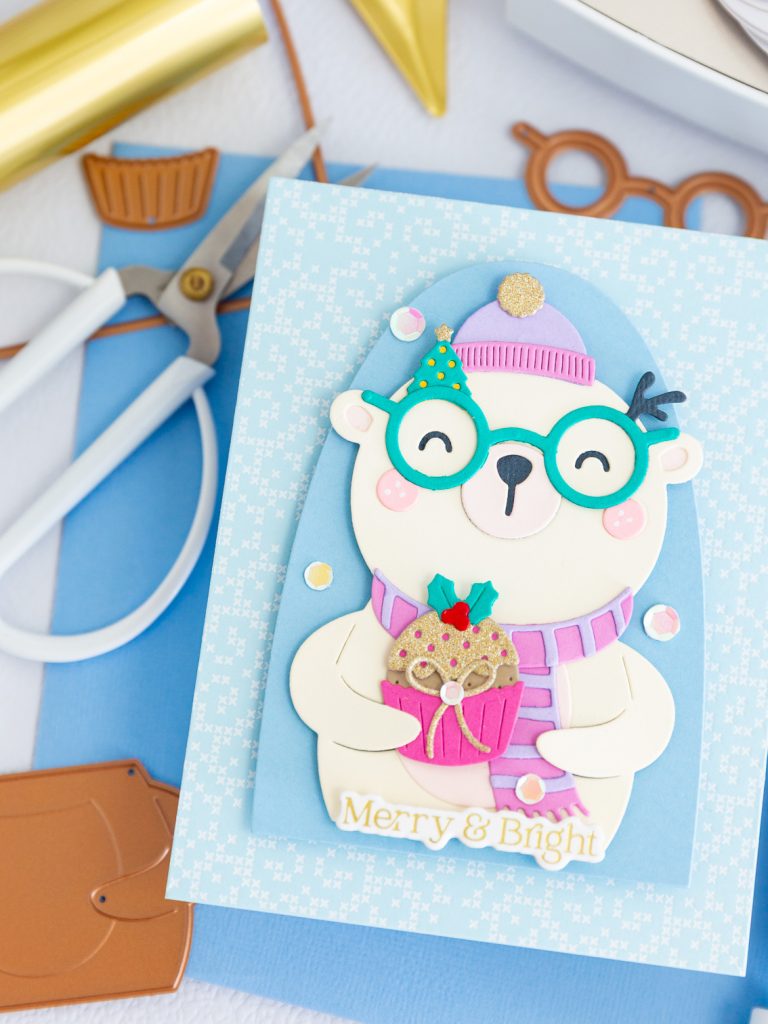
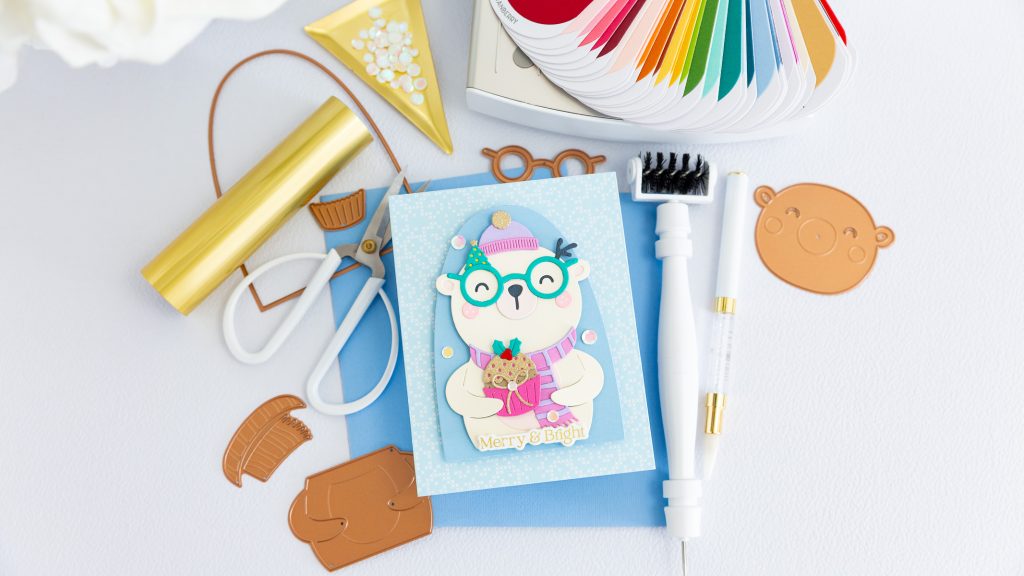
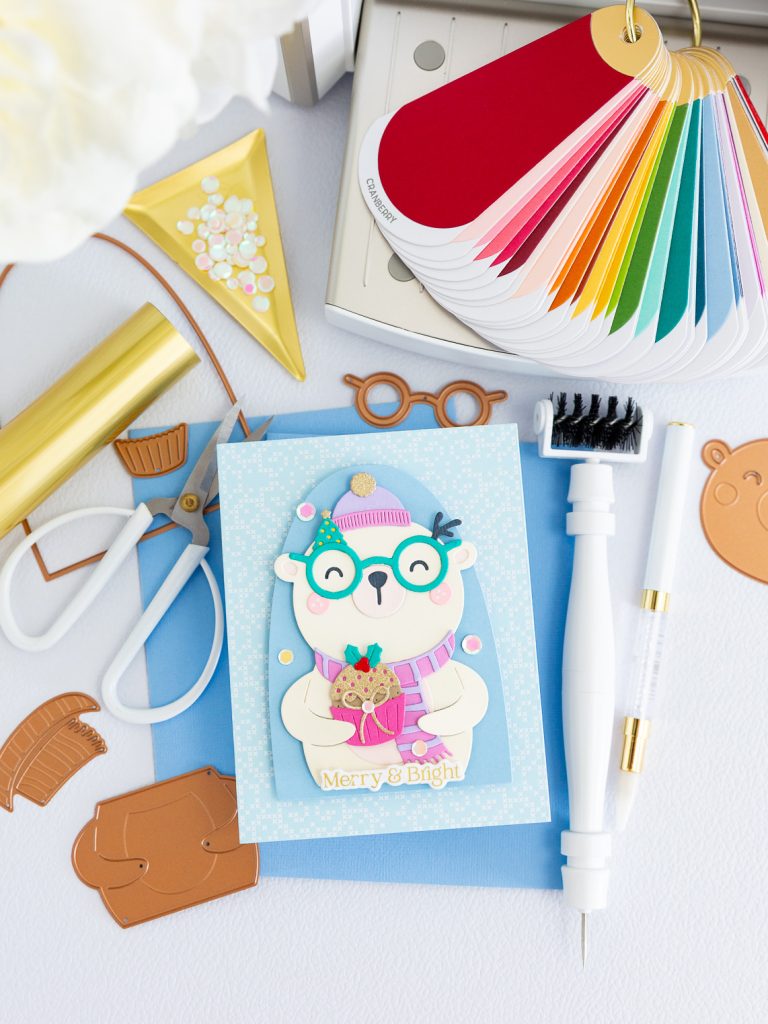
Hi friends! Christmas crafting continues around here, and this time I couldn’t resist this adorable little bear! My Merry Merry Card features products from the Spectacular Christmas collection by Spellbinders , and I had so much fun giving this sweet character his own colorful holiday look. The combination of aqua, pink, teal, and touches of gold makes the design feel fresh and cheerful, while his glasses, winter hat, scarf, and tiny Christmas treat add so much charm. I kept the background soft and simple so all those fun elements could really be the stars of the card. Now, let me show you all the details!
For this card I used:
- Spellbinders Spectacular Bear Etched Dies s5-722
- PRECISION LAYERING A2 A Etched Dies S5-487
- Arch Labels and Tag
- Spellbinders Merry Messages Plate and Die Set bp-312
- Petite Criss Cross Press Plate bp-311
- Spellbinders Christmas Cracker Etched Dies s5-698
*** Complete Product list – HERE ***

Card Base:
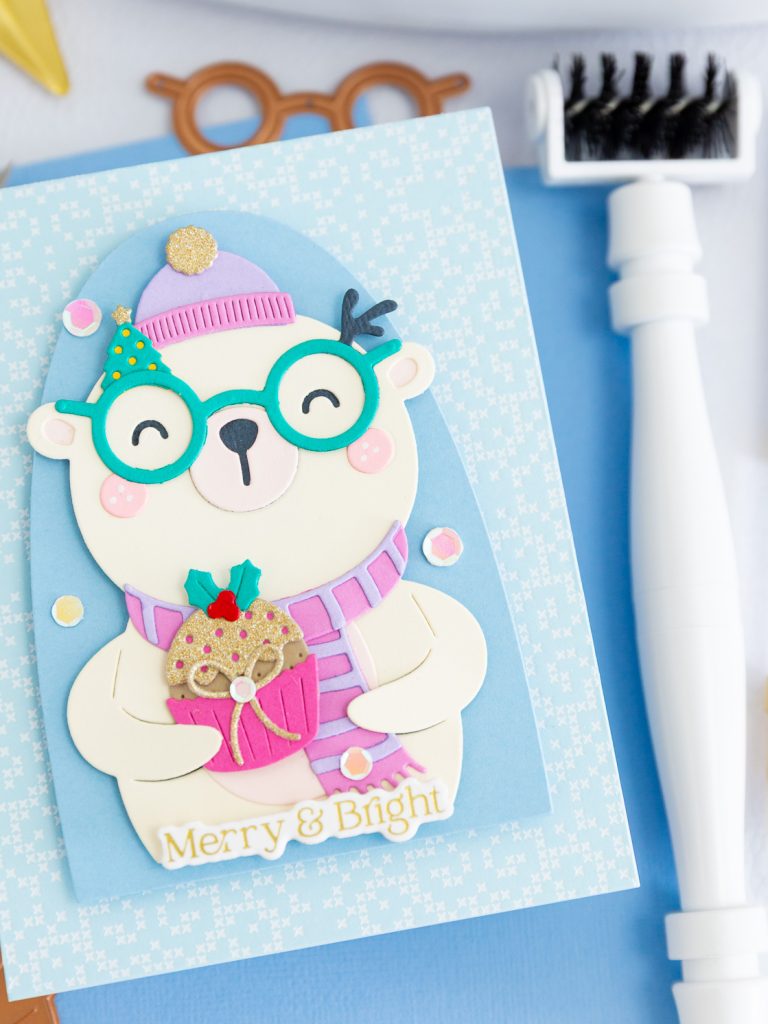
- For card base, I used Hero Hues Dove White Top Folded Cards
- The first thing we need to do is prepare the base panel. For this, I’ll use BREEZE cardstock. Using my Glimmer Hot Foil System with the Petite Criss Cross Press Plate BP-311 and white foil, I’ll create a background that will serve as the base for my composition.
- Next, using CASCADE cardstock and the Arch Labels and Tag die set, I’ll die-cut an arch where I’ll place the little bear from the composition.
- With these pieces ready, we have everything we need for the base of the card.


Decorative details:
Before starting with the decorative details, we’ll assemble the base of the card. We’ll adhere the panel with the foiled design flat onto the card base and then add the CASCADE arch on top using 3D foam.
With the card base ready, we can begin working on the decorative details step by step:
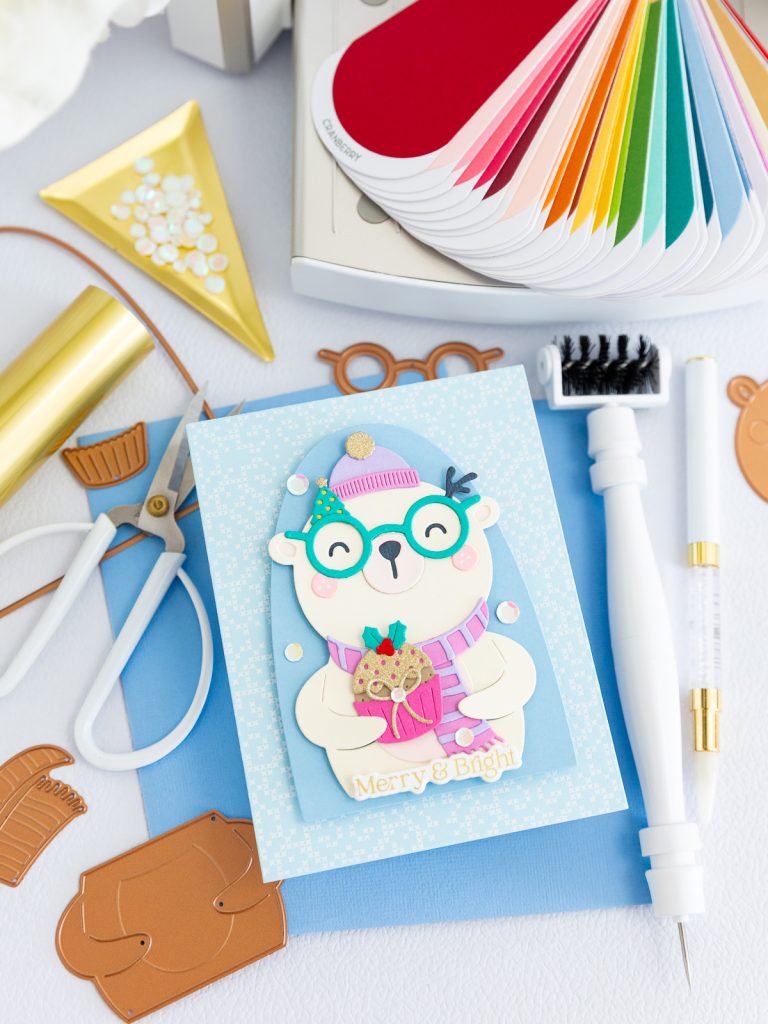
- Die-cut all the pieces from the Spellbinders Spectacular Bear Etched Dies S5-722 using the cardstock colors listed in the materials section. I also die-cut some of the pieces from the specialty gold glitter cardstock included in the Spellbinders Gold Assortment Treasured Cardstock Pack SCSP-001.
- Once all the pieces are die-cut, assemble this sweet Christmas bear.
- Next, prepare the sentiment for the card. I used the Spellbinders Merry Messages Plate and Die Set BP-312 with my Glimmer Hot Foil System and gold hot foil.
- To give the sentiment more dimension and thickness, I die-cut two additional pieces of the sentiment outline and layered them together.
- Adhere the Christmas bear centered on the CASCADE arch on the card base using 3D foam.
- Then, add the sentiment, also using 3D foam.
- For the final touch, add a few sequins and a glitter paper bow created with the Spellbinders Christmas Cracker Etched Dies S5-698.

And that’s my Merry Merry Card finished! I really enjoyed putting this little bear together and playing with all the tiny details, layers, and colors that make the Spectacular Christmas collection so much fun to create with. I hope this card inspires you to try your own version and maybe even give this sweet character a completely different holiday look.
Thank you so much for stopping by and spending a little creative time with me today. I still have one more Christmas idea to share with you using this collection, so we’re not quite finished yet! I’ll see you very soon with the last project!
Affiliate links apply at no extra cost to you. Thanks for your support!

Visual Supplies List