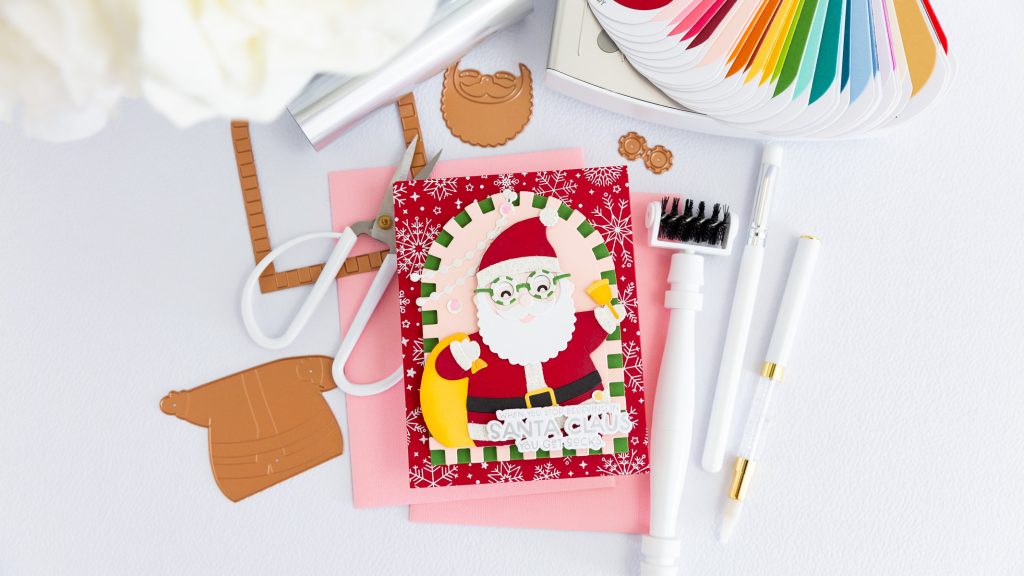
Happy Santa Card | Spellbinders Spectacular Christmas Release

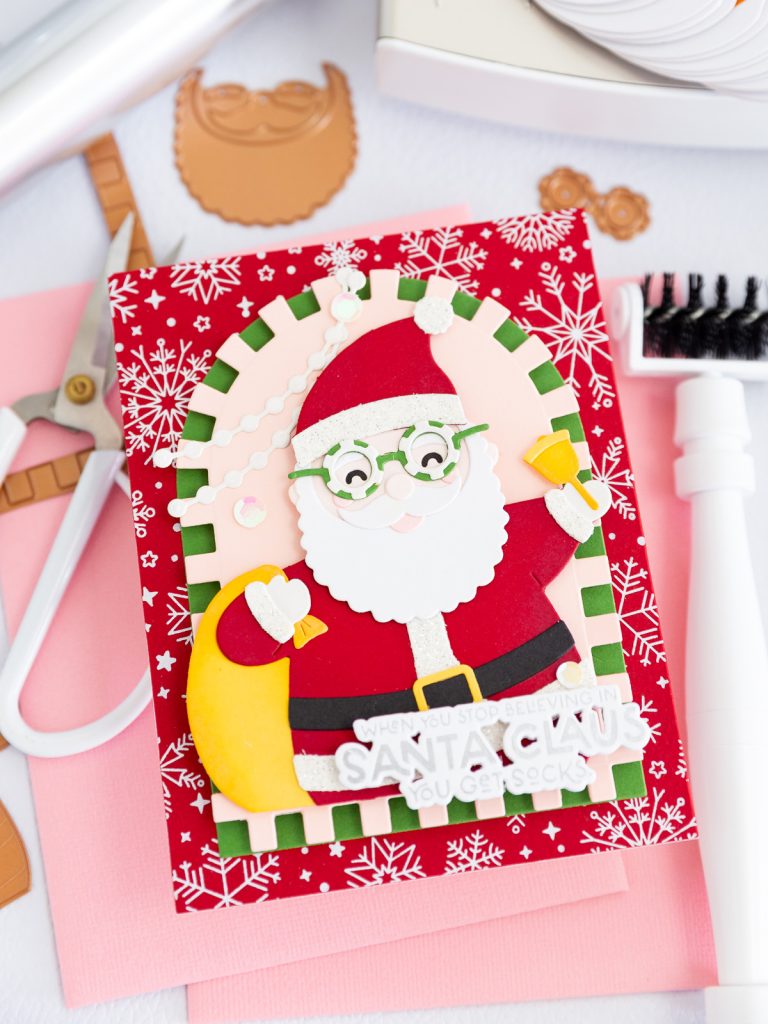
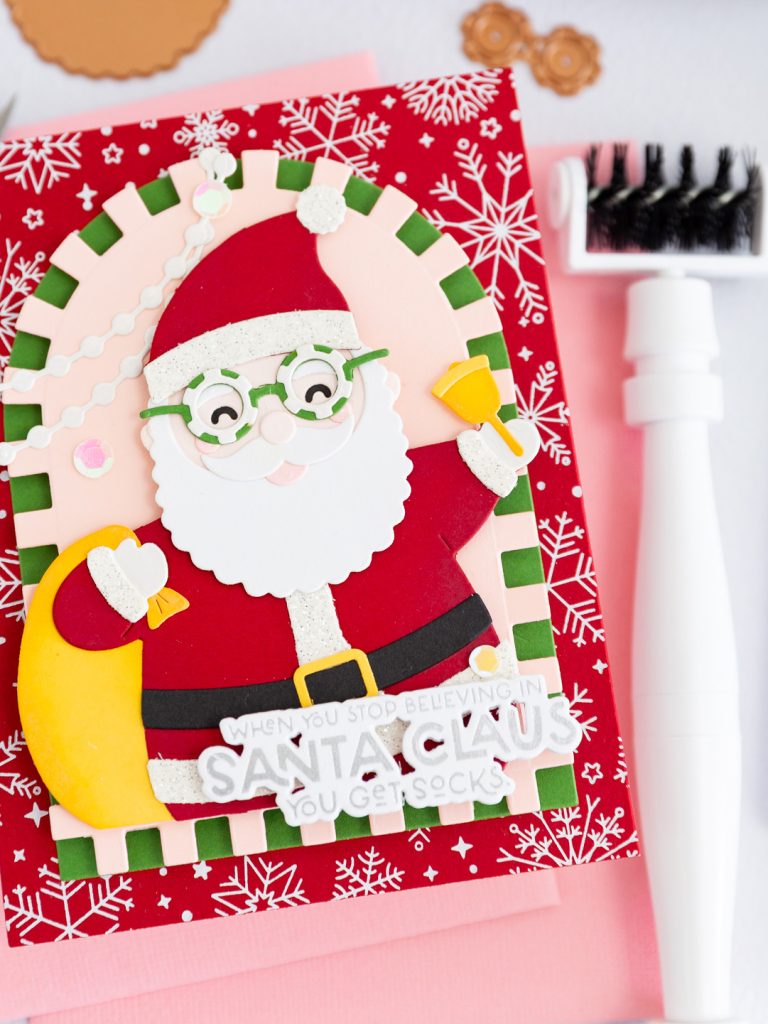
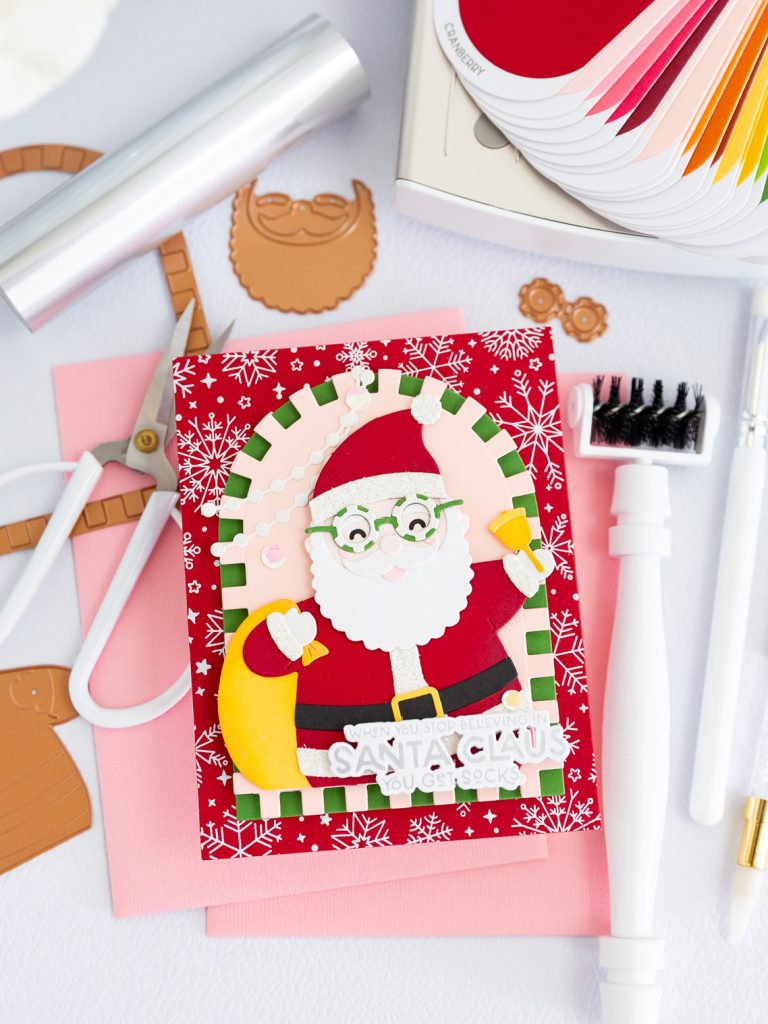
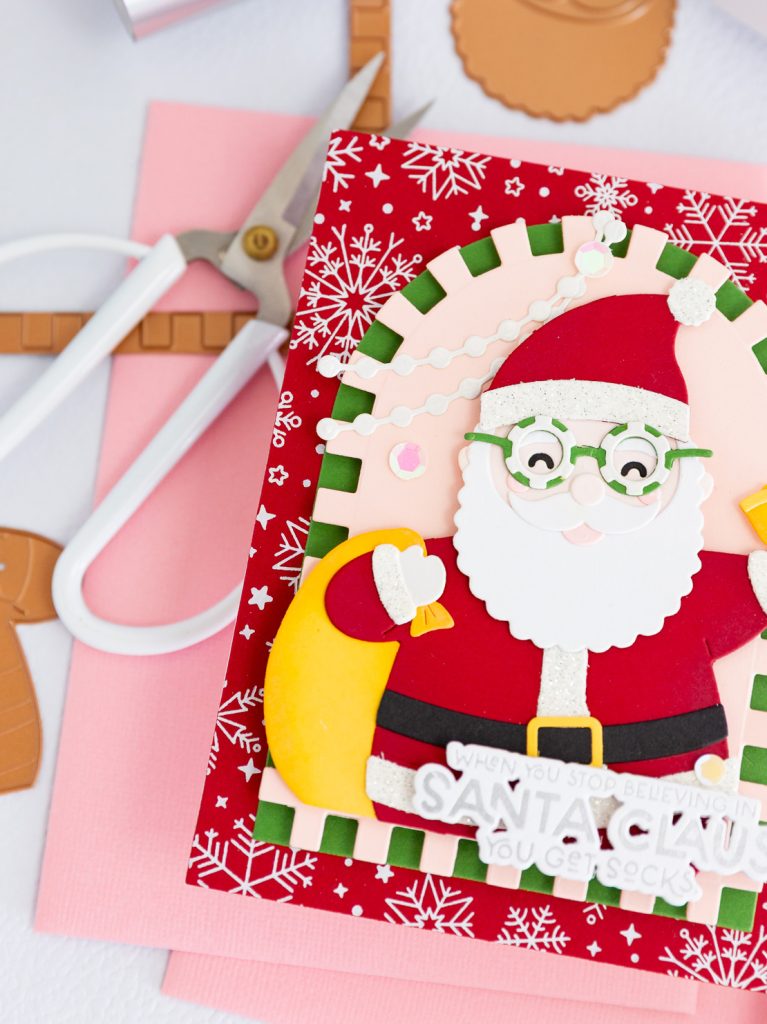
Hi friends! Today I’m sharing my Happy Santa Card, created with products from the Spectacular Christmas collection by Spellbinders. This card has such a fun and playful Christmas feel, with a cheerful Santa, lots of layered die-cut details, and a bright mix of classic holiday colors with a touch of soft pink. I especially love all the little details that give Santa so much personality and make the whole design feel festive, whimsical, and full of Christmas joy. Let’s take a closer look at how I created it!
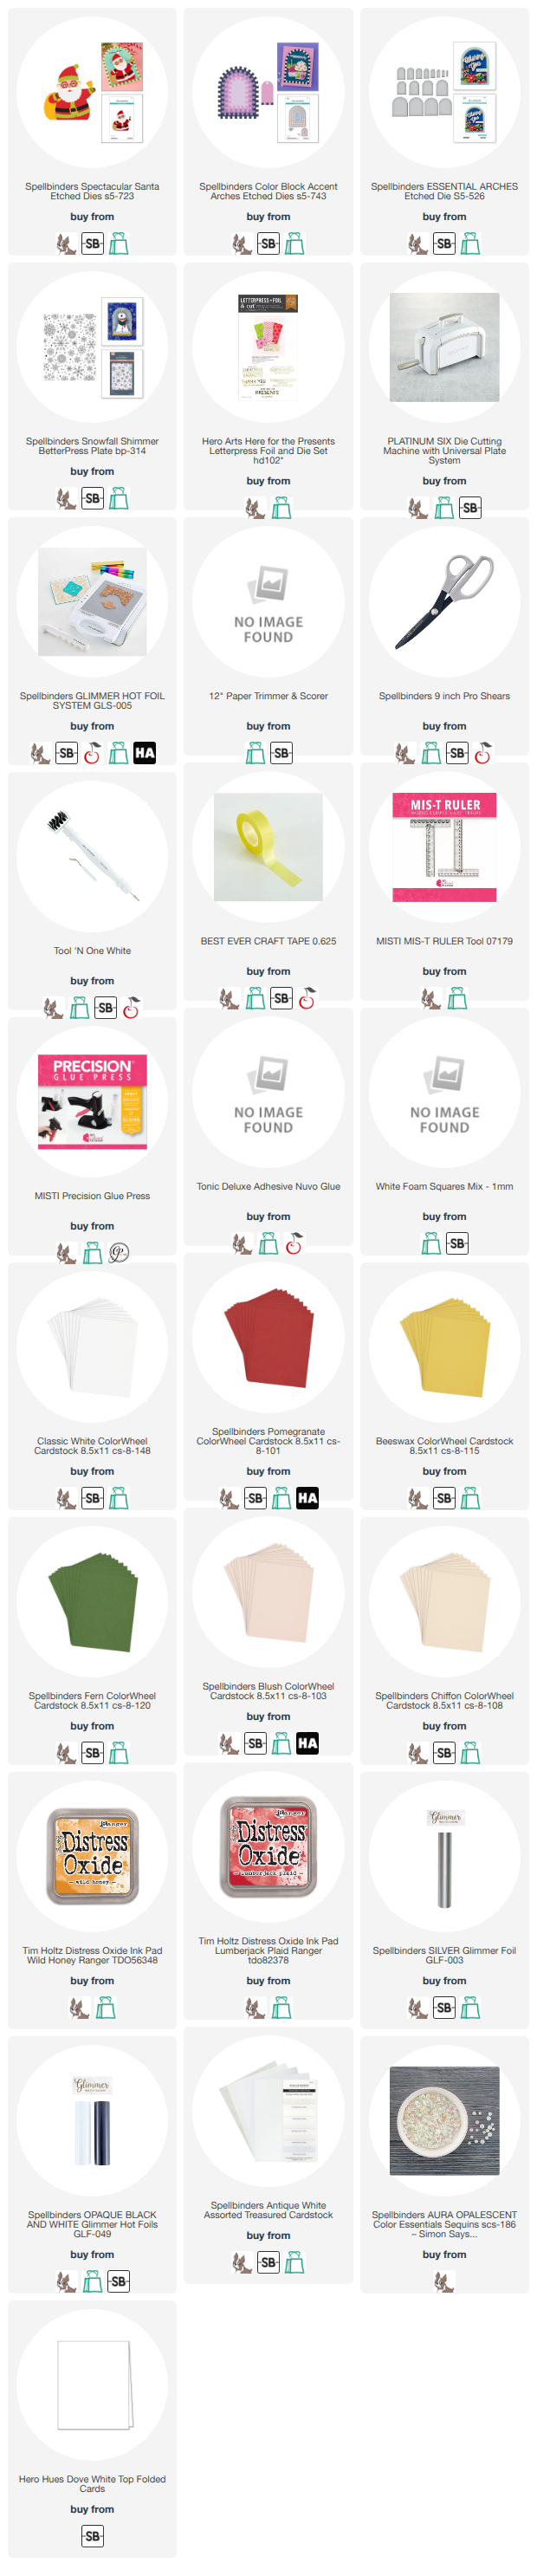
For this card I used:

*** Complete Product list – HERE ***

Card Base:
Decorative details:

Before moving on to the decorative details, assemble the background of the card. First, adhere the red snowflake panel directly to the card base. Then, add the piece made up of the two arches in the center, with the FERN arch behind the BELLINI one. Attach both pieces together using 3D Foam, and then adhere the finished piece flat onto the red panel.

With the card base finished, we can move on to the step-by-step process for creating all the decorative details.:
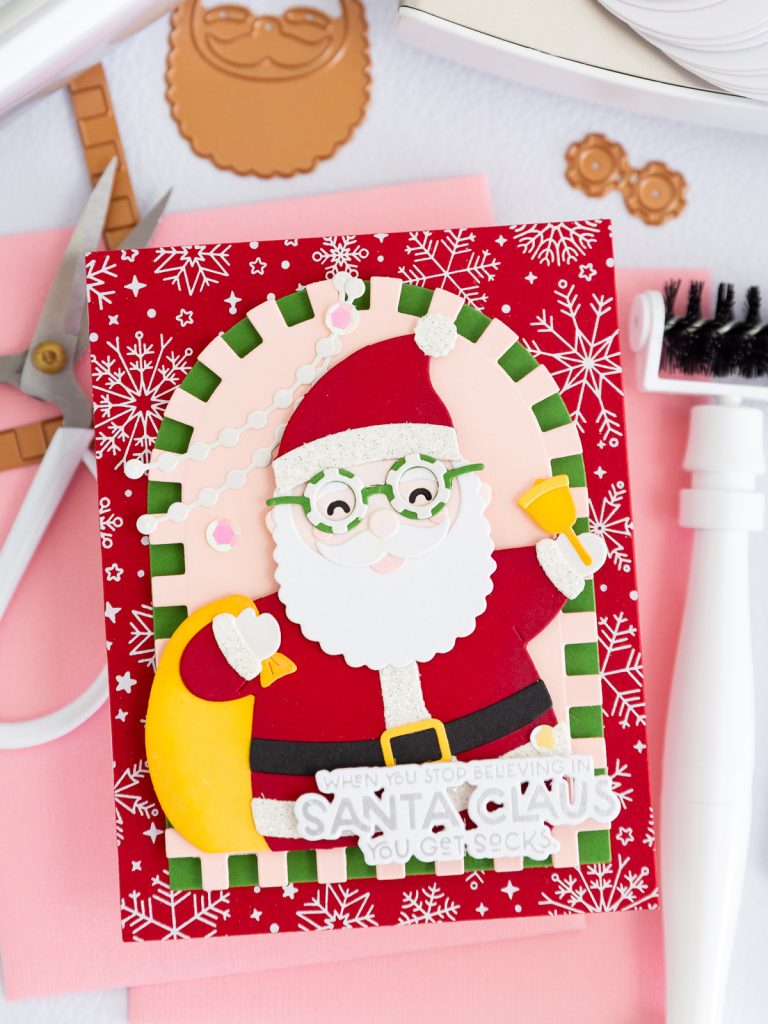
  • Die-cut all the Santa pieces using the Spectacular Santa Etched Dies S5-723.
  • In addition to the cardstock colors listed in the materials, I also used the Silver Glitter specialty paper from the Antique White Assorted Treasured Cardstock pack.
  • I highlighted the edges of the gift bag and the bell with Ranger Distress Oxide Ink Pad in Wild Honey.
  • For Santa’s body and hat, I highlighted the edges with Ranger Distress Oxide Ink Pad in Lumberjack Plaid.
  • Now, assemble Santa Claus piece by piece.
  • Next, prepare the sentiment for the card. I used the Hero Arts Here for the Presents Letterpress Foil and Die Set together with my Glimmer Hot Foil System and Matte Silver Foil.
  • To give the sentiment more dimension, I die-cut two additional layers and adhered them together.
  • Adhere Santa Claus in the center of the colored arches using 3D Foam.
  • As a final detail, add the sentiment using 3D Foam.

I really love how this Happy Santa Card came together! All the tiny die-cut pieces, layered details, and little touches of sparkle give Santa so much personality, while the mix of traditional Christmas colors with soft pink makes the whole design feel extra fun and playful. It’s one of those cards where every small detail adds something special—and honestly, this Santa makes me smile every time I look at him!

Thank you so much for stopping by and creating with me today! I hope this project inspires you to have a little fun with your Christmas cards and play with unexpected colors, layers, and all those tiny details we love so much. I’ll be back soon with more festive inspiration featuring the Spectacular Christmas collection by Spellbinders. See you next time!

Affiliate links apply at no extra cost to you. Thanks for your support!
Visual Supplies List

Quieres ver más? / Do you want to see more?

Dejar un comentario

Tu dirección de correo electrónico no será publicada. Los campos obligatorios están marcados con *

guiademanualidades-celes-26

Sobre mí

¡Hola! Soy Celes, el alma creativa tras “Guía de Manualidades”, un mundo de color, arcoíris y confeti. Gracias por estar por aquí y por permitirme compartir contigo todo aquello que me gusta y me apasiona hacer. Te invito a descubrir un mundo de creatividad infinita y darle vida a aquello que sueñas…

Categorías

Últimos Posts

Favorite Stores

Always There 2026_1350_1
SIMON SAYS STAMP - NEW RELEASE
Simon Logo
SIMON SAYS STAMP STORE
SBCLogo_500x500_3
SBC STORE
I'm and Affiliate
AC - WE R MAKERS STORE
Spell1-1
SPELLBINDERS STORE
logosshareasale1
ACOT STORE
EMDBanner
EMILY MOORE DESIGNS STORE
xr:d:DAFcCnxOnG8:10,j:47979962386,t:23030215
SIZZIX STORE
Captura de Pantalla 2025-01-14 a la(s) 17.11.36
CATHERINE POOLER STORE

Sígueme

Compartir:

Newsletter

SUMATE A NUESTRA COMUNIDAD