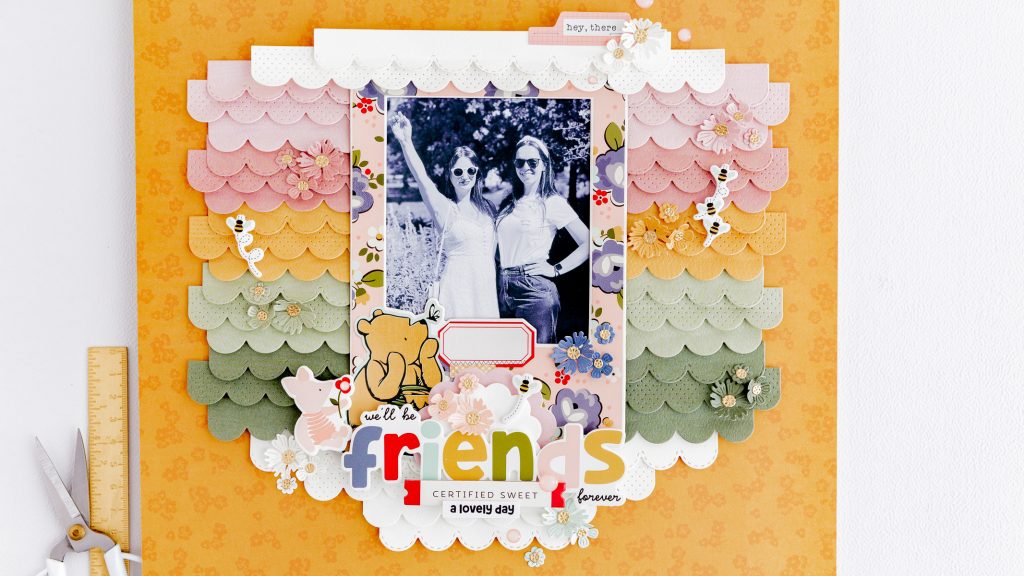
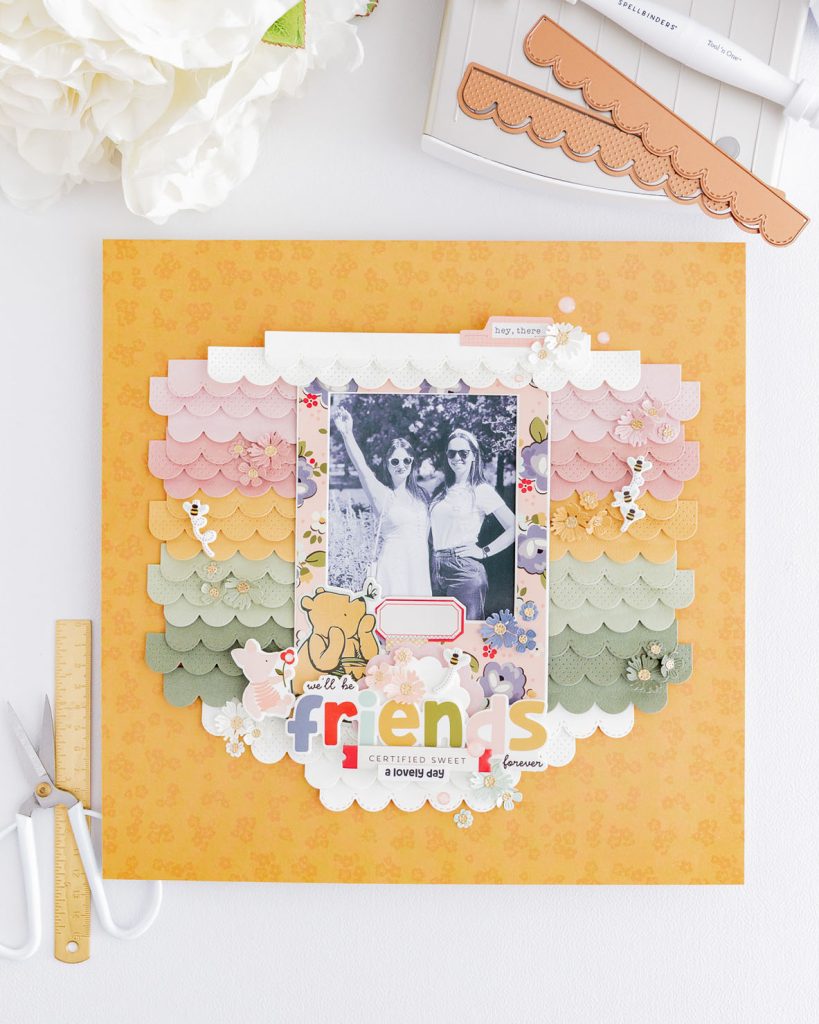
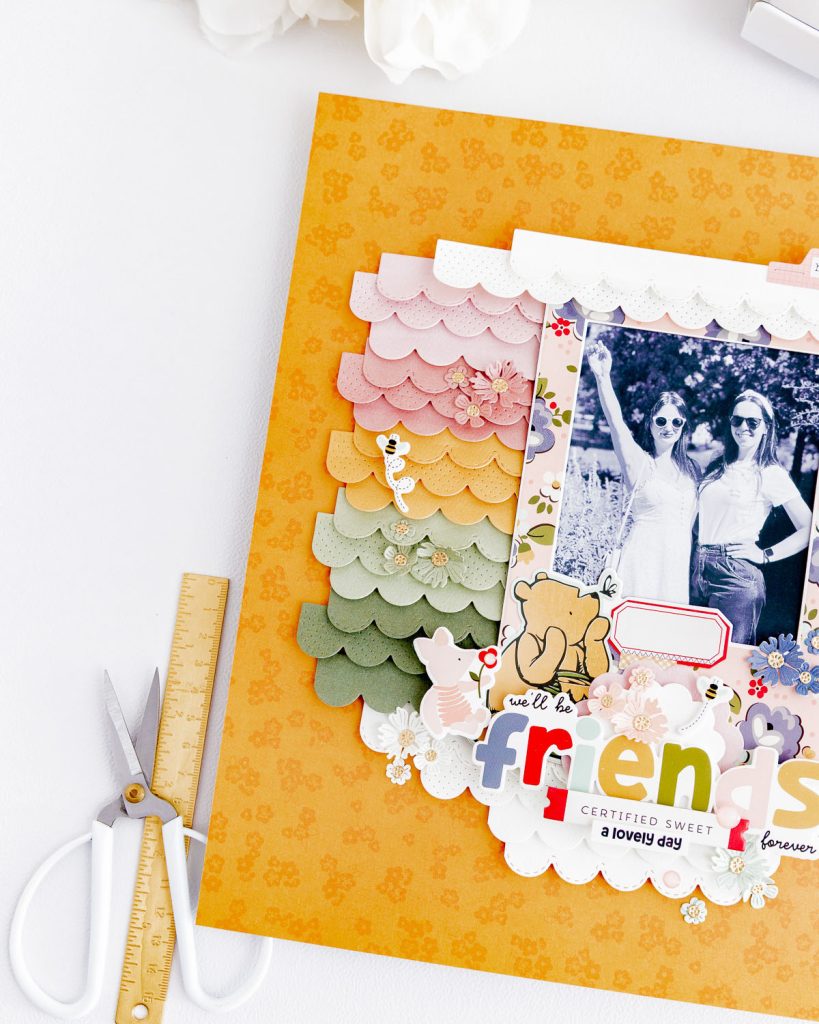
Do you have a favorite photo with your best friend? How about creating a special layout with it? Today, I invite you to combine the Classic Pooh scrapbooking collection by Simple Stories with some dies from the SV Flower Shoppe collection by Spellbinders and Simple Stories to create this beautiful and colorful composition!
*** Complete Product list – HERE ***
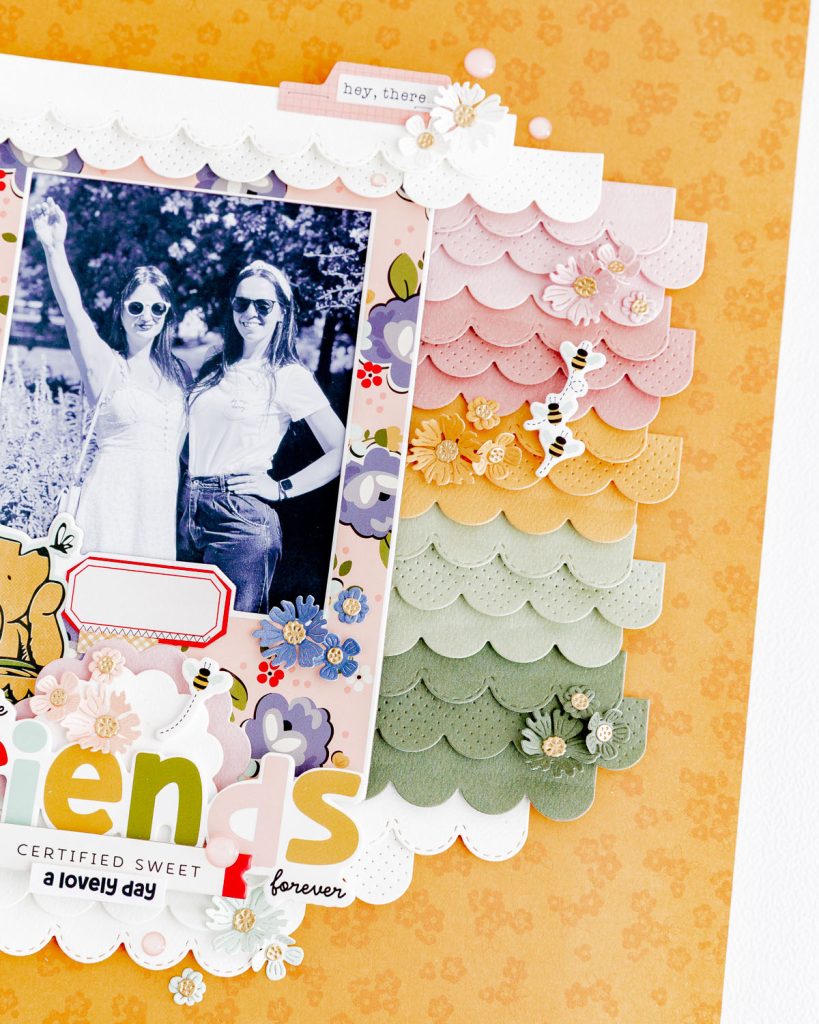
Base of the layout:

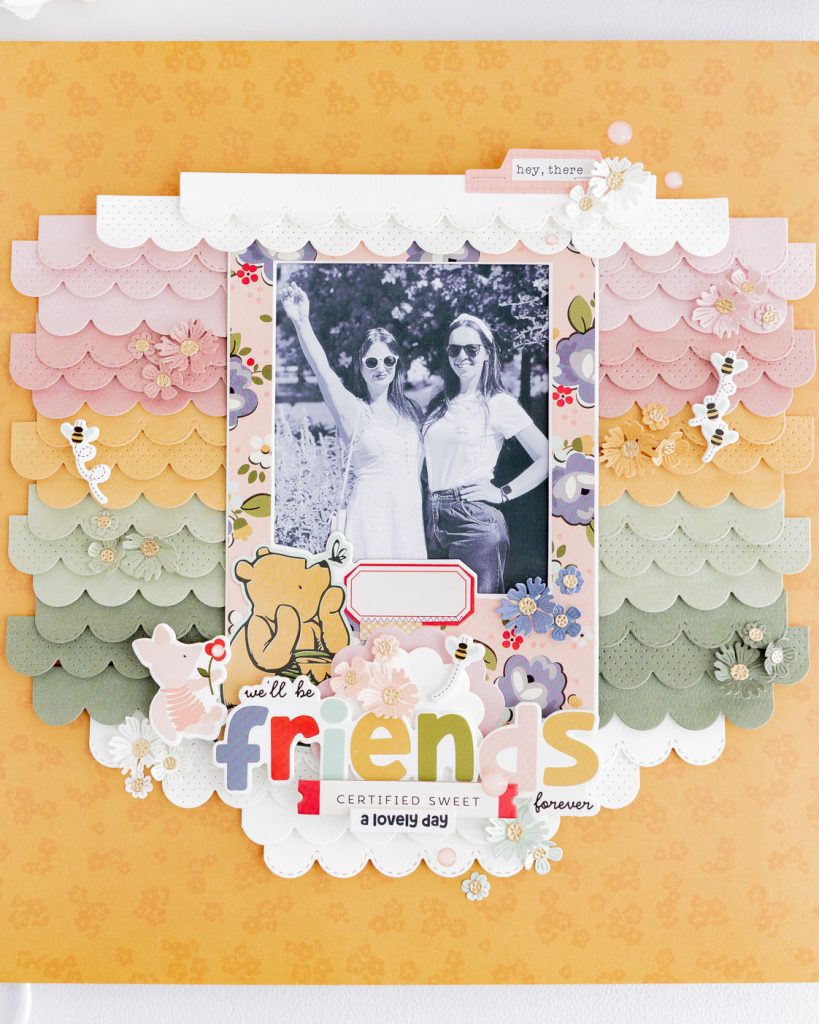
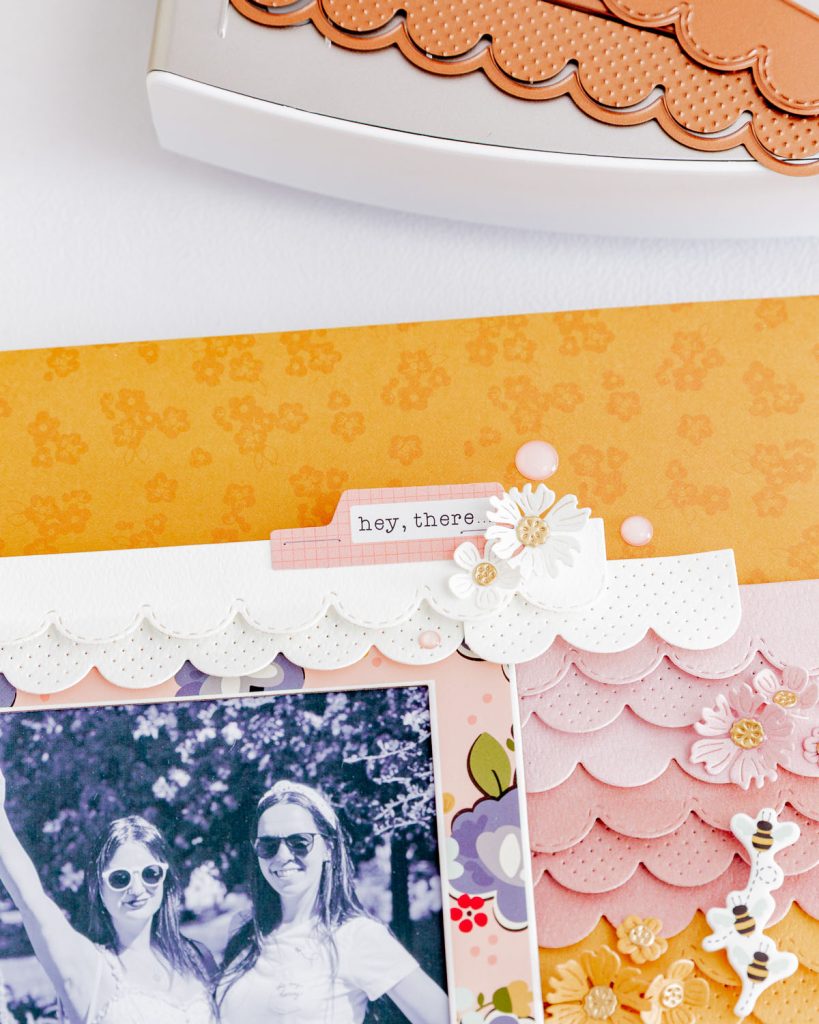
Decorative details:
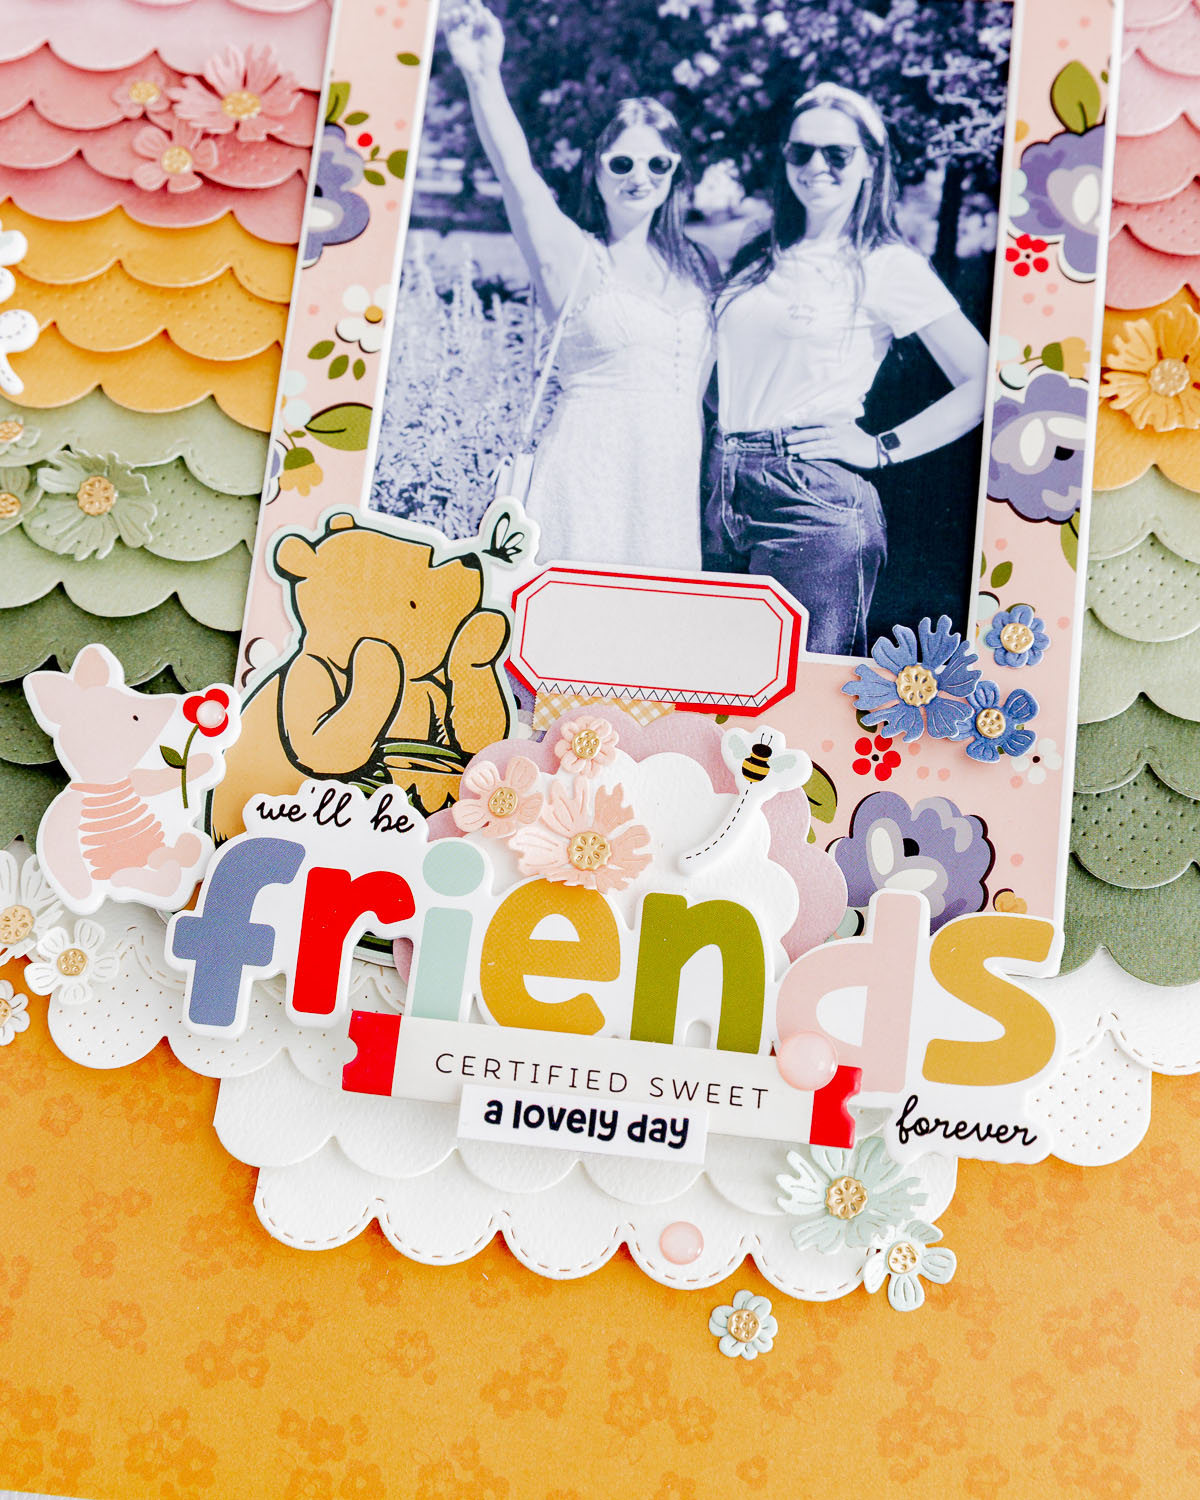
The result is a beautiful composition with all the details layered to enhance depth and color.
Watch the layout process in the IG Reel here
Thank you for joining me. See you!
Affiliate links apply at no extra cost to you. Thanks for your support!


 17.11.36")